
Installation guide
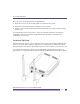

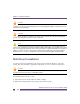
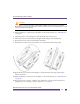
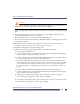
Table Of Contents
- Table of Contents
- Introduction
- Hardware Installation
- Defining a Basic Configuration
- Specifications
- Regulatory Information
- Regulatory Overview
- Wireless Device Country Approvals
- Health and Safety Recommendations
- RF Exposure Guidelines
- International
- EU
- US and Canada
- Power Supply
- Radio Frequency Interference Requirements – FCC
- Radio Frequency Interference Requirements – Canada
- CE Marking and European Economic Area (EEA)
- Statement of Compliance
- Waste Electrical and Electronic Equipment (WEEE)
- Japan (VCCI) - Voluntary Control Council for Interference Class B ITE
- Korea Warning Statement for Class B ITE
- Other Countries
- Customer Support
Chapter 2: Hardware Installation
Altitude™ 4521 Series Access Point Installation Guide
18
Above the Ceiling (Plenum) Installation
An above the ceiling installation requires placing the Access Point above a suspended
ceiling and installing the provided light pipe under the ceiling tile for viewing the status
LED of the unit. An above the ceiling deployment enables installations compliant with drop
ceilings, suspended ceilings and industry standard tiles from .625 to .75 inches thick.
NOTE
The Access Point is Plenum rated to UL2043 and NEC1999 to support above the ceiling
installations. To ensure UL compliance and proper Access Point operation within the Air Handling
Plenum, the Access Point must be installed with the bottom surface of the unit in contact with the un-
finished surface of the ceiling tile. Placing the product on the ceiling tile will facilitate the positioning of
the light pipe. Placement of the product in the Air Handling Plenum off of, or away from, the unfinished
surface of the ceiling tile is not UL approved and certification of UL2043 compliance would be void in
that case.
CAUTION
Extreme Networks does not recommend mounting the Access Point directly to suspended
ceiling tile with a thickness less than 12.7mm (0.5in.) or a suspended ceiling tile with an unsupported
span greater than 660mm (26in.).
The mounting hardware required to install the Access Point above a ceiling consists of:
●
Light pipe
●
Badge for light pipe
●
Decal for badge
To install the Access Point above a ceiling:
1 If possible, remove the adjacent ceiling tile from its frame and place it aside.
2 If required, install and attach a security cable to the Access Point’s lock port.
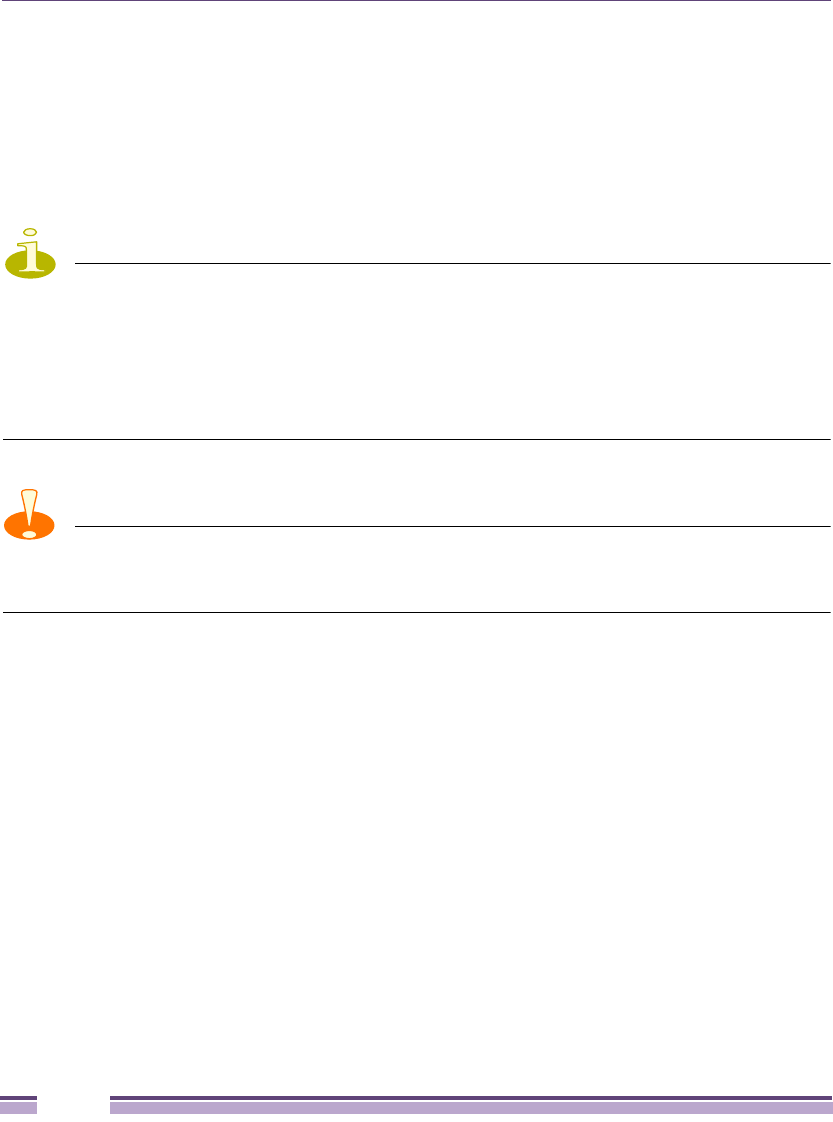
3 Mark a point on the finished side of the tile where the light pipe is to be located.
4 Create a light pipe path hole in the target position on the ceiling tile.
5 Use a drill to make a hole in the tile the approximate size of the Access Point LED light
pipe.