
Installation guide
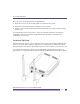

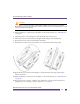
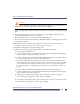
Table Of Contents
- Table of Contents
- Introduction
- Hardware Installation
- Defining a Basic Configuration
- Specifications
- Regulatory Information
- Regulatory Overview
- Wireless Device Country Approvals
- Health and Safety Recommendations
- RF Exposure Guidelines
- International
- EU
- US and Canada
- Power Supply
- Radio Frequency Interference Requirements – FCC
- Radio Frequency Interference Requirements – Canada
- CE Marking and European Economic Area (EEA)
- Statement of Compliance
- Waste Electrical and Electronic Equipment (WEEE)
- Japan (VCCI) - Voluntary Control Council for Interference Class B ITE
- Korea Warning Statement for Class B ITE
- Other Countries
- Customer Support
Chapter 2: Hardware Installation
Altitude™ 4521 Series Access Point Installation Guide
20
CAUTION
Do not connect to the power source until the cabling of the Access Point is complete.
Ensure PoE is not connected to the Access Point’s console connector or risk rendering the console
connector permanently inoperable.
13 Verify the behavior of the Access Point LED light pipe. For more information, see “LED
Indicator” on page 20.
14 Place the ceiling tile back in its frame and verify it is secure.
15 The Access Point is ready to configure. For information on basic Access Point device
configuration, see “Using the Initial Setup Wizard” on page 23.
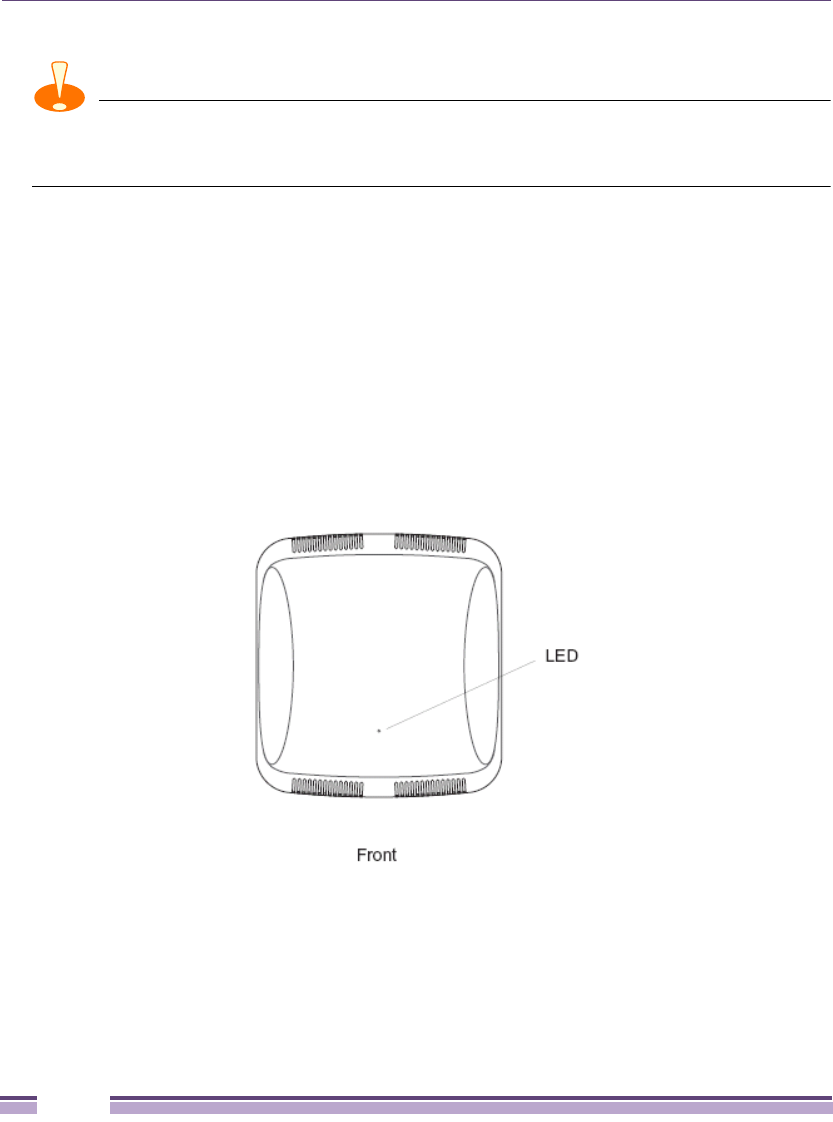
LED Indicator
An Altitude 4521 Series Access Point has a single LED activity indicator on the front of the
unit.