User Guide Speakers SM 3 SpeedMount® Surface Mount Speakers 68-1540-01 Rev.
Safety Instructions Safety Instructions • English WARNING: This symbol, , when used on the product, is intended to alert the user of the presence of uninsulated dangerous voltage within the product’s enclosure that may present a risk of electric shock.
Conventions Used in this Guide Notifications The following notifications are used in this guide: CAUTION: A caution indicates a situation that may result in minor injury. ATTENTION: Attention indicates a situation that may damage or destroy the product or associated equipment. NOTE: A note draws attention to important information. Specifications Availability Product specifications are available on the Extron website, www.extron.com. Copyright © 2013 Extron Electronics. All rights reserved.
Contents Introduction............................................................ 1 About the SM 3 Speaker .................................... 1 Features.............................................................. 1 Application Example............................................ 2 Installation............................................................... 3 Installing the Speaker Mounting Plate.................. 3 Mounting to a Wall Box.................................... 4 Mounting to a Wall Stud.....
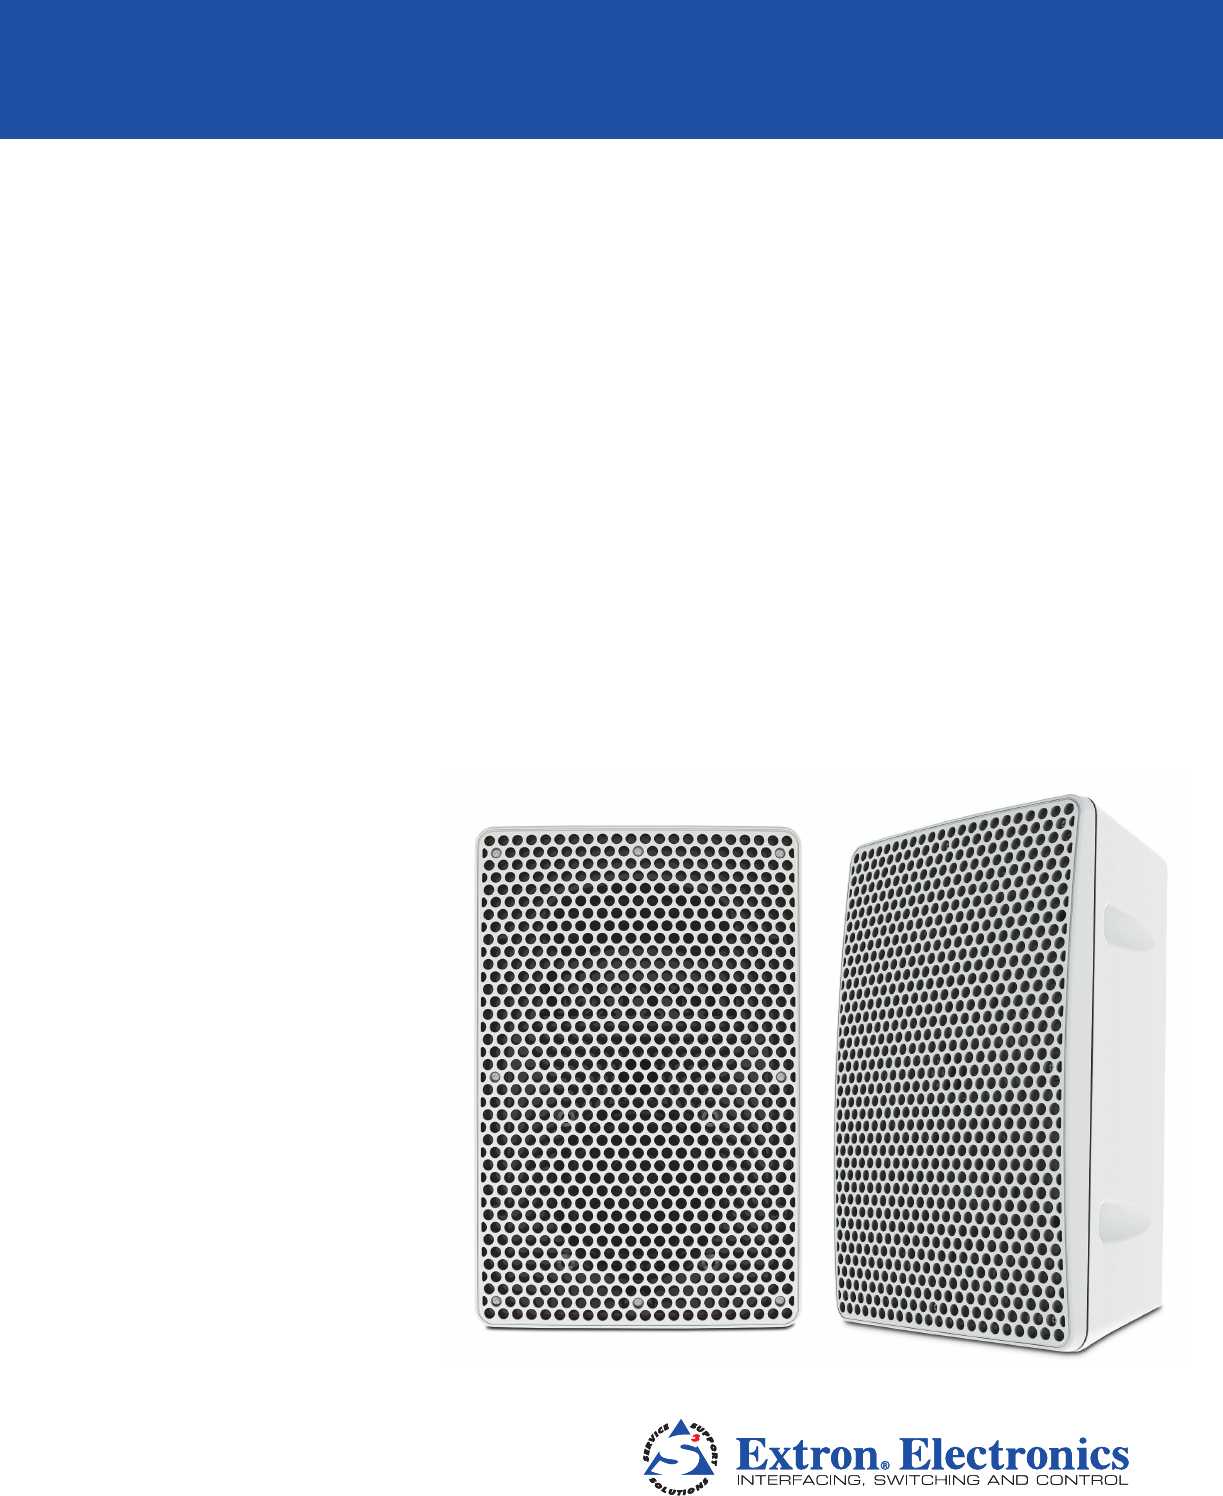
Introduction This user guide contains information about the Extron SM 3 SpeedMount Surface Mount Speaker. About the SM 3 Speaker The SM 3 speaker is a low profile surface-mount speaker system that features a three-inch full-range driver with very wide audio dispersion. Speaker mounting incorporates a separate mounting plate that can be attached directly to a wall or to an electrical box behind the wall.
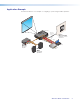
Application Example The illustraion below is one example of configuring a system using the SM 3 speakers.
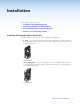
Installation The Installation section describes: • Installing the Speaker Mounting Plate • Attaching the Speaker to the Mounting Plate • Removing the Speaker from the Mounting Plate • Attaching a Secondary Support Cable Installing the Speaker Mounting Plate The SM 3 speaker comes with two types of speaker mounting plates: • 0° plate — The 0° plate allows the speaker to be mounted flat on a vertical wall with the speaker protruding less than four inches (ADA compliant) from the wall surface (see the
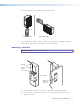
The mounting plate can be installed vertically or horizontally. Catch Tab Catch Tab Vertical Mounting Horizontal Mounting The mounting plate can be installed to a wall box (see “Mounting to a Wall Box” below) or to a wall stud (see “Mounting to a Wall Stud” on the following page). Mounting to a Wall Box NOTE: Mounting hardware is not provided. Wall Stud Speaker Cables Cable Clamp Screws or Nails Wall opening flush with edge of box 1.
3. Cut the material from the marked area. 4. Insert the wall box to check the size of the opening and fit. Enlarge or smooth the edges of the opening if needed. 5. Feed cables through punch-out holes of the wall box leaving enough slack for the speaker connections and secure them with cable clamps to provide strain relief. 6. Insert the wall box into the opening and attach it to the wall or stud, leaving the front edge flush with the outer wall. 7.
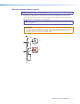
Wiring the Speaker Mounting Plate NOTE: Mounting hardware is not provided. 1. Route the two speaker wires through the rear of the mounting plate and attach the wire ends to the quick connect contacts using a small screwdriver (see the illustration below). Be sure to observe the correct polarity. NOTE: The positive (+) connector and the negative (-) connector are marked on the mounting plate. ATTENTION: Use the appropriate mounting screws. The screw heads must not protrude more than .074” (1.
2. Attach the mounting plate to the wall, using two mounting screws (see the illustrations below). NOTE: The mounting screw holes in the mounting plate allow for some degree of play and lateral movement so that the mounting screws may be aligned properly with the screw holes of the wall box. ATTENTION: Make sure that the wall box is secured to the wall structure and can handle the weight of the speaker. If there is doubt, secure the mounting plate with additional mounting screws.
NOTE: When mounting to surfaces that do not allow wires to be routed from behind (such as on masonry or concrete walls) and the wires are routed to the speakers via a raceway, use the alternate access points to run the wires to the quick connect speaker contacts (see the figures below).
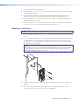
Attaching the Speaker to the Mounting Plate Step 1: Attaching the Speaker NOTE: If a secondary attachment point is being used, see the “Attaching a Secondary Support Cable” section on page 12 for installation details before proceeding further. ATTENTION: By default, the SM 3 speaker is shipped unlocked. When mounting the speaker to the mounting plate, be sure that the speaker is unlocked.
Step 2: Using the Security Key to Lock and Unlock the Speaker The SM 3 speaker uses an included security key to lock and unlock the speaker to its mounting plate (see the illustration below). The key has two positions: lock and unlock. The active position of the key is nearest the top of the speaker. Insert the key into the center of the speaker grill and turn the key, as needed, so that the speaker is in the unlocked position (see the figure below).
Removing the Speaker from the Mounting Plate To remove the speaker from the mounting plate, you must unlatch the locking mechanism: 1. Insert the security key into the keyhole of the speaker grill (see “Step 2: Using the Security Key to Lock and Unlock the Speaker” on page 10) and turn the key to the unlock position. 2. Remove the security key. 3. Apply pressure with your finger over the keyhole to unlatch the speaker from the mounting plate while lifting up on the speaker (see the illustration below).
Attaching a Secondary Support Cable If a secondary support cable is being attached, use the included screw to attach a suitable cable to the screw hole, as shown below. Anchor this end to a suitable secure point. Insert screw here. Attach cable here and secure.
Reference Information The Reference Information section describes: • Packaging Packaging 0° Mounting Plates (2) 10° Mounting Plates (2) Security Keys (2) Secondary Attachment Screws (2) End Cap Speakers End Cap SM 3 User Guide • Reference Information 13
Extron Warranty Extron Electronics warrants this product against defects in materials and workmanship for a period of five years from the date of purchase.