
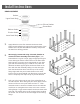
Installation Instructions


– 5 –
Install Instructions
5.
6.
7.
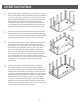
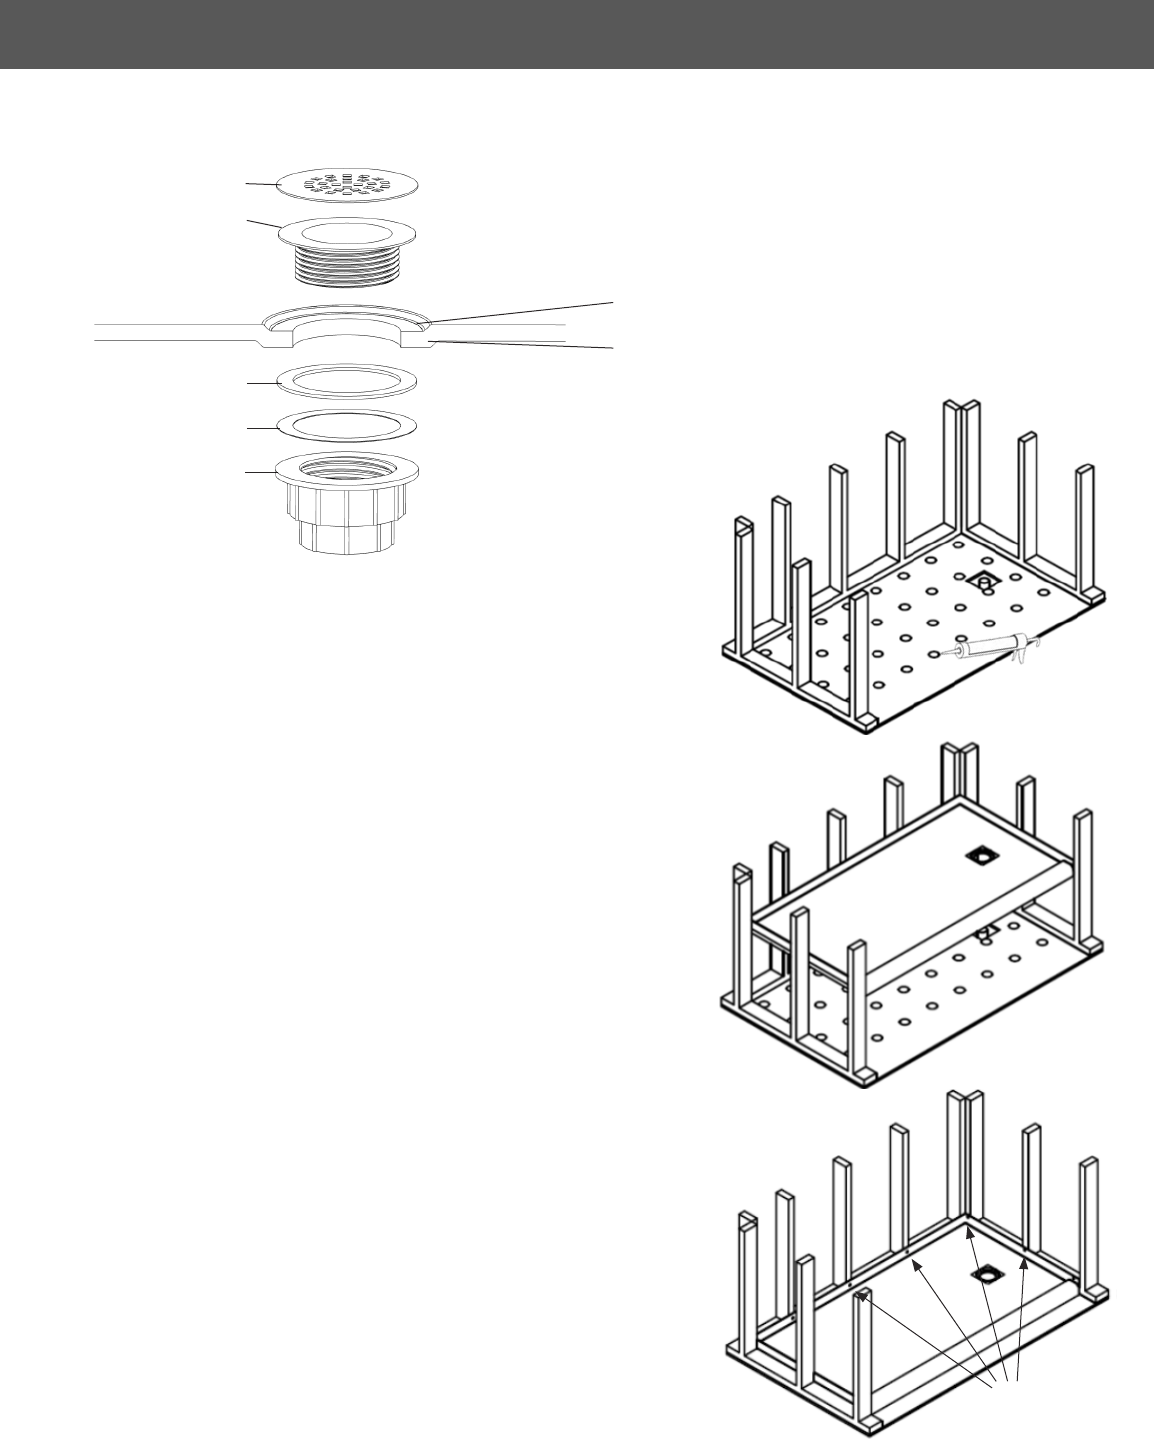
Apply enough adhesive to support the entire bottom of the
shower base. This will add additional stability and prevent
the base from shifting position.
We strongly recommend using a licensed plumber to
connect the drain assembly to the drain pipe. If your
selected drain is a glue-in style, apply the appropriate glue
to the drain pipe and the inside surface of the lower drain
body. Be sure to use the correct glue based on your drain
adhesive has been applied, place the shower base on the
Push the shower base down until the top of the nailing
Place a level on the threshold in all directions to ensure the
base is completely level. Wipe away any excess adhesive.
all stud locations. After drilling the pilot holes, apply a small
amount of silicone to the pilot holes and use 1 ½” stain-
less steel screws to secure the shower base to the studs. Be
careful not to overtighten the screws, as this can crack the
the screws. Trim all shims at the same height as the nailing
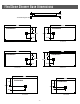
DRAIN ASSEMBLY
Pilot Holes
Strainer
Silicone Sealant
Shower Base
Lower Drain Body