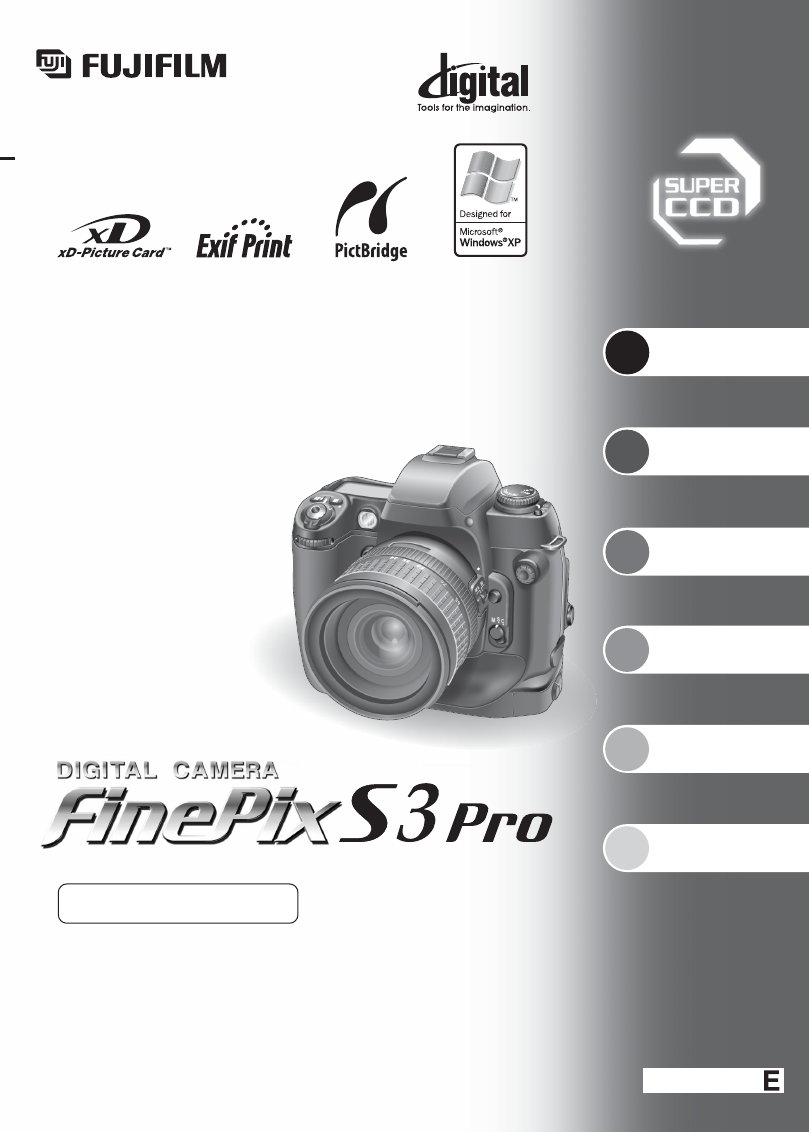
Getting Ready 2 Basic Photography 3 Advanced Photography 4 Advanced Features Playback 5 Settings 6 Connection OWNER’S MANUAL This manual will show you how to use your FUJIFILM DIGITAL CAMERA FinePix S3 Pro correctly. Please follow the instructions carefully.
Warning EC Declaration of Conformity To prevent fire or shock hazard, do not expose the unit to rain or moisture. For customers in the U.S.A. Tested To Comply With FCC Standards FOR HOME OR OFFICE USE FCC Statement This device complies with part 15 of the FCC Rules. Operation is subject to the following two conditions: (1) This device may not cause harmful interference, and (2) this device must accept any interference received, including interference that may cause undesired operation.
Contents Warning ......................................................................... 2 EC Declaration of Conformity ........................................ 3 Preface .......................................................................... 7 Accessories included ..................................................... 8 Camera parts and features ............................................ 9 Top display panel .................................................... 12 LCD monitor .........................
Preface Contents SINGLE-FRAME PROTECT ........................................................................................................ 87 MULTI-FRAME PLAYBACK ......................................................................................................... 88 PLAYBACK MENU o ERASING ALL FRAMES ........................................................................................................ 89 i PROTECTING IMAGES: SET ALL / RESET ALL ...................................................
Accessories included h AA-size Ni-MH Batteries (HR-AA) (4) Camera parts and features ✽ Refer to the pages in parentheses for information on using the camera parts or features. h Camera body cap (1) Fitted on the camera body Release mode switch unlock button Accessory shoe (P.75) Exposure mode dial Accessory shoe cover h Battery charger BCH-NH2 (1) ✽Plug-in and cord-attached types are provided depending on the intended country of use. h Video cable (1) (approx. 1.5 m (4.9ft.), mini-plug (3.5 mm-dia.
Camera parts and features Diopter adjustment knob Flash (P.70) Flash pop-up button (P.70) Rubber eyecup Viewfinder Lens release button F4 button Strap mount F3 button F2 button AE-L/AF-L button F1 button Metering system selector dial Synchro mode button (P.68) Main-command dial (P.33) Auto Exposure Bracketing button (P.64) Battery holder release catch 4-direction button Battery holder Rear display panel (P.
Camera parts and features Top display panel Rear display panel ■ During shooting Shutter speed / Exposure compensation value Aperture Flash exposure compensation (P.73) Exposure compensation (P.63) Custom Setting (P.110) Sensitivity Press the “FUNC” button to switch between functions. Battery charge indicator ISO200 01 / 01 / 2004 12 : 00 AM Battery level warning (P.25) Flexible Program (P.56) Flash synchro mode (P.
Camera parts and features Rear display panel Viewfinder display ■ During playback Frame number Playback mode Color space (only AdobeRGB shown) 12mm-dia reference circle for centerweighted metering area (P.54) Battery charge indicator Press the “FUNC” button to switch between functions. 100-0009 Media On-Demand Grid Lines (P.111) Focus area Spot metering area (P.
1 Getting Ready 1 ATTACHING THE STRAP Pass one end of the strap through the strap mount on the camera body. MOUNTING THE CAMERA LENS 1 CPU contacts of CPU lens The lens is fitted with CPU signal contacts. Pass the end of the strap through the fastener A and B as shown in the figure. 2 Check the lens type. G-type Nikkor lens (without aperture ring) CPU Nikkor lens other than G-type (with aperture ring) 1 ! See “Lens compatibility” (➡P.19) for details.
MOUNTING THE CAMERA LENS Using CPU Nikkor lenses other than G-type lenses Set the aperture ring to the minimum aperture. 1 Lens compatibility Use a CPU lens (except IX-Nikkor) with this camera. D- or G-type AF lenses give you access to all available functions (➡P.17). ■ Types of CPU lenses and other usable lenses/accessories Mode ◆ Removing the lens ◆ Push and hold the lens release button, then turn the lens clockwise.
MOUNTING THE CAMERA LENS ◆ G-type Nikkor and other CPU Nikkor lens ◆ h The G-type Nikkor lens has no aperture ring; aperture should be selected from camera body. Unlike other CPU Nikkor lenses, aperture does not need to be set to minimum (largest f-number). h CPU Nikkor lenses other than G-type Nikkor lens have an aperture ring. Set the lens aperture to its minimum and lock.
LOADING THE BATTERIES 3 Compatible Batteries h AA-size Ni-MH batteries (HR-AA) (4) Load the AA-size Ni-MH rechargeable batteries in the direction indicated by the ≠ and – labels on the holder. Align the battery ends with the terminals in the sequence shown in the figure and then slowly push them into the place. 1 0 ◆ How to use the battery ◆ 2 0 h Use only Ni-MH (nickel-metal hydride) batteries.
INSERTING THE MEDIA Use either xD-Picture Card or CF/Microdrive as recording media in the FinePix S3 Pro. h If an xD-Picture Card and a CF/Microdrive are inserted at the same time, images will be recorded onto the media selected as the “MEDIA” (➡P.102). h Data cannot be copied between the two media types on the FinePix S3 Pro. 1 Access lamp ◆ How to replace the CF/Microdrive ◆ Open the slot cover, press the CF/Microdrive eject button and remove the CF/Microdrive.
TURNING ON AND OFF / SETTING THE DATE AND TIME To turn the camera on, set the Power switch to “ON”. To turn the camera off, set the Power switch to “OFF”. 1 CORRECTING THE DATE AND TIME / CHANGING THE DATE ORDER 1 01 2 1 3 SET DATE/TIME YYYY.MM.DD 2004 12 : . 1 00 . “Correcting the date and time” (➡P.27) and check and correct the date and time settings. ! The message also appears when the batteries have been ● removed and the camera has been left for a long period.
SELECTING THE LANGUAGE 1 01 DIOPTER ADJUSTMENT / LCD ILLUMINATOR 1 Turn the camera on. 2 Press the “MENU/OK” button to display the SETUP screen. 2 0 DIOPTER ADJUSTMENT The finder diopter enables near- or far-sighted photographers to adjust the eyepiece diopter to suit their vision. While looking through the viewfinder, adjust the position of the diopter adjustment knob until the focusing frame or the image in the viewfinder appears sharpest.
2 Basic Photography BASIC OPERATION GUIDE xAccessory shoe Mount an external flash here. xFlash pop-up button To use the built-in flash, press this button to pop-up the flash. xPower switch Turns the camera on and off. xSub-command dial xDepth of field check button Changes the aperture and other settings. This button allows you to check the depth of field. xShutter button xLens release button Press this button down halfway to restore the camera to Photography mode.
BASIC OPERATION GUIDE Command dials xFUNC button x F1 to F4 buttons Selects the information displayed on the rear display panel. Use these buttons to select items in the rear display panel. The FinePix S3 Pro’s Main- and Sub-command dials are used alone or in combination with other buttons to select/set various functions or modes. x4-direction button xRear display panel Use this button to select menu options or the focus area. Displays information during shooting or playback.
TAKING PICTURES (P Auto-Multi Program) Set the focus mode selector switch to “S” (SingleAF Servo). 1 6 Set the metering system selector dial to “ / ” (Matrix metering). ! Make ● sure to turn the focus mode selector switch until it clicks into position. 1Press the “FUNC” button to display the AF setting on the rear display panel. 2Press the “F1” button to select “7” Single area AF. 1 20 2 0 ! Matrix metering indication “l” appears in the viewfinder.
TAKING PICTURES (P Auto-Multi Program) Press the shutter button down halfway to focus the shot. The focus indicator “● ” appears in the viewfinder display. 10 NUMBER OF AVAILABLE SHOTS The number of available shots is displayed on the rear display panel. ISO200 09 / 23 / 2004 10 : 00 AM ! See ● P.78-79 for information on changing the number of recorded pixels/Quality (compression ratio) setting. ! The factory default settings set at shipment are 6M and N ● (Quality: NORMAL).
AF-ASSIST ILLUMINATOR SITUATIONS WHERE AUTOFOCUS MAY NOT WORK AS EXPECTED When the subject is dark and the shutter button is pressed down halfway, the camera’s AF-assist illuminator automatically turns on and enables autofocus operation in a dark environment. AF-assist illuminator automatically turns on in the following situations: Focus mode is Single AF servo, AF Nikkor lens is used, subject is dark and center focus area is selected or Dynamic AF Mode with Closest Subject Priority is activated.
USING AF LOCK 1 TAKING PICTURES WITH AE LOCK If you take a shot with this type of composition using Single-area AF with the focus area in the center, the subjects (the two people in this case) are outside the focus area and will not be in focus. AE lock allows you to set the exposure for a specific subject in your shot. This technique is useful when brightness of your subject differs greatly from its surroundings.
DEPTH OF FIELD CHECK BUTTON / CCD PLANE INDICATOR DEPTH OF FIELD CHECK BUTTON PLAYBACK MODE VIEWING THE IMAGES (w PLAYBACK) 1 0 Single-frame playback 2 0 Depress the depth of field check button to confirm the depth of field through the viewfinder. Pressing the depth of field check button stops the lens down to the aperture controlled in “P” AutoMulti Program or “S” Shutter-Priority Auto exposure mode, and down to the aperture selected in “A” Aperture-Priority Auto or “M” Manual exposure mode.
PLAYBACK MODE 3 Advanced Photography VIEWING THE IMAGES (w PLAYBACK) Playback zoom Press the “a” or “b” during single-frame playback to zoom (enlarge) the still image. A zoom bar appears. Press the “BACK” button to return to single-frame playback. Zoom bar FOCUS SETTINGS FOCUS SETTINGS Pages 45 to 49 provide explanations of how to use and set the camera’s focusing functions, along with various related topics. The diagram below is a page map to this section. Refer to the pages indicated for details.
FOCUS SETTINGS MF SELECTING THE FOCUS MODE AF-S AF-C FOCUS SETTINGS Use the focus mode selector switch to select the focus mode. SELECTING THE AF AREA MODE You can change the focusing method used for automatic focusing (when the focus mode selector switch is set to “S” or “C”). 7 Single-area AF i Focuses using the selected focus area. i Useful for situations where you want to focus accurately on a more or less stationary subject.
FOCUS SETTINGS SELECTING THE FOCUS AREA Unlock the 4-direction button. 1 FOCUS SETTINGS MANUAL FOCUS Use Manual focus in situations where autofocus may not work as expected (➡P.39) or a lens other than an AF Nikkor lens (➡P.20) is attached. Focus the camera by turning the focusing ring on the lens until the image can be seen clearly in the matt surface of the viewfinder screen. h When using a lens with the A-M select function, set the switch/ring to “M” to focus manually.
RELEASE MODES , SINGLE-FRAME / . CONTINUOUS SHOOTING RELEASE MODES The release mode is normally set to Single-frame. Set the release mode to Continuous Shooting to take sequential shots of moving subjects or to take a series of shots using Auto Exposure Bracketing. Hold down the release mode switch unlock button and set the release mode switch to “,” (Singleframe) or “.” (Continuous Shooting). 9 SELF-TIMER PHOTOGRAPHY You can use the self-timer when you want to be in the photograph.
RELEASE MODES p MULTIPLE EXPOSURE This is a photography technique that allows you overlay photographed images on top of each other. You can use this technique to compose shots that cannot be obtained normally. 1 When you compose, focus and take the shot, a preview image appears on the LCD monitor. 2 Press the “F2” button to move on to the next shot. 1 30 Hold down the release mode switch unlock button and set the release mode switch to “p” (multiple exposure).
METERING SYSTEMS ISO SENSITIVITY Normally, the Matrix metering system will provide the optimum exposure for your shot. However, you can choose from 3 metering modes for shots where you want to select a different exposure level (AE lock or exposure compensation) or for particular scenes (such as backlit shots or shots with very strong contrast). 1 Set the Exposure mode dial to “ISO”. 2 Turn the Main-command dial to set the ISO sensitivity.
EXPOSURE MODES P AUTO-MULTI PROGRAM This mode automatically controls the shutter speed and aperture setting to give the optimum exposure for the photography conditions. This mode is useful when you want to be able to take pictures quickly and easily to take advantage of snapshot opportunities. Program chart The program chart shows exposure control in Auto-Multi Program mode (ISO 100). Set the Exposure mode dial to “P”. 1 With AF 50 mm f/1.4D With AF 180 mm f/2.
EXPOSURE MODES S SHUTTER-PRIORITY AUTO In this mode, the photographer sets the shutter speed (1/4000 sec. to 30 sec.) and the camera automatically controls the aperture setting. This mode is best when the shutter speed takes priority, such as shots where a fast shutter speed is used to freeze the action or a slow shutter speed is used to convey the sense of movement. 1 Set the Exposure mode dial to “S”. 2 Set the shutter speed (1/4000 sec. to 30 sec.) on the Main-command dial.
EXPOSURE MODES M MANUAL In this mode, the photographer is free to set any shutter speed (1/4000 sec. to 30 sec. or “™”) or aperture setting (narrowest aperture to widest aperture). This allows the photographer to determine the exposure to suit the conditions and the desired effect while watching the electronic analog exposure display in the viewfinder. CSM 6: To use the “™ ” shutter speed (for long exposures), the custom settings must be modified (➡P.111).
EXPOSURE MODES b EXPOSURE COMPENSATION M MANUAL Set the Exposure mode dial to “M”. 2 h Bulb photography can only be used in Manual exposure mode. h A tripod should be used for bulb photography. Exposure compensation allows you to intentionally vary the optimum exposure value controlled by the camera. This can be useful when intentionally achieving under- or overexposure. Use Centerweighted or Spot metering.
c AUTO EXPOSURE BRACKETING Use auto exposure bracketing when you want to take the same shot with different exposure settings. Using the correct exposure setting displayed by the camera (the value set in “M” exposure mode) as a reference, the camera can automatically offset the exposure by a set value (up to ±2 EV steps without exposure compensation) in either direction. 1 01 2 0 Hold down the “c” button 1 as you turn Maincommand dial 2 to display the “Q” icon on the top display panel.
FLASH PHOTOGRAPHY FLASH PHOTOGRAPHY FLASH PHOTOGRAPHY The built-in flash for FinePix S3 Pro camera covers the field of view of a 20 mm lens. It has a guide number of 12 (ISO 100-m) and is controlled using the dedicated TTL mode (D-TTL mode) that controls the monitor brightness. D-3D Multi BL flash control and D-Multi BL flash control can be used to take natural-looking photographs with the flash.
FLASH PHOTOGRAPHY SYNCHRO MODES AND THEIR FEATURES You can select any of 5 modes to suit the type of shot and the desired effect. ah REAR SYNCHRO MODE 1 Press the flash pop-up button to pop up the flash. 2 Hold down the “v” button. 3 Turn the Main-command dial to select the synchro mode. The icon shown on the top display panel changes as shown below. 1 0 2 0 Can be used in all exposure modes. In the “P” and “A” exposure modes, a slow shutter speed is used.
FLASH PHOTOGRAPHY TAKING PICTURES USING THE BUILT-IN FLASH Operation described in this section applies when the built-in flash and D- or G-type AF Nikkor are attached. 1 Center-weighted metering Exposure mode P S Set the metering system selector dial to “Matrix metering” or “Center-weighted metering”. A M ! If you select “0” (Spot Metering), the flash control mode is ● Matrix metering switched to “Standard D-TTL”. 1 Press the flash pop-up button to pop up the flash. 2 Hold down the “v” button.