
Computer Products of America Image Scanner Operator's Guide fi-4990C
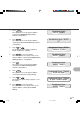
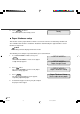
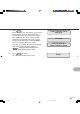
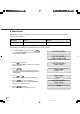
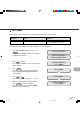
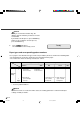
Table Of Contents
- Cover
- Inner Cover
- Revision Record
- Addresses
- IMPORTANT NOTE TO USERS
- Preface
- Conventions
- CONTENTS
- Chapter Index
- CHAPTER 1 COMPONENTS
- CHAPTER 2 INSTALLATION AND CONNECTIONS
- CHAPTER 3 OPERATING INSTRUCTION
- CHAPTER 4 DOCUMENT SPECIFICATION
- CHAPTER 5 SPECIFICATIONS
- CHAPTER 6 SETUP, BROWSE, AND TEST MODES
- Setup, Browse, and Test Modes
- Activating the Setup or Browse Mode
- Contents of the Setup or Browse Mode
- Transition of screens in setup mode
- Paper length check
- Doublefeed check
- Paper thickness setup
- Skew check
- IPC-3 mode
- Hopper height
- Paper separation level
- Drop-out color
- Background changeover
- Consumable counter
- Consumable counter reset
- Consumable alarm mode
- Buzzer
- Buzzer volume
- LCD contrast
- Picking speed
- TP_IF baud rate
- SCSI ID
- Product ID
- Pre-pick
- Pick start time
- Manual feed timeout
- Paper pick retry
- Paper feed retry
- Function key
- Setup mode lock
- Language
- White follower mode
- Interface board slot
- SCSI bus width setting
- Activating the Test Mode
- Contents of the Test Mode
- GLOSSARY OF TERMS
- INDEX
- Declaration of Conformity
- Back Cover
6-10
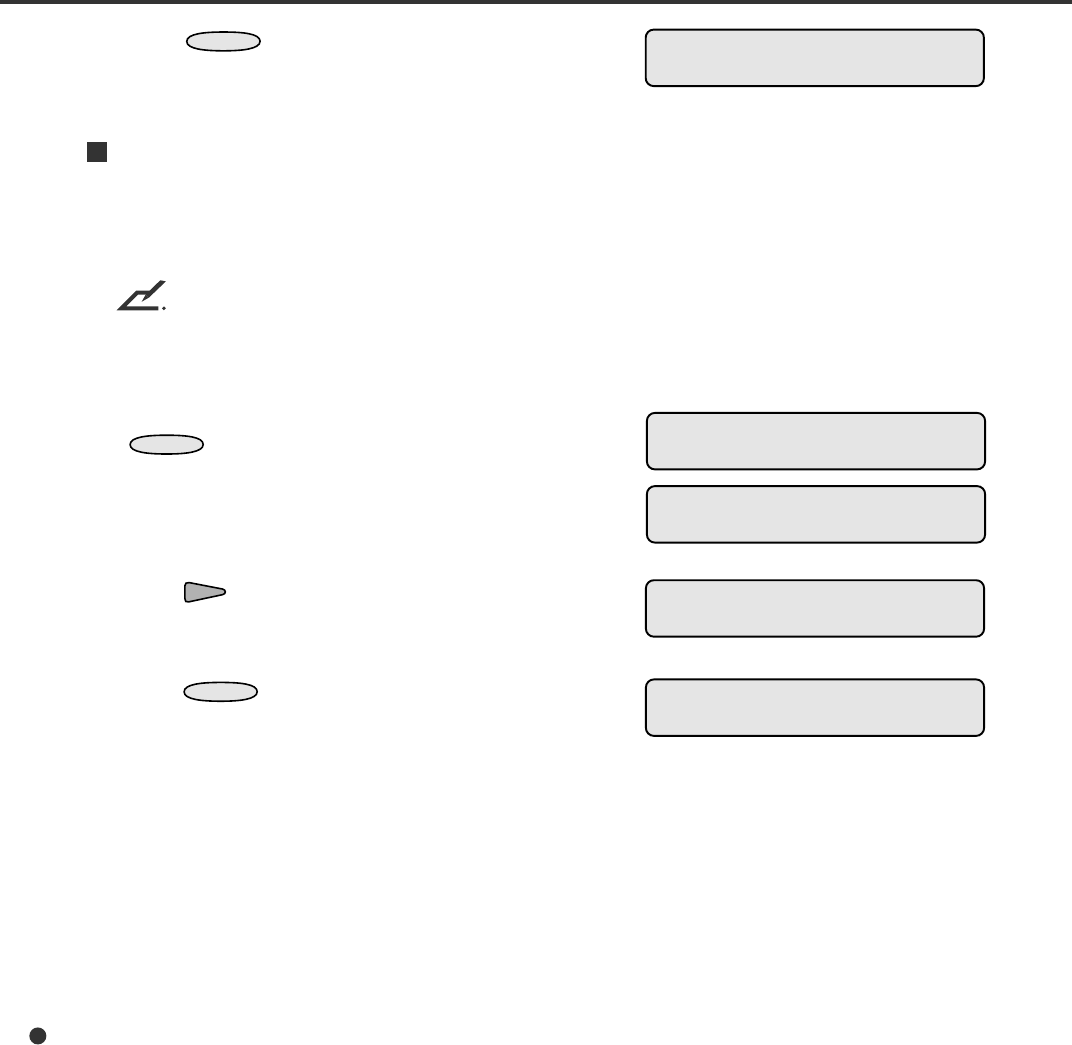
1. In <<SETUP MODE>> initial screen, press
ENTER
.
The <<SETUP MODE>> menu screen (Paper
Length Check) appears.
2. Press twice.
The <<SETUP MODE>> menu screen (Paper
Thickness Setup) appears.
3. Press
ENTER
.
The paper load prompting screen appears,
requesting adjustment paper.
4. Select thickest paper used for your jobs and put
the paper on the hopper.
<<SETUP MODE>>
<<SETUP MODE>>
Paper Length Check
Paper Thickness Setup
Set the adjustment paper
<<SETUP MODE>>
Paper Thickness Setup
Paper thickness setup
This function sets the paper thickness which is used as the reference for detecting a double feed
error. Whether this function is enabled or disabled is determined by the “paper thickness check”
function in setup mode.
NOTE
This setting cannot be displayed in browse mode.
The following is an example of operation when you use this function.
11. Press
CANCEL
two times.
The LCD returns to the Ready screen.
Ready
13C6.P65 01.2.17, 5:46 PM10