MT IE GB Instructions for use, installation, and connection Glass-ceramic built-in coking hob
Glass-ceramic built-in cooking hob Dear customer! Glass-ceramic hob is intended for use in households. Our products are packed in environment-friendly materials which can be recycled, disposed of, or destroyed without imposing any burden on the environment. Instructions for use Instructions for use are intended for the user. They describe the appliance and its operation.
Important warnings The symbol on the product or on its packaging indicates that this product may not be treated as household waste. Instead it shall be handed over to the applicable collection point for the recycling of electrical and electronic equipment. By ensuring this product is disposed of correctly, you will help prevent potential negative consequences for the environment and human health, which could otherwise be caused by inappropriate waste handling of thisproduct.
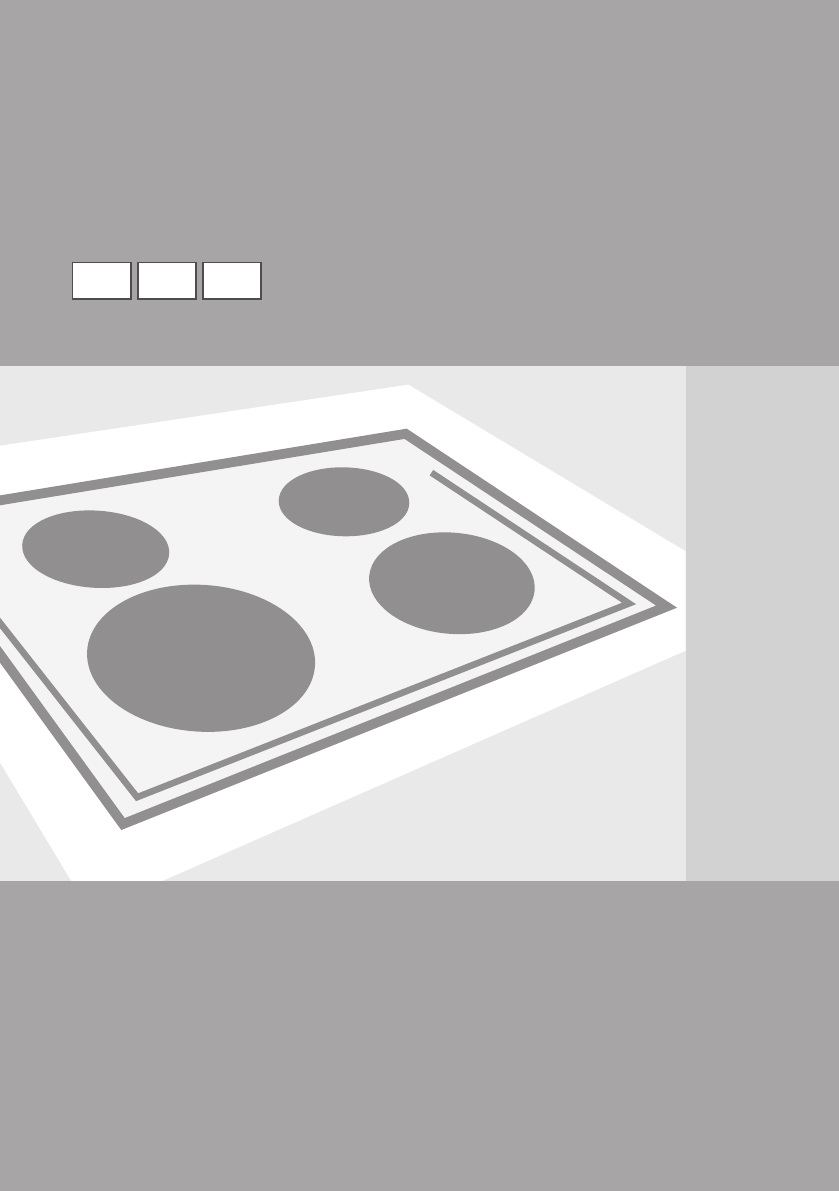
Appliance description 1. Cooking zone rear left 2. Cooking zone front left 3. Cooking hob control unit 4. Cooking zone front right 5. Cooking zone rear right 6.
Cooking zones Before using the appliance for the first time Clean the glass-ceramic surface with a damp cloth and some manual dishwashing detergent. Do not use aggressive detergents such as abrasive cleaners that can scratch the surface, abrasive dishwashing sponges, or stain removers.
Cookware Tips on using the cookware Use high-quality cookware with a flat and stable bottom. • Transmission of heat is best when the pan bottom and the cooking zone are of the same diameter, and the pan is placed on the middle of the cooking zone. • When using a tempered glass (Pyrex) or porcelain cookware, please follow the cookware manufacturer’s instructions. • When using a pressure cooker, do not leave it unattended until the desired pressure is reached.
Operating the cooking zones • The cooking hob is fitted with electronic sensor keys which are activated, respectively, when the indicated surface of a particular sensor is touched with a finger for at least one second. • Activation of a sensor key is confirmed by a beep. • Do not place any objects on the sensor key surface (this may trigger error reports). • Make sure the sensor key surface is always clean. Turning on the cooking hob • Touch the on/off sensor key (A) and hold it for at least one second.
Turning off the cooking zones • Select the cooking zone by pressing the relevant sensor key (H). The decimal point (F1) next to the display for the selected cooking zone will light up. • Press the “–” (I) sensor key to set the power level to “0”. • Quick power off: the power level can be instantly set to “0” by pressing the “+” (G) sensor key and “–” (I) sensor key simultaneously. Turning off the cooking hob • The cooking hob may be turned off at any time by pressing the on/ off sensor key (A).
cases (power failure, a hot pan left on the cooking zone) still be hot. Be careful, as there is a risk of burning. If a power failure has occurred when the cooking zones were hot, the indicator “H” or “h” will flash. This is to warn you that the cooking zone may still be hot, but not necessarily, depending on how long the power supply was out of order. The appliance has been tested at the factory.
Dish/cooking mode quantity power level cooking duration (min) Soup/reheating 0,5 – 1 lit A7 - 8 4-7 milk/reheating 0,2 – 0,4 lit A1 - 2 4-7 rice/simmering 125 – 250 g approx. 300ml - 600ml water A2 - 3 20 - 25 cooked jacket potatoes 750g – 1,5 kg approx. 600ml – 900ml water A5 - 6 25 - 38 fresh vegetables/ boiling 0,5 – 1 kg approx. 400ml – 600ml water A4 - 5 18 - 25 • The table below lists the examples of some dishes for which rapid heating is appropriate.
Power level u 1 2 3 4 5 6 7 8 9 Maximum operation time in hours 6 6 6 5 5 4 1,5 1,5 1,5 1,5 Temporary cooking progress suspension - STOP & GO (depending on the model) The STOP & GO function enables you to temporarily suspend, or pause the cooking progress (urgent other tasks), while keeping all the settings. Engaging the STOP & GO function • Cooing is temporarily suspended by touching the STOP & GO (C) sensor key. • A signal light (C1) will light up above the sensor key.
B Timer with the option to turn off the cooking zone The switch-off timer facilitates the cooking process by allowing you to set the cooking time for a particular cooking zone. In order to set the switch-off timer, the power level must already have been set (see section “Turning on the cooking zones”). • Press the timer sensor key (D) to activate the timer. “00” is displayed on the timer display (L) and the decimal point (F1) is lit.
Warming zone The warming zone is intended for keeping warm the food already cooked. It is not intended for cooking or reheating cold food. The warming zone warms up slowly and reaches a temperature of approximately 100°C; hence, there is a danger of burning. Take care to prevent injury and do not store any heat-sensitive objects on the warming zone. Turning the warming zone on - Touch the on/off sensor (M) to turn the warming zone on. The signal lamp (N1) will flash for a few seconds.
Cleaning and maintenance Cleaning Figure 1 Figure 2 Figure 3 Figure 4 341310 Figure 5 14 After each use of the glass-ceramic hob, wait for it to cool down and clean it; otherwise, even the smallest food residue will be burnt onto the hot surface next time you use the appliance. For regular cleaning and maintenance of the glass-ceramic surface, use special conditioning agents which form a protective layer on the surface, shielding it from dirt.
Installation Important warnings 341310 • Installation of the appliance into a kitchen worktop and its connection to the power mains may only be performed by an adequately qualified technician. • Veneer or other finish of the piece of kitchen furniture into which the hob is to be built in should be treated with heat resistant glue (100°C); otherwise, the worktop finish may be discolored or deformed.
Installing the foam gasket Before inserting the appliance into the opening in the kitchen worktop, the supplied foam gasket must be attached to the lower side of the glass ceramic (glass) cooking hob (see figure above). Do not install the appliance without the foam gasket! The gasket should be attached to the appliance in the following way: - Remove the protective film from the gasket.
750-755 510-515 min 20 47 51-55 min 40 R10 488-490 min 600 min 50 708-710 SVK7 850-855 510-515 min 20 47 51-55 min 40 R10 488-490 min 600 min 50 808-810 SVK8 341310 • Please note that if this hob is not located above an oven and is fitted above a cabinet, then a barrier MUST be installed underneath the hob in order to prevent access to the underside of the hob. • Cooking hobs can be installed into worktops that are 30 to 50 mm thick.
Installation procedure • The worktop should be installed completely horizontally. • The cutoff surfaces should be appropriately protected. • Attach the fastening elements (4x - SVK6…600 mm; 6x - SVK7…750 mm; 6x - SVK8…850 mm) with the supplied screws (4x - SVK6…600 mm; 6x - SVK7…750 mm; 6x - SVK8…850 mm) to the left and right wall of the cooking hob and the worktop cutoff. • Connect the cooking hob to the power mains (see instructions for connecting a cooking hob on a power network).
‘’ The appliances are suitable for photovoltaic electrical power under the condition that electrical voltage will be 220VAC 240VAC with semi tonic frequency 50Ηz in order the appliance to operate properly (alternative a generator can be used with the same technical characteristic).’’ • Incorrect connection may destroy parts of the appliance, making the warranty void. • Before connecting the appliance, make sure the voltage indicated on the rating plate is consistent with the voltage in your home network.
Technical characteristics Rating plate A B C D E F G Serial number Code Model Type Trademark Technical information Compliance indications / symbols 341310 WE RESERVE THE RIGHT TO MAKE ANY CHANGES THAT DO NOT AFFECT THE FUNCTIONALITY OF THE APPLIANCE.
341310
341310 22
SVK67,73CS _AU en (12-15)