
Specification


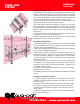

ULTRA-JACK
INSTRUCTIONS
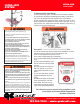
Customer Support and Ordering Information
781-344-1000 • www.qualcraft.com
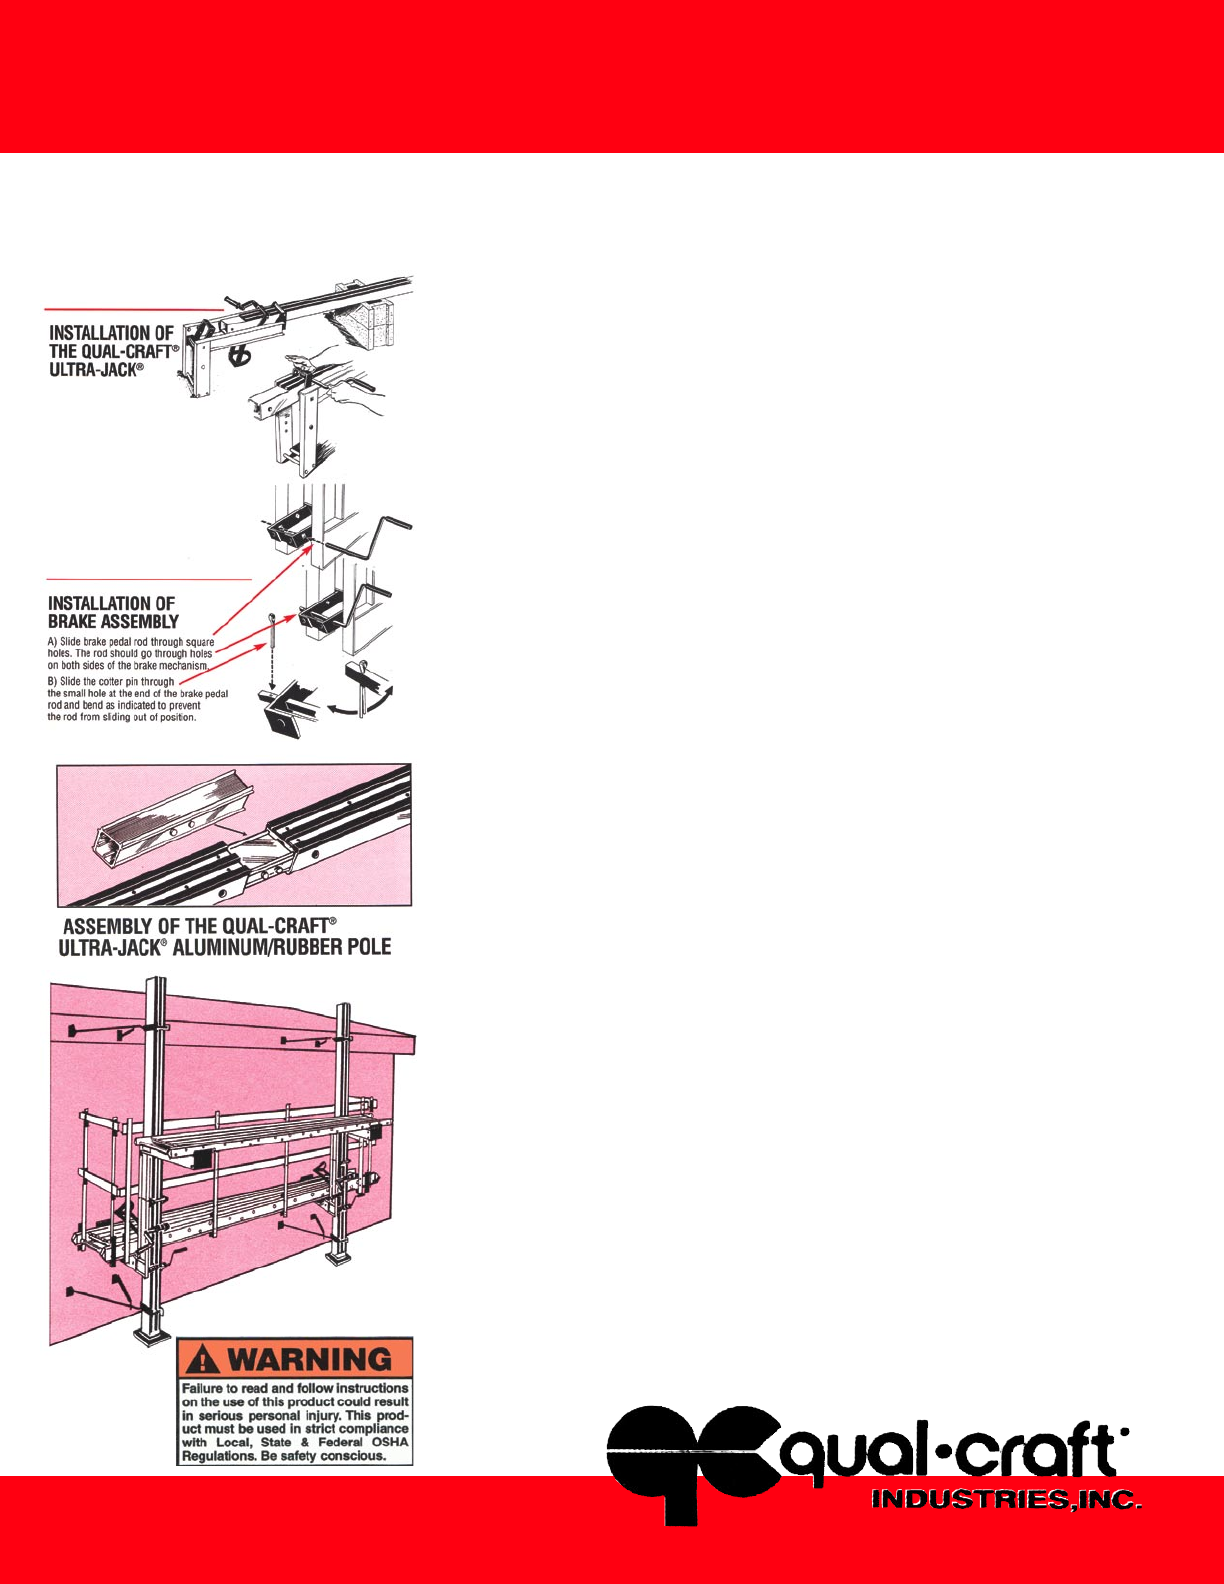
Installation of the Qual-Craft Ultra-Jack™
The Ultra-Jack should be installed onto the Qual-Craft Ultra-Jack™
Aluminum/Rubber pole prior to the installation of the pole to the
work wall. First place the Aluminum/Rubber Pole on the ground
with the rubber surface facing downward. Slide the bottom of the
pole (exposed aluminum end) through the top of the Ultra-Jack with
the jack’s platform retainer facing the sky. It may be necessary to
pump the stirrup as you move the Ultra-Jack up from the bottom of
the pole. Stop when the Ultra-Jack is approximately 1 foot up from
the bottom of the pole.
Assembly of the Qual-Craft® Ultra-Jack™ Aluminum/Rubber
Pole
1) Assemble two Ultra-Jack Aluminum/Rubber Poles by inserting the
Ultra-Jack Pole Connector into one of the two Ultra-Jack Aluminum/
Rubber Poles so that the button locks located on the Pole Connector
are lined up with the corresponding holes located approximately two
inches in from the end of each pole. It will be necessary to depress
the button locks prior to inserting the Pole Connector so that they can
glide just inside the pole until reaching the corresponding holes in the
pole. Check to insure that the buttons snap securely into the holes
locking the connector into position. Slide the second pole over the
remaining exposed section of the Pole Connector in the same way,
insuring that the button snap into the holes on the pole. Inspect to
insure that the rubber surfaces abut each other without a gap.
2) Position the pole along the work wall. Use a Qual-Craft Pole
Anchor or Rubberized Base Plate at the bottom of the pole. Place
pole on rm level ground. Do not use on unstable base, on top of
other scaffolds or on roof surfaces. Using a Qual-Craft Ultra-Jack
Brace, secure the pole to the work wall at the bottom and the top
of the pole and at other points as necessary. For poles longer than
24 feet, install intermediate bracing every 12 feet. Poles must be
plumb. The rubber surface of the pole should face out from the work
wall. The round bar of the brace should be fastened to work wall at
a right angle to the pole. The angle bar of the brace should then be
fastened to the right or left as desired. The spread between the brace
arms is 32” thus enabling installation on studs 16” on center.
3) Additional poles should be spaced based on the type and style
walk planks used. See “Choosing a Walk Plank” below. Addi-
tional poles should be installed in the same manner as the rst
pole above.
INSTRUCTIONS FOR INSTALLATION, USE AND MAINTENANCE
OF THE QUAL-CRAFT ULTRA-JACK ™ SYSTEM
ULTRA-JACK
SYSTEM