
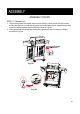
User's Manual
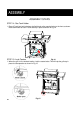


POST-ASSEMBLY
FINAL INSTALLATION CHECKLIST
□ At least 36" (91-cm) clearance must be maintained from combustible constructions to the
sides and back of the grill.
□ There is no combustible construction material over the grill.
□ All internal packaging is removed.
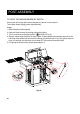
□ Burners are sitting properly on orifices. The orifice of the valve must be located in the center
of the burner section after removal and cleaning. Otherwise, it may cause serious bodily injury
and property damage. Swing the burner slightly after replacing to check whether it has been
installed properly.
□ Knobs turn freely.
□ The regulator and hose connected to the grill are provided by the manufacturer (preset for 11"
[28-cm] water column).
□ Unit tested and free of leaks.
□ User informed of gas supply shut-off valve location.
GRILL LIGHTING INSTRUCTIONS
VERY IMPORTANT:
ALWAYS INSPECT THE HOSE PRIOR TO EACH USE.
BEFORE LIGHTING:
• Inspect the gas supply hose before turning the gas ON. If there is evidence of cuts, wear, or
abrasion, it must be replaced before use. The replacement hose assembly must be that specified
by the manufacturer.
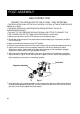
TO LIGHT MAIN BURNERS OF THE GRILL:
Read all instructions before lighting.
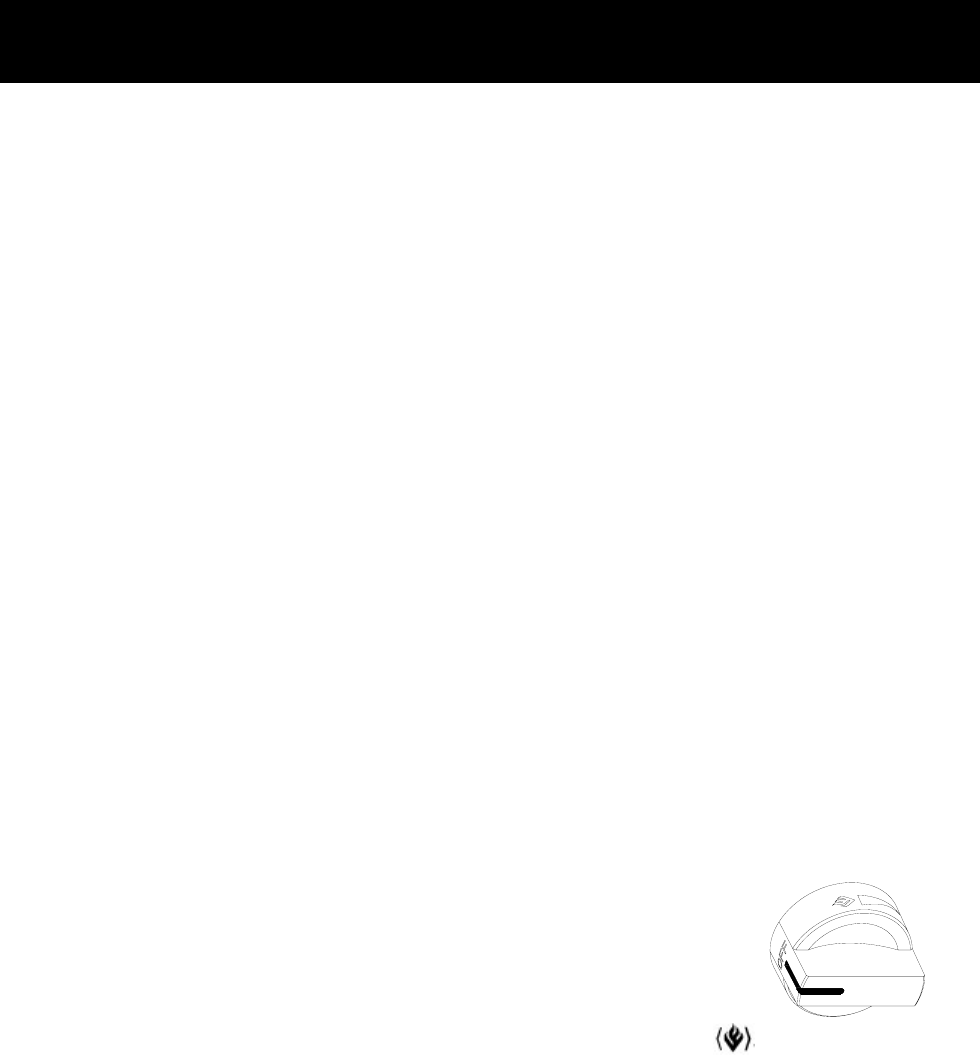
1. Open the lid and make sure all knobs are in the “OFF” position. Fig.17
2. Push and turn the knob slowly counter clockwise to the ignite position as shown in Fig.17
Keep pushing until the burner lights, then release. Repeat for additional burners.
3. If burner does not light, immediately turn the control knob to the “OFF” position and repeat
step 2.
4. If burner does not light after step 3, TURN OFF GAS SUPPLY and WAIT 15 MINUTES for the
gas to disperse then repeat steps 1 and 2 or light with external flame.
Shutdown instructions:
1.Turn all control knobs to the “OFF” Position.
2.Turn gas supply off at the tank.
27