
User Manual


Table Of Contents
- Table of Contents
- Using the Manual
- Contents of Kit
- Other Items Needed (not included in the kit)
- Additional Required Equipment
- Additional Required Tools and Adhesives
- Optional Hangar 9 1/3 Scale Hardware Package
- Servo Selection
- Before Starting Assembly
- Warning
- Warranty Information
- Section 1 - Aileron Servo Installation
- Section 2 - Aileron Control Horn Installation
- Section 3 - Hinging and Sealing the Control Surfaces
- Section 4 - Sealing the Hinge Gaps
- Section 5 - Aileron Linkage Installation
- Section 6 - Wing Tube Installation
- Section 7 - Rudder and Elevator Servo Installation
- Section 8 - Elevator Linkage Installation
- Section 9 - Rudder Linkage Installation
- Section 10 - Landing Gear Installation
- Section 11 - Wheel Pant Installation
- Section 12 - Tail Wheel Installation
- Section 13 - Receiver, Battery and Fuel Tank Installation
- Section 14 - Mounting the Engine and Cowl
- Section 15 - Hatch Assembly
- Section 16 - Balancing the Model
- Section 17 - Radio Setup
- Section 18 - Control Throws
- Preflight at the Field
- Setup and Flying
- Extra 330S - 3D at its Best
- 2003 Official AMA National Model Aircraft Safety Code
41
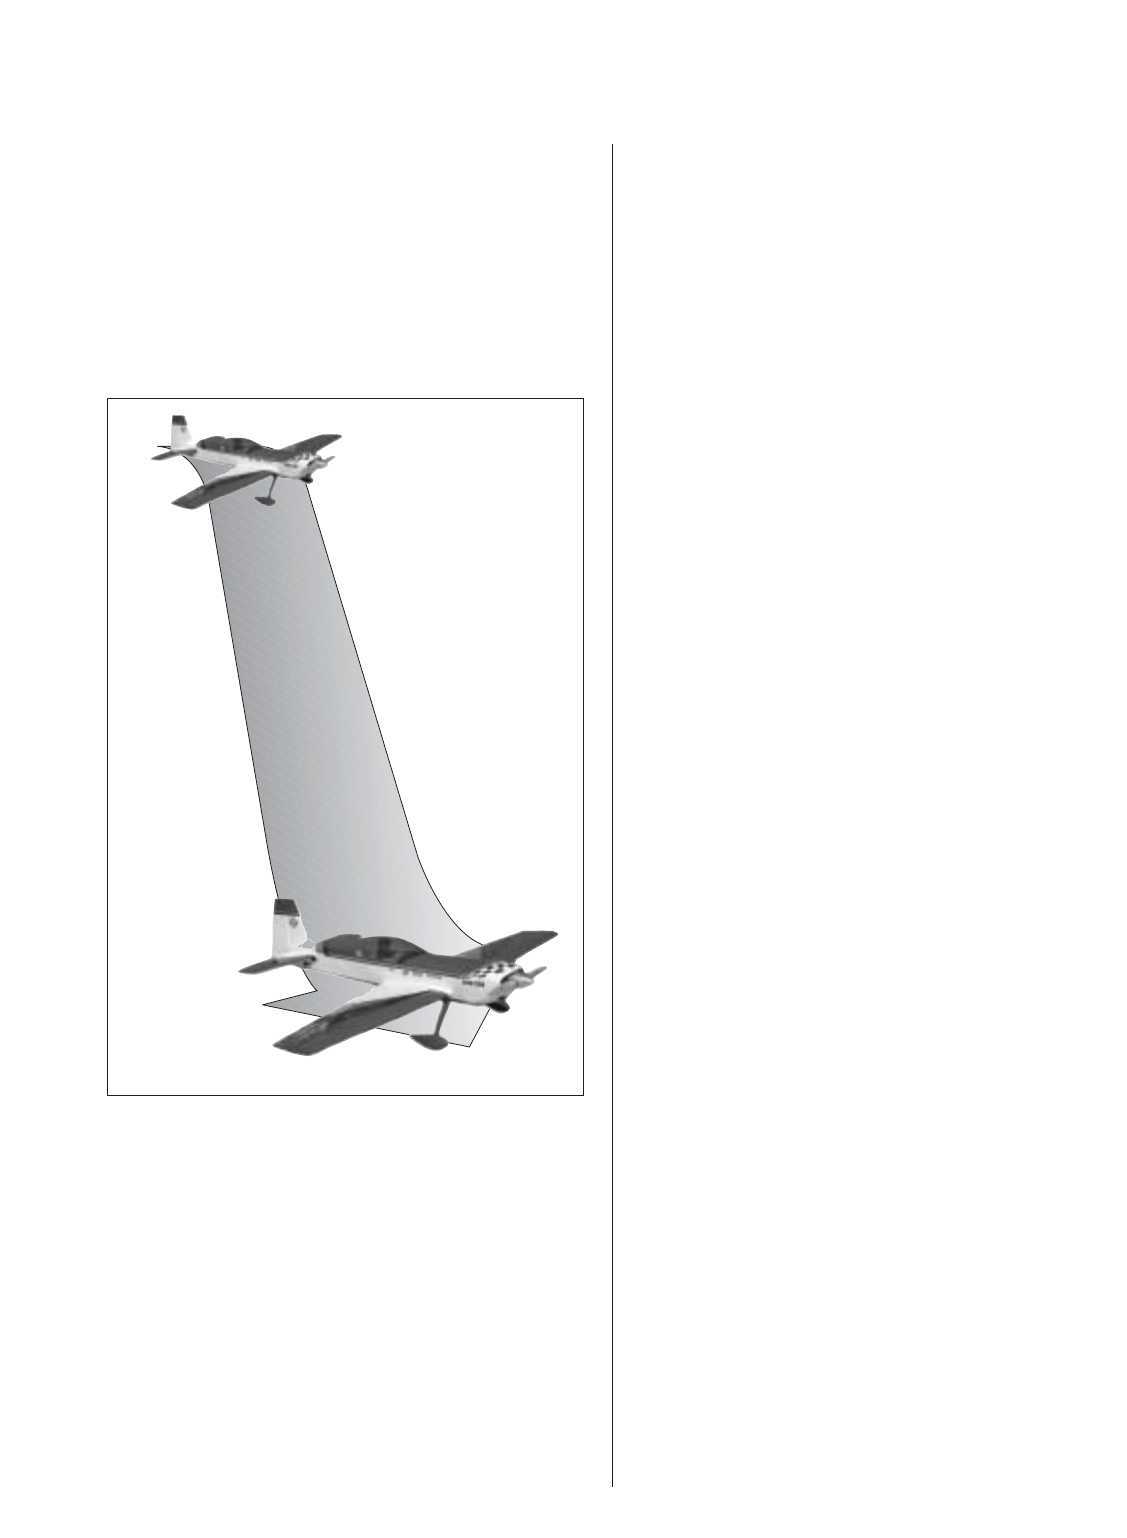
The Elevator
What it is: The plane drops vertically while in a
nose high attitude. Depending on the head wind
conditions, the model will drop anywhere from about
a 45-degree angle in calm conditions to vertical or
even a little backwards in more windy conditions.
Throttle is used to determine rate of descent and the
nose high attitude of the model.
Setup: Same as the Blender, only for this one, flip
the switch to turn on the spoilerons. This will help to
keep the Extra 330S from teetering back and forth.
How it’s done: At near stall airspeed up high,
slowly feed in up elevator until you have the full 3D
rate up in it. With low throttle, the Extra will fall like a
rock. To guide it around, use the rudder, not ailerons.
Just keep the wings level. Add power to change the
attitude of your Extra 330S.
Trickiest part: Aside from steering it with the
rudder, you’ll quickly see that this maneuver is a
matter of juggling the throttle and rudder to get the
plane to go where you want it to go.
Recovery: Basic recovering—add full power, flip to
normal rate elevator, and fly out.
Advanced Recovery: Take the elevator all the way
to the ground—adding some power before it touches
down to slow the descent and transition into a
Harrier and land.
OR
Add power to get the nose to rise to vertical and
transition into a torque roll. Elevator down from a
hundred feet down to 20 feet (or less) and power up
into a torque roll. Ooh!!
Worst way to mess up: Let your direction control
(rudder) get away from you after starting too low—
you could snap it right into the ground. Ouch!