
User manual
22EN
107.
15/16 inch
(24mm)
108.
109.
110.
111.
112.
113.
114.
115.
116.
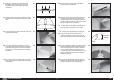
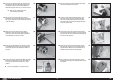
107. Locate the red rudder control horn. Use medium grit-
sandpaper to remove the paint from the bottom of the
control horn where it fi ts into the rudder.
108. Use 15-minute epoxy to glue the rudder control horn in
the rudder. Follow the technique outlined in the aileron
control horn installation.
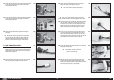
109. Fit the rudder to the fi n. Align the tip of the rudder to the
top of the fi n. Glue the hinges following the procedure
outlined earlier for the aileron hinges.
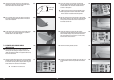
ELEVATOR AND RUDDER SERVO
INSTALLATION
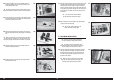
110. Use a hobby knife with a #11 blade to remove the
covering from the fuselage to expose the exits for the
rudder and elevator pushrods. The opposite side has only
the exit for the elevator.
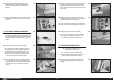
112. Secure the receiver in the fuselage using hook and
loop tape and hook and loop straps. Locate the remote
receiver based on the instructions included with the
receiver or radio system.
Make sure the receiver is securely installed if using
an AS3X-equipped item. Read the instructions included
with the receiver for additional mounting details.
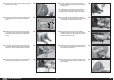
113. Slide the pushrod into the pushrod tube for the elevator.
Slide a clevis retainer on the clevis, then thread the clevis
on the pushrod. Connect the clevis to the outer hole of
the elevator control horn.
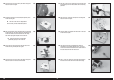
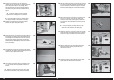
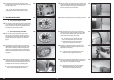
114. Center the elevator servo using the radio system.
Installing the pushrod follows the same procedure as the
aileron and fl ap linkages. The pushrod connects to the
hole of the elevator servo arm that is 1/2-inch (13mm)
from the center of the servo arm.
115. Install the remaining elevator pushrod.
116. Connect the pushrod to the elevator servo. Use Step 114
for more details to connect the pushrod to the elevator
servo.
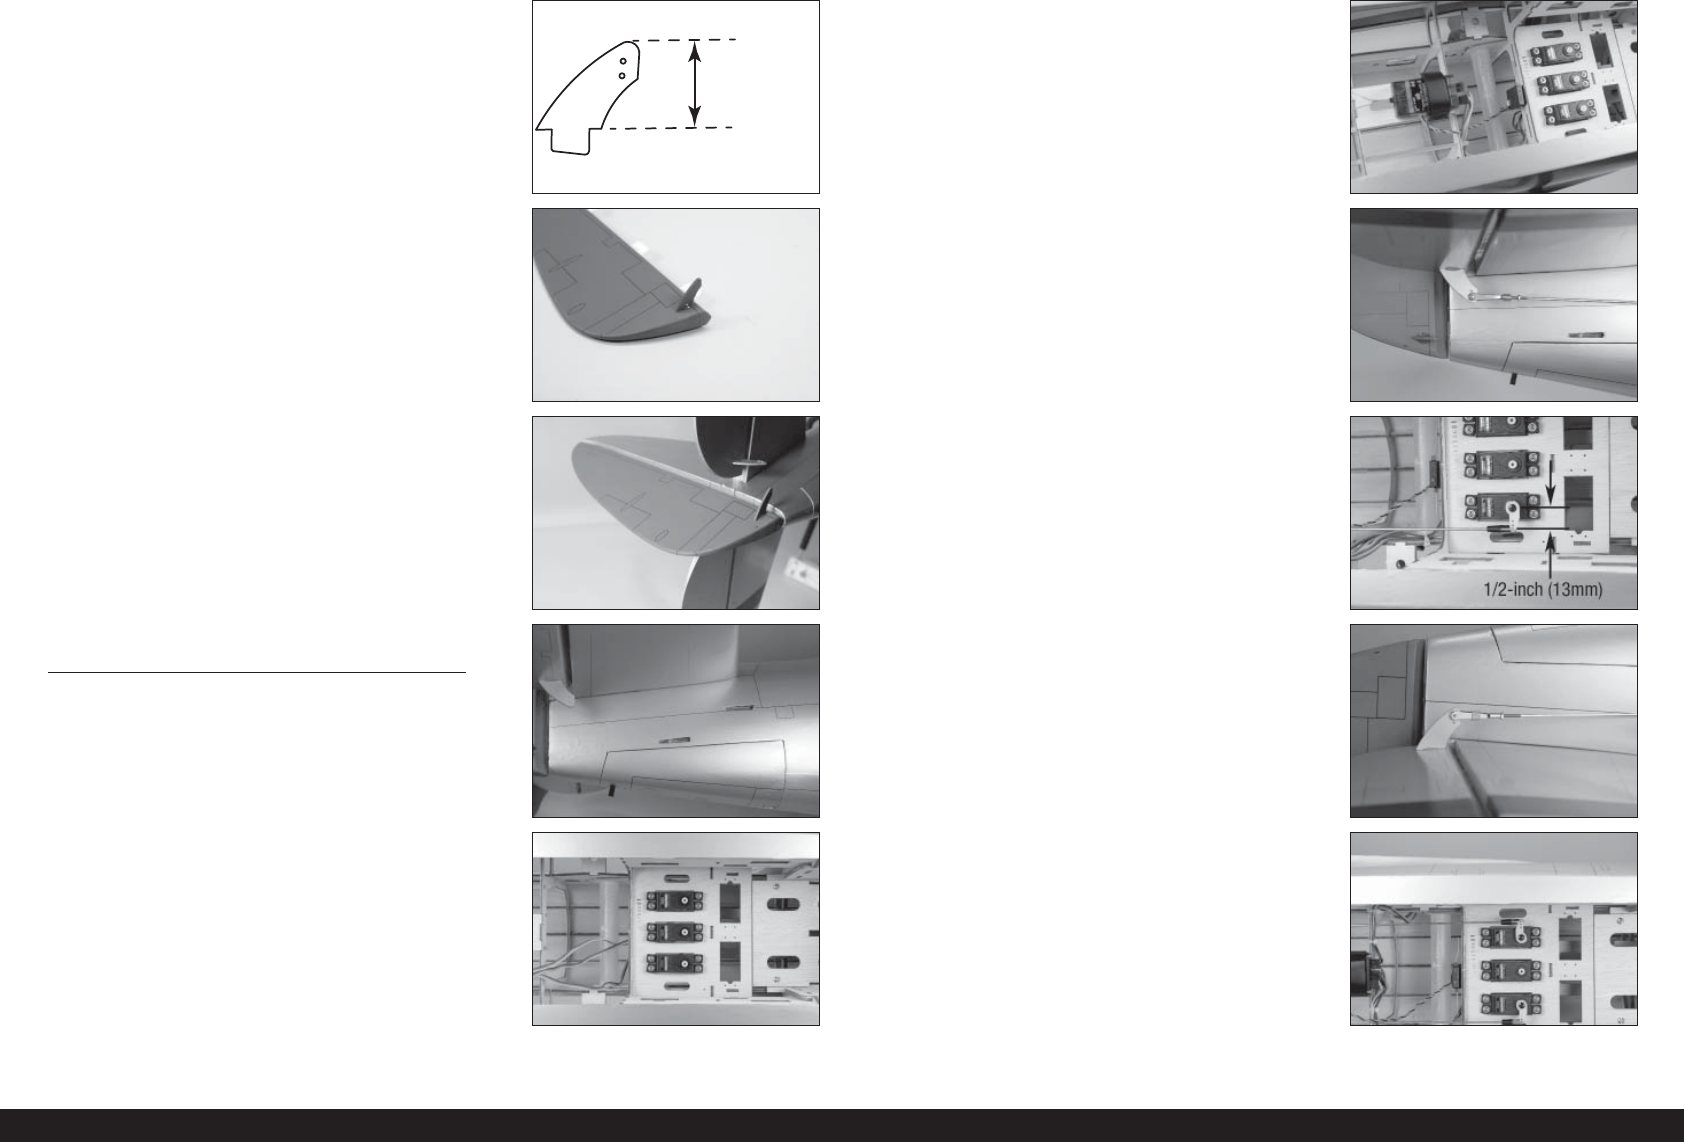
111. Install the rudder and elevator servos using the hardware
provided with the servos. Make sure to pre-drill the holes
for the servo mounting screws, and prep them using thin
CA as outlined in the aileron servo installation.
The rudder is the center servo.