
Corp. Fryer User Manual


Model OFE/OFG/OEA/OGA-341, 342
2-10. TRANSFORMER The transformer reduces voltage down (to 24V) to accommodate
REPLACEMENT
those components with low voltage.
1. Remove electrical power supplied to the unit.
To avoid electrical shock or property damage, move the
power switch to OFF and disconnect main circuit
breaker, or unplug cord at wall receptacle.
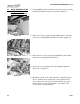
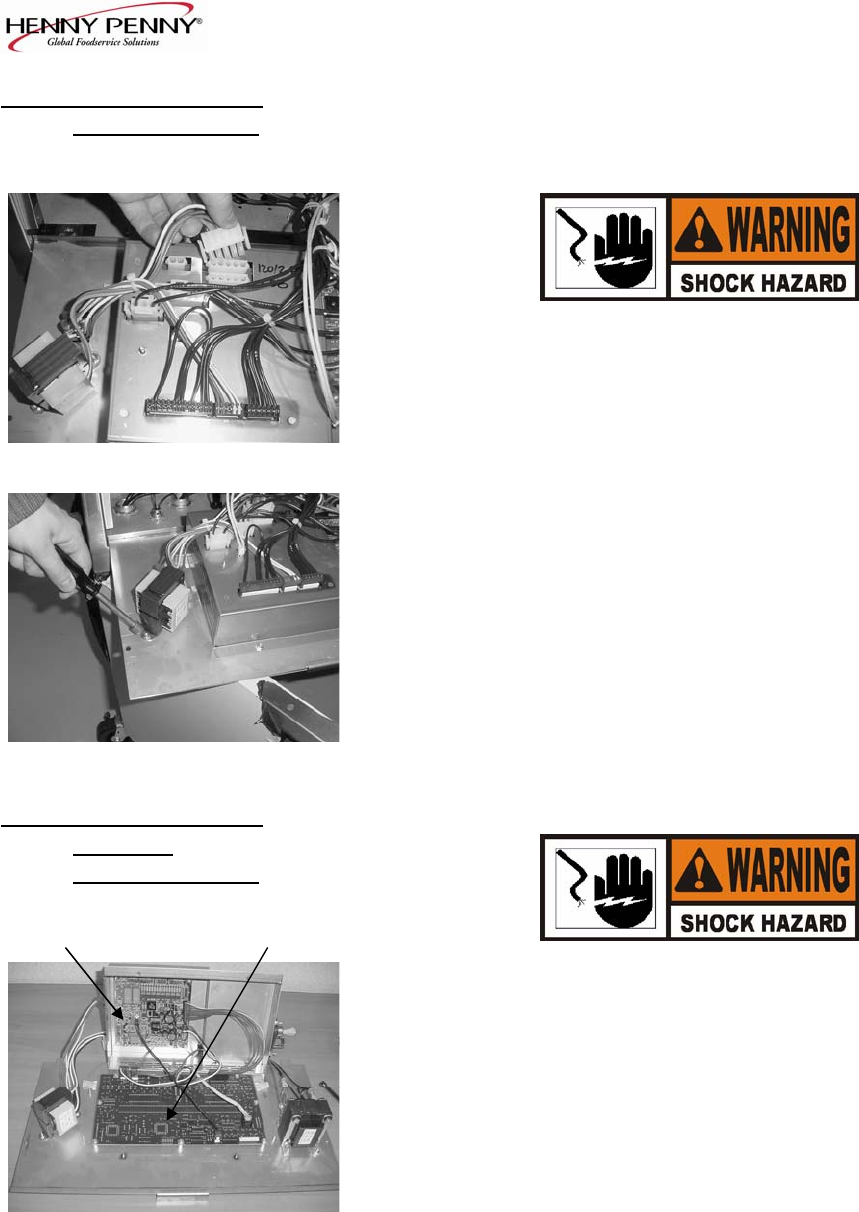
2. Remove the control panel
Figure 2-26
3. Remove the two wire connectors to disconnect transformer
From panel. Figure 2-26.
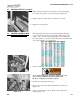
4. Using a 3/8” nut-driver, remove the two nuts securing the
transformer to the panel and remove transformer. Figure 2-27.
5. Install the new transformer in reverse order.
Figure 2-27
2-11. CONTROL & I/O 1. Remove electrical power supplied to the unit.
BOARDS
REPLACEMENT
I/O Power Supply Control
To avoid electrical shock or property damage, move the
power switch to OFF and disconnect main circuit
breaker, or unplug cord at wall receptacle.
2. Remove the control.
3. Using a 5/16” nut-driver or wrench, remove the 4 nuts securing
the PC shield and remove shield. Figure 2-28.
4. Disconnect the wire assemblies from the appropriate board.
Figure 2-28
5. Using a 5/16” nut-driver or wrench, remove the 4 nuts securing
the appropriate board to the shroud.
6. Install the new board in reverse order.
2-10 1003