
Corp. Fryer User Manual


Model OFE/OFG/OEA/OGA-341, 342
2-16. BLOWER MOTOR
REPLACEMENT
(Continued)
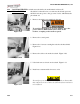
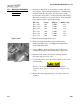
8. Using 3/8 inch nut driver, remove nuts securing blower to the
unit. Figure 2-48. Pull blower from unit.
Figure 2-48 9. Install new blower in reverse order.
2-17. HEATING ELEMENTS
(ELECTRIC)
Heating elements are available for 208 and 230 voltage. Check
data plate to determine correct voltage.
Checkout If the shortening temperature recovery is very slow or at a slower
rate than required, this may indicate defective heating element(s).
An ohmmeter quickly indicates if the elements are shorted or open.
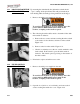
1. Remove electrical power supplied to the frypot to be checked
To avoid electrical shock or property damage, move the
power switch to OFF and disconnect main circuit
breaker, or unplug cord at wall receptacle, to the frypot
to be worked on. Be aware the other control on 2-frypot
Figure 2-49 units will have power.
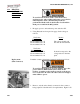
2. Remove rear cover. Figure 2-49.
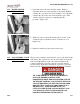
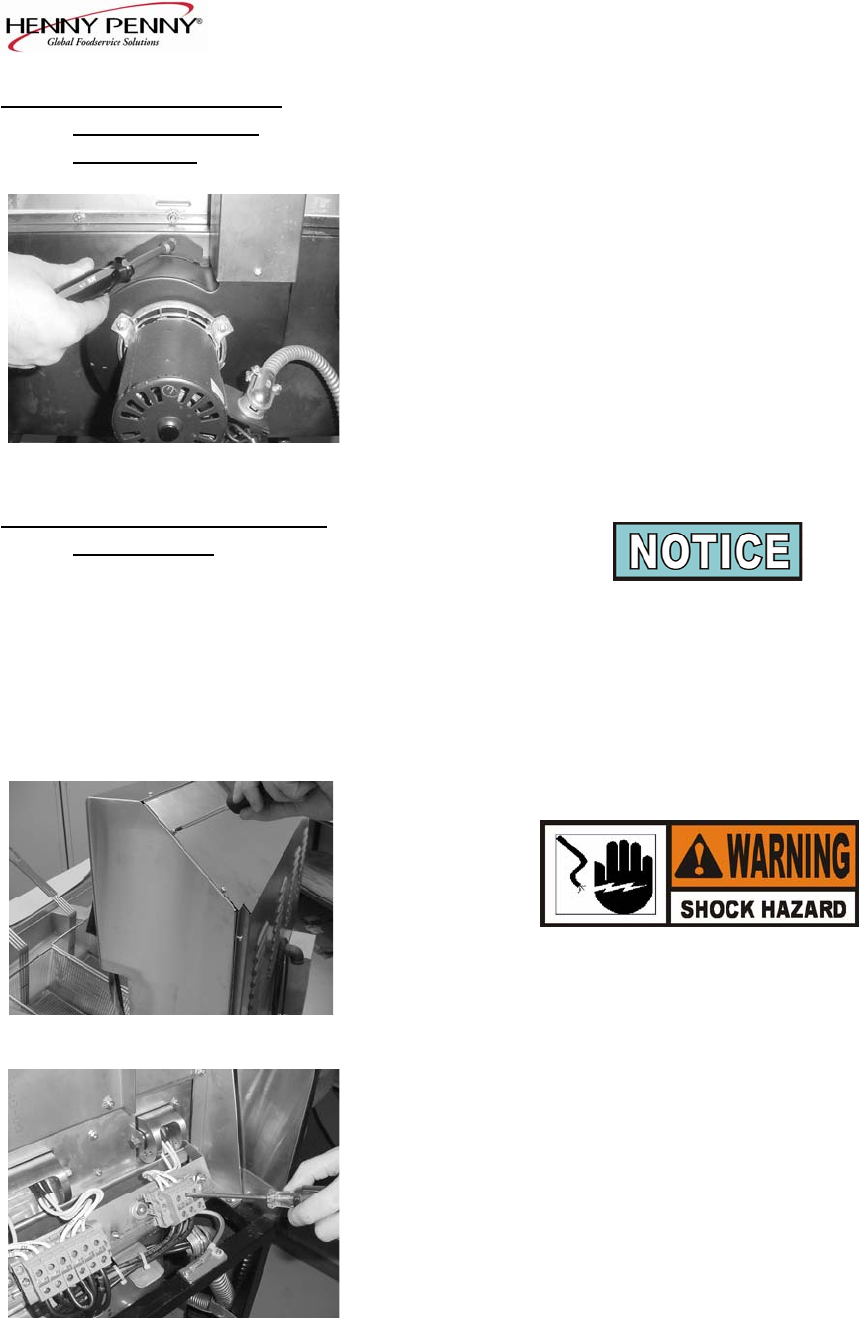
3. Using a flat-head screwdriver, remove the appropriate wires
from the terminal blocks. Figure 2-50.
Figure 2-50
106 2-17