
Operation Manual


Table Of Contents
- 1 Overview
- 2 Appearance
- 3 Typical Application
- 4 Terminals and Interfaces
- 5 Installation and Wiring
- 6 Before You Start
- 7 Local Operation
- 8 Remote Operation via Batch Configuration Tool
- 9 Remote Operation via iVMS-4200
- 10 Accessing via Hik-Connect Mobile Client Software
- Appendix
Video Intercom Indoor Station·User Manual
63
When the zone type is set to be Instant Alarm, only under arming mode, the indoor
station will receive alarm message when the detector is triggered. Under disarming
mode, it will not receive alarm message when the detector is triggered.
When the zone type is set to be 24H Alarm, the indoor station will receive alarm
message when the detector is triggered no matter it is under arming mode or
disarming mode.
When the zone type is set to be Delay Alarm, only under arming mode, the indoor
station will receive alarm message when the detector is triggered. Under disarming
mode, it will not receive alarm message when the detector is triggered.
After setting enter delay time, if the OK button is pressed within the enter delay time
after the alarm, the alarm event will not be uploaded to the management center; if
the OK button is not pressed within the enter delay time after the alarm, the alarm
event will be uploaded to the management center.
The exit delay is the time between you enable the arming mode and the arming takes
effect.
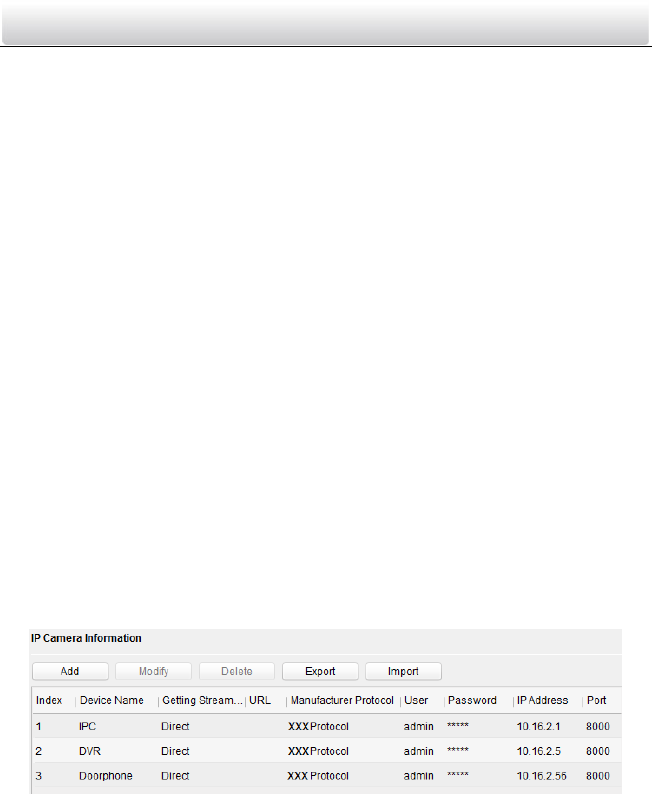
IP Camera Information
Purpose:
You can add, delete and modify devices that can be added to the video intercom
products, such as network IP cameras, door stations, doorphones, outer door stations,
DVR/NVR/DVS, with two ways of getting stream: direct or URL. By exporting and
importing the added device information, you can edit added devices parameters in
batch.
Adding IP Camera, DVR/NVR/DVS, and Doorphone
Steps:
1. Click the IP Camera Information button to enter IP camera information interface.
Figure 8-29 IP Camera Information
2. Click the Add button to pop up the device adding dialogue box.
3. Select the device type from the drop-down list menu: IP Camera, DVR/NVR/DVS,
and doorphone.
4. Enter corresponding information (device name, IP address, port No., user name,
password, etc.), and click the OK button.