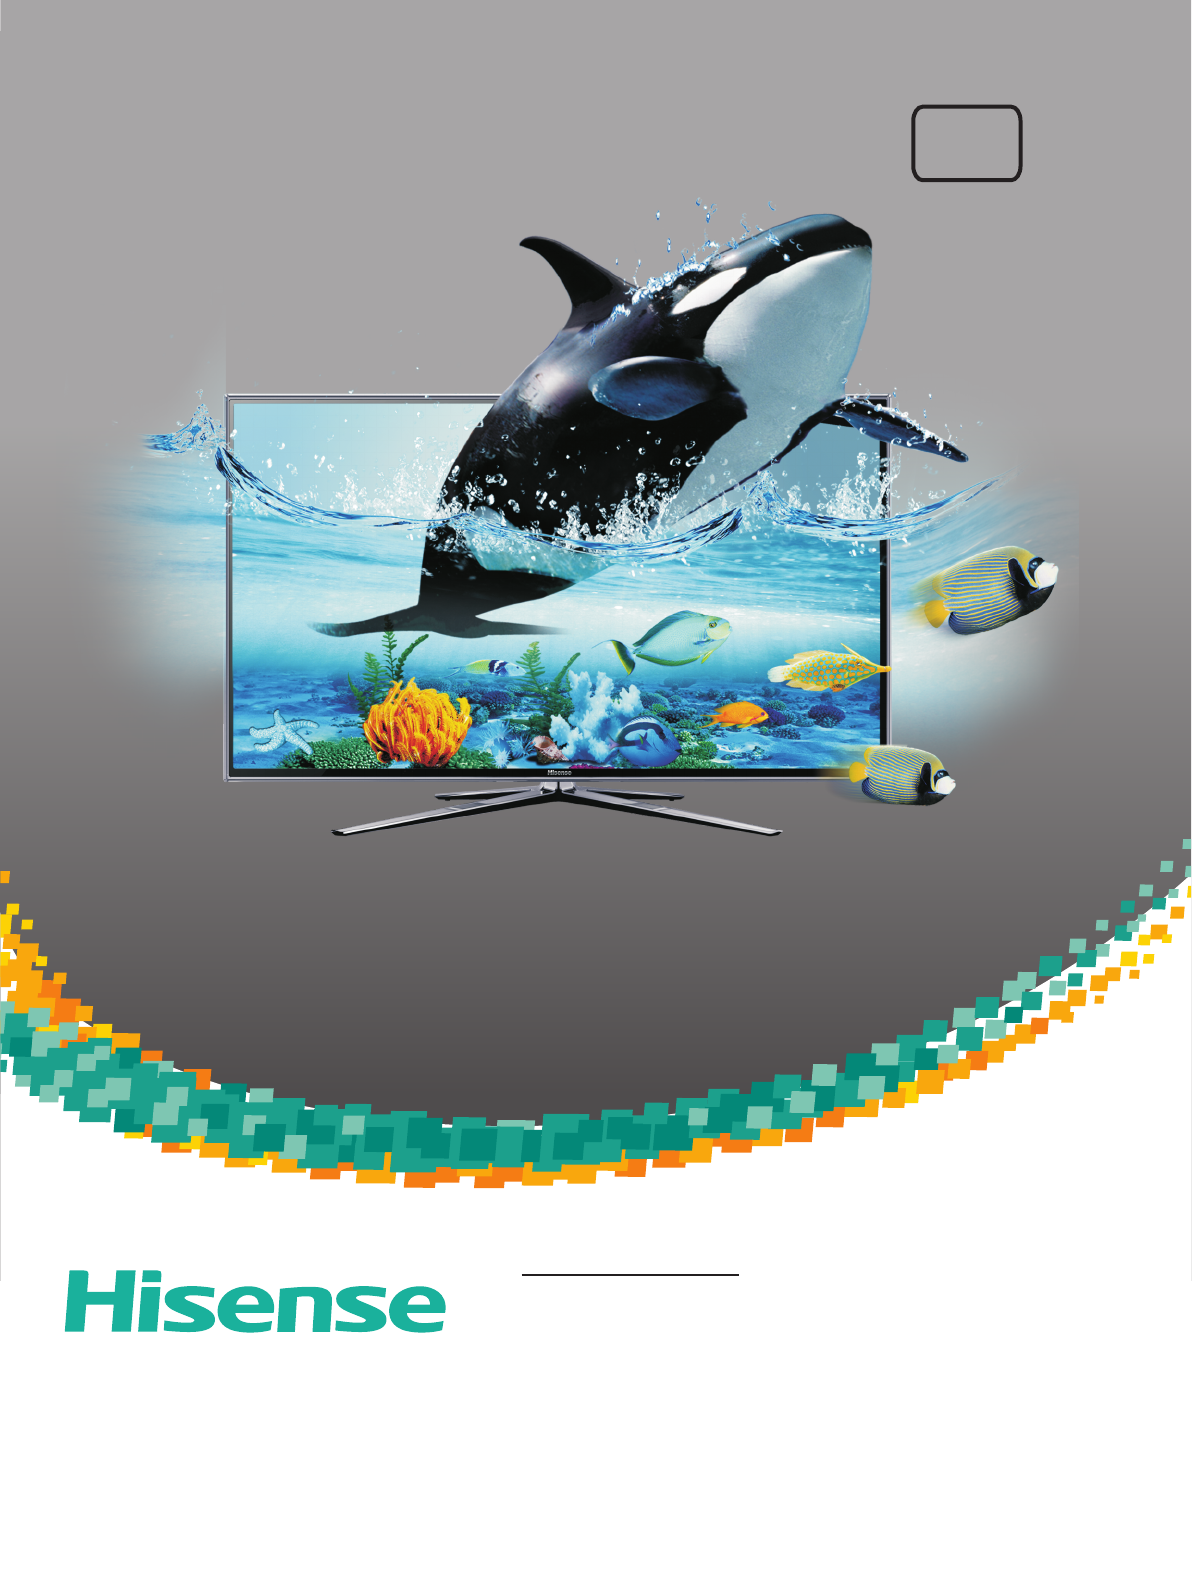
770 series User’s manual Please read this manual carefully before operating your TV set and retain it for further reference. Model Number: HL55XT770PZLN3D Part Number: ES-G122328 Http://www.hisense.com.
Ver 2012-02-24 HISENSE WARRANTY TERMS AND CONDITIONS 1. HISENSE Australia will provide parts and labour to you the Customer as set out herein. 2. Nothing in the warranty, limits any rights you may have under the trade practices act or any other Commonwealth or State Legislation. Such rights cannot be changed by the conditions in this warranty.
WARRANTY CLAIMS PROCEDURE Please retain this portion for your records 36 MONTHS IN HOME REPLACEMENT WARRANTY* Hisense Australia will provide its nearest service centre for repairs under warranty. You will need to ensure that you have already called Hisense Warranty Centre and received a JOB NUMBER. *Non Combination Models only 12 MONTHS IN HOME REPLACEMENT LCD WARRANTY* Hisense Australia will provide its nearest service centre for repairs or replacement under warranty.
Contents Hisense Warranty Contents Hisense Declaration Important safety precautions 2 4 5 6 Getting Started Accessories Installing the Stand Front View and Controls Rear View and Jacks Connection Instructions Network Function Enter the Network Main Menu Opera Web Browser YouTube Smart Store 37 37 39 39 Other Information 9 9 10 11 12 Trouble shooting Specifications 42 43 Using the Remote Control Installing Batteries in the Remote Control 15 Remote Control Operation Range 15 Remote Control Panel 16 W
Hisense Declaration Any content and service accessed through this device, while only intended for individual non-commercial use, shall be the property of the applicable third party and subject to protection by regulations and laws on copyright, patent, trademark and other intellectual property rights.
Important safety precautions ATTENTION RISK OF SHOCK ELECTRIC Do not open the back cover In no case the user is allowed to operate inside the TV set.Only a qualified technician is entitled to operate. Disposal of Used Electrical & Electronic Equipment Packaging and electrical goods should be recycled appropriately, and not treated as household waste. Please dispose of this equipment at your applicable collection point for the recycling of electrical & electronic equipment waste.
Important safety precautions Please read the following safeguards for your TV and retain for future reference. Always follow all warnings and instructions marked on the television. 1. A note about safety and operating instructions Read and follow all safety and operating instructions, and retain them safely for future reference. 2. Heed Warnings Adhere to all warnings on the appliance and in the operating instructions. 3. Cleaning Unplug the TV from the wall outlet before cleaning.
Important safety precautions 15.Outdoor Antenna Grounding If an outside antenna or cable system is connected to the TV, be sure the antenna or cable system is grounded so as to provide some protection against voltage surges and built-up static charges. Section 810 of the National Electric Code, ANSI/NFPA No.
Getting Started Accessories Source Picture Sound Sleep Last User’s Manual 3D EPG Info Menu OK Exit Return CH VOL Mute HiSmart@ T.shift DMP Mix Text Size Zoom AudioI/II Still Remote Control AAA Batteries x 2 Box(3D glasses with USB cable) Winding COMP AUDIO AVOUT AV User’s Manual PVR Subtitle Signal cable (M4×L12)×2 (M5×L12)×4 (ST4×L14)×2 Installing the Base Stand NOTE The LCD display is very fragile, and must be protected at all times when removing the base stand.
Getting Started Front View and Controls Tap Pad (On the TV Rear) Remote sensor 3D emitter Item Power button Power indicator Description Remote sensor Receives remote signals from the remote control. Do not put anything near the sensor, as its function may be affected. 3D emitter Sends signals to 3D glasses during playback of 3D movies and TV shows. Do not put anything near the sensor, as its function may be affected. Power indicator Light up in standby mode.
Getting Started Rear View and Jacks DEBUG 6 just for factory used 5 4 3 2 1 2 2 2 7 6 8 9 10 Item Description 1.MAINS Connect the mains cable to the mains socket. 2.HDMI1/2/3/4 HDMI (High-Definition Multimedia Interface)provides an uncompressed, all digital audio/ video interface between this TV and any HDMI-device, such as a set-top box, blue-ray disc player, and A/ V receiver. 3.OPTICAL Connect to an external digital audio device. 4.
Getting Started Connection instructions Not all A/V devices have the ability to connect to a TV, please refer to the user’s manual of your A/V device for compatibility and connections procedure. When connecting any external A/V device, do not connect the mains cable to the mains socket until all other connections are complete.
Getting Started Connecting an A/V Device with Component (YPbPr) Cable EXTERNAL DEVICES Red (R) TV JACK COMPONENT OUT White (L) VCR R Blu-ray Player / DVD Player / Recorder L Signal Cable (included) Pr/Cr Pb/Cb Y Pr Pb Video Camera Set-top Box Y Satellite Receiver Equipment with component jacks 1. Use the signal cable to connect the external A/V device’s component output jacks to the TV’s YPbPr jacks.
Getting Started Connecting a PC with VGA Cable EXTERNAL DEVICES VGA Cable (not included) TV JACK Audio Cable (not included) PC 1. Use a VGA cable to connect the PC’s VGA output jack to the TV’s VGA jack. Use an audio cable to connect the PC’s audio output jacks to TV’s PC AUDIO jack. 2. Plug the connected devices into the mains socket before switching on the TV. 3. Select the corresponding source from the TV. NOTE Primarily this unit is intended for use as an LCD TV.
Remote Control Installing Batteries in the Remote Control 1. Slide the back cover to open the battery compartment of the remote control. 2. Insert two AAA size batteries. Make sure to match the (+) and ( - ) ends of the batteries with the (+) and ( - ) ends indicated in the battery compartment. 3. Close the battery compartment cover. 1 Gently push and slide 2 Insert the batteries 3 Gently push and slide NOTE 1. Dispose of your batteries in a designated disposal area.
Remote Control Remote Control Panel 1. Switch the TV between on and standby mode. 2. Select among the different input signal sources. 3. Select sound mode. 4. Set the TV sleep timer. 5. Select picture mode. 1 6. 3D function on/off . 2 Source 3 7. Select a program/Input the numbers for special function. 4 5 8. Return to the last viewed program in TV mode. Sleep 3D 6 Last EPG 9 Menu Info 12 Exit 15 Picture Sound 9. Display the EPG(Electronic Program Guide).(DTV mode) 10.
Basic Features Turning the TV On for the First Time 8. Press [▲/▼] buttons to select Scan and press [►] button to enter the next wizard and the TV start to search the programs automatically 1. Connect the mains cable to the mains socket after you have completed all the connections. Setup Wizard -5 Channel Installation 2. Switch on the POWER ON/OFF at the bottom of the TV. Then the TV switches to on mode. Scan Skip Scan Back Select Next EXIT Exit . All available TV channels are stored.
Basic Features Selecting the Input Source Press the [Last] button to return to the previously viewed channel. 1. Press the [Source] button to display the input source list. Favourites 1 Source 1. TV AV Component VGA HDMI1 HDMI2 HDMI3 HDMI4 DMP 2. Press the [▲/▼] buttons to select the input source that you want. 3. Press the [OK] button to confirm your selection.
Basic Features PVR Press [Blue] to display the Schedule List. Schedule List Channel number NINE Digital Start date Start time Stop time Schedule type Repeat type The function is to be used in DTV source only. The format of disk must be FAT32 or NTFS. Press [■] button to stop record and a *.pvr file will be saved. The files can be played in DMP.
Basic Features Tuning Menu Auto Scan - Use this to automatically search and store all available channels. 1. Press [Menu] button and then press [▲/▼] buttons to select Tuning menu. Press [▲/▼] button to select it and press [◄/►] to start to search in ATV mode. 2. Press [►/OK] button to enter the menu. Press [▲/▼] button to select it and press [►] to start to search in DTV mode. 3. Press [▲/▼] button to select the item in the menu. 4.
Basic Features Picture Menu Alternative You can press ◄/► buttons to adjust the level directly. 1. Press [Menu] button and then press [▲/▼] buttons to select Picture menu. Advanced Settings - Specialized features settings 2. Press [►/OK] button to enter the menu. Press [▲/▼] buttons to select the following options and press [◄/►] to set. 3. Press [▲/▼] button to select the item in the menu. 4. Press [◄/►] button to adjust the selected item or press [OK] button to enter the submenu.
Basic Features Audio Menu 3D Mode - You can enter the 3D Mode and set the 3D format. Off: When viewing 2D video, this option must be selected. 2D-to-3D: the TV can convert ordinary 2D program to 3D program. When wearing 3D glasses, you can view the 3D video effect. Side-by Side/Top-and-Bottom:Select it according to video source signal. 1. Press [Menu] button and then press [▲/]▼ buttons to select Audio menu. 2. Press [►/OK] button to enter the menu. 3. Press [▲/▼] button to select the item in the menu.
Basic Features Sound Surround - Enhance the surround sound and bass sound effects. Screen Menu Speaker - Turn speaker Internal Speaker or External Speaker. 1. Press [Menu] button and then press [▲/▼] buttons to select Screen menu. Subwoofer - Turn subwoofer Internal Subwoofer or External Subwoofer or Off. 2. Press [►/OK] button to enter the menu. 3. Press [▲/▼] button to select the item in the menu. Bass Boost - Adjusts the effect of bass.(Not available when Subwoofer is Off) 4.
Basic Features Settings Menu Settings Auto Synchronization Date Time Power On Timer Timer Power Off Timer Timer 1. Press [Menu] button and then press [▲/▼] buttons to select Settings menu. 2. Press [►/OK] button to enter the menu. Off 2010/07/01 00:00:00 On 00:00:00 On 00:00:00 Obtain date and time from broadcaster. 3. Press [▲/▼] button to select the item in the menu. Select 4. Press [◄/►] button to adjust the selected item or press [OK] button to enter the submenu. MENU Back a.
Basic Features Settings Menu HDMI CEC -This feature allows you to add devices to your TV and control them with your TV remote control. Wireless Setting SSID test1 test2 test3 test4 Security None S1 S2 S3 Previous CEC function: press [◄/►] to set On/Off. The following options can be available when the CEC function is On. Auto turn off: Your added devices can be off automatically by turning off the TV . TV Auto On: Your TV can be on automatically by turning on your added devices.
Basic Features Lock Menu Lock To access the Lock submenu, you must enter the password. Enter the default password "0000" for the first time use. You can change password in the Lock submenu. 1 2 3 901 902 903 904 1. Press [Menu] button and then press [▲/▼] buttons to select Lock menu. Digital Digital Digital Analog Analog Analog Analog Dt29 576i Dt29 1080i Dt29 576p a b c d OK Set Select Prevent access to TV services.
Advanced Features PC Setting Set the PC Software properly to match one of the below options. Supported VGA Modes: VGA____ (640×480 60Hz) SVGA___ (800×600 60Hz) XGA____ (1024×768 60Hz) NOTE Your PC/Notebook may not be able to display some of these resolutions. Take Windows XP as an example, and the Windows system display setting is as illustrated: 1. Right click anywhere on your display, select 'Properties'. 2. Find the Settings tab on the dialogue box, set the screen Resolution. 3.
Advanced Features Network Connection You can set up your TV so that it can access the Internet through your local area network (LAN) using a ethernet or wireless connection. Connecting to a Wired Network You can attach your TV to your LAN using cable in thr ee ways: You can attach your TV to your LAN by connecting the LAN port on the back of your TV to an exter nal modem using a Cat 5 cable. See the diagram below.
Advanced Features Network Setup (Auto) 1. Follow Steps 1 through 5 in the “How to set up automatically” procedure. 2. Set Address Type to Manual. Use the Automatic Network Setup when connecting your TV to a network that supports DHCP. To set up your TV’s cable network connection automatically, follow these steps: Settings Address Type IP Address Subnet Mask Default Gateway Primary DNS Secondary DNS How to set up automatically 1. Connect your TV to your LAN as described in the previous section. 2.
Advanced Features Connecting to a Wireless Network To connect your TV to your network wirelessly, you need a wireless router or modem. See the illustration below. Wireless IP Sharer (AP having DHCP Server) The LAN Port on the Wall Wireless LAN Adapter built-in TV set LAN Cable Hisense’s built-in Wireless LAN Adapter suppor ts the IEEE 802.11 b/g/n communication protocols. Hisense recommends using IEEE 802.11n router. When you play the video over a IEEE 802.
Advanced Features Network setup: Wireless Setting 1. Turn on your TV, operate according to the description in the Settings menu until the Network screen appears. 2. On the Network screen, select Configuration and press [OK] button to enter the submenu. 3. Set Internet Connection to On and Interface to Ethernet. 4. Select IP Setting and press [OK] to enter it. 5. Set Address Type to Auto. How to set up automatically 1.
Advanced Features Media Share Settings 4. Select a folder and click OK button. If your computer does not support DLNA, you may install software that supports DLNA such as TVersity or Windows Media Player. We recommend Windows Media Player as the installation and setup are easier. 1. Start the Windows Media Player11. 2. Click “Library” and then “Add to Library...”. 5. Click “Close” to close the dialog. 3. The “Add To Library” will pop up on the screen. Click “Add”.
Advanced Features Setting to Share Files Then the TV can access to the shared files in the computer. 1. Click “Library” and move the cursor to select “Media Sharing...” View the Shared Files on TV 1. Press [DMP] button to enter the DMP mode directly. 2. Click the box before “Share my media” to select it. 2. The DMP menu appears on the screen as follow . Then you can view the shared folders. DMP C: Information All Return F1 F2 F3 .txt Blood.. .mp3 .png Video Music Picture zgp.dat zgp.
Digital Media Play Be sure to insert the USB disk or external hard disk with standard USB2.0 port. ▪ Press [DMP] button to enter the main menu (If you want to exit DMP, you can press [Source] button to switch to other sources or press [Exit] directly.) ▪ Press [Red] button to switch the media type. ▪ Press [Yellow/Blue] to turn to the previous/next page. 7) Select time to play 1. Press [◄/►] to select the position you want to set. 2. Press [0~9] to set the time and press [▲/▼/◄/►] to adjust it. 3.
Digital Media Play Play Music Files Browse Pictures 1. Press [Red] button to switch to All or Music. 1. Press [Red] button to switch to All or Picture. 2. Press [▲/▼/◄/►] to select the picture you want to view. 3. Press [OK] to display picture. 4. Press [■/Return] to exit and return to the previous directory. DMP C: Information All Return F1 F2 F3 Video Music a1.mp3 Music a2.mp3 a3.mp3 a4.mp3 DMP Picture C:\Picture Information All Return Book 1.jpg 2.jpg 3.jpg Video Picture .
Digital Media Play Browse the Text Files Speed - Allows you to browse the picture at different speed. Effect - Select transition effects between images. Background Music - Allows you to play music when browsing the pictures if it is set On. 1. Press [Red] button to switch to All or Book. 2. Press [▲/▼/◄/►] to select the text you want to read. 3. Press [OK] to confirm. 4. Press [■/Return] to exit it and return to the previous directory.
Network Function Enter the Network Main Menu Please set up network connection before using this feature. 1. Press [HiSmart@] button to display Hisense Smart Hub. Hub 3 1 4 3. The home page will appear on the screen with function icons at the bottom of the screen: 2 5 Address bar 2. Press [▲/▼/◄/►] button to navigate the screen and us OK to slect application No.
Network Function How to Add a Folder 1.Press [▲/▼/◄/► ] to move the cursor to the address bar and press [OK] button to confirm. 2.Press [Menu] to display/close the keyboard. There are some shortcuts on the bottom of the keyboard so that you can input part of the address often used. Other keys are used as the keyboard of your computer. 3.Press[▲/▼/◄/►] button to move the cursor to the characters you want to select and then press [OK] to confirm.
Network Function Smart Store :Delete button Move the cursor to the Delete button and press [OK] button to confirm. Then the folder/bookmark will be deleted from the favorite folder. Add a folder Operation introduction 1.Press the [HiSmart @ ] button to display the Hisense Smart Hub. 2.Press [▲/▼/◄/►] button to select the Smart Store and press [OK] to access.
Network Function New Arrival: 1) Press [◄/►] to select the New Arrival and press [▼/OK] to enter it. Penalty dress-up DICE After installation , the applications will be shown in My Apps interface. Hotlist: 1) Press [◄/►] to select Hotlist and press [▼/OK] to access. GUESS NU Penalty 1.0 1 Hitv Issued In 2012-01-07 2 Dress-up 1.0 Hitv Issued In 2012-01-07 3 DICE 1.0 Hitv Issued In 2011-12-13 4 Guess nu 1.
Network Function SelfService: Press [◄/►] to select SelfService and press [OK] to view the service information. Our Promise Thanks for you and your family choose Hisense Smart TV, we will continue to provide better and more services. Service Information If your TV meet quality problem, please kindly let us know, we will make every effort to serve you. Appstore Version 1.0.29.
Trouble Shooting NOTE When there is something wrong with your TV, try turning off and then restart. You can also operate according to the following chart. If the problem still cannot be solved, please contact the Hisense customer care No sound or picture 1. Check if the power line is in the outlet and if it has electricity. 2. Check if you have pressed Power button on the TV or Power button on the remote control. 3. Check the setting of picture brightness and contrast. 4. Check the volume.
Specifications NOTE Features , appearance and specifications are subject to change without notice.
Specifications Full List of Multimedia Formats Supported File Exte nsion *.avi AVI *.wmv *.a sf *.mp4 *.m ov *.mkv *.mpg cont ainer Vid eo Decoder *. mpeg ASF MP4 MKV PS Resolut ion Frame/ Sec Au dio De code r Divx3.11 / 4 .x / 5.1 1920 x1080 XviD 1920 x1080 MEPG2 MP、 MPE G4 S P/AS P 1920 x1080 H. 264 MP/B P/HP 1920 x1080 30 30 W indo w Med ia V ideo 9 Divx 3.11 1920 x1080 1920 x1080 30 30 XviD 1920 x1080 30 MPEG4 SP / ASP VC-1 1920 x1080 1920 x1080 30 30 H.
Http://www.hisense.com.