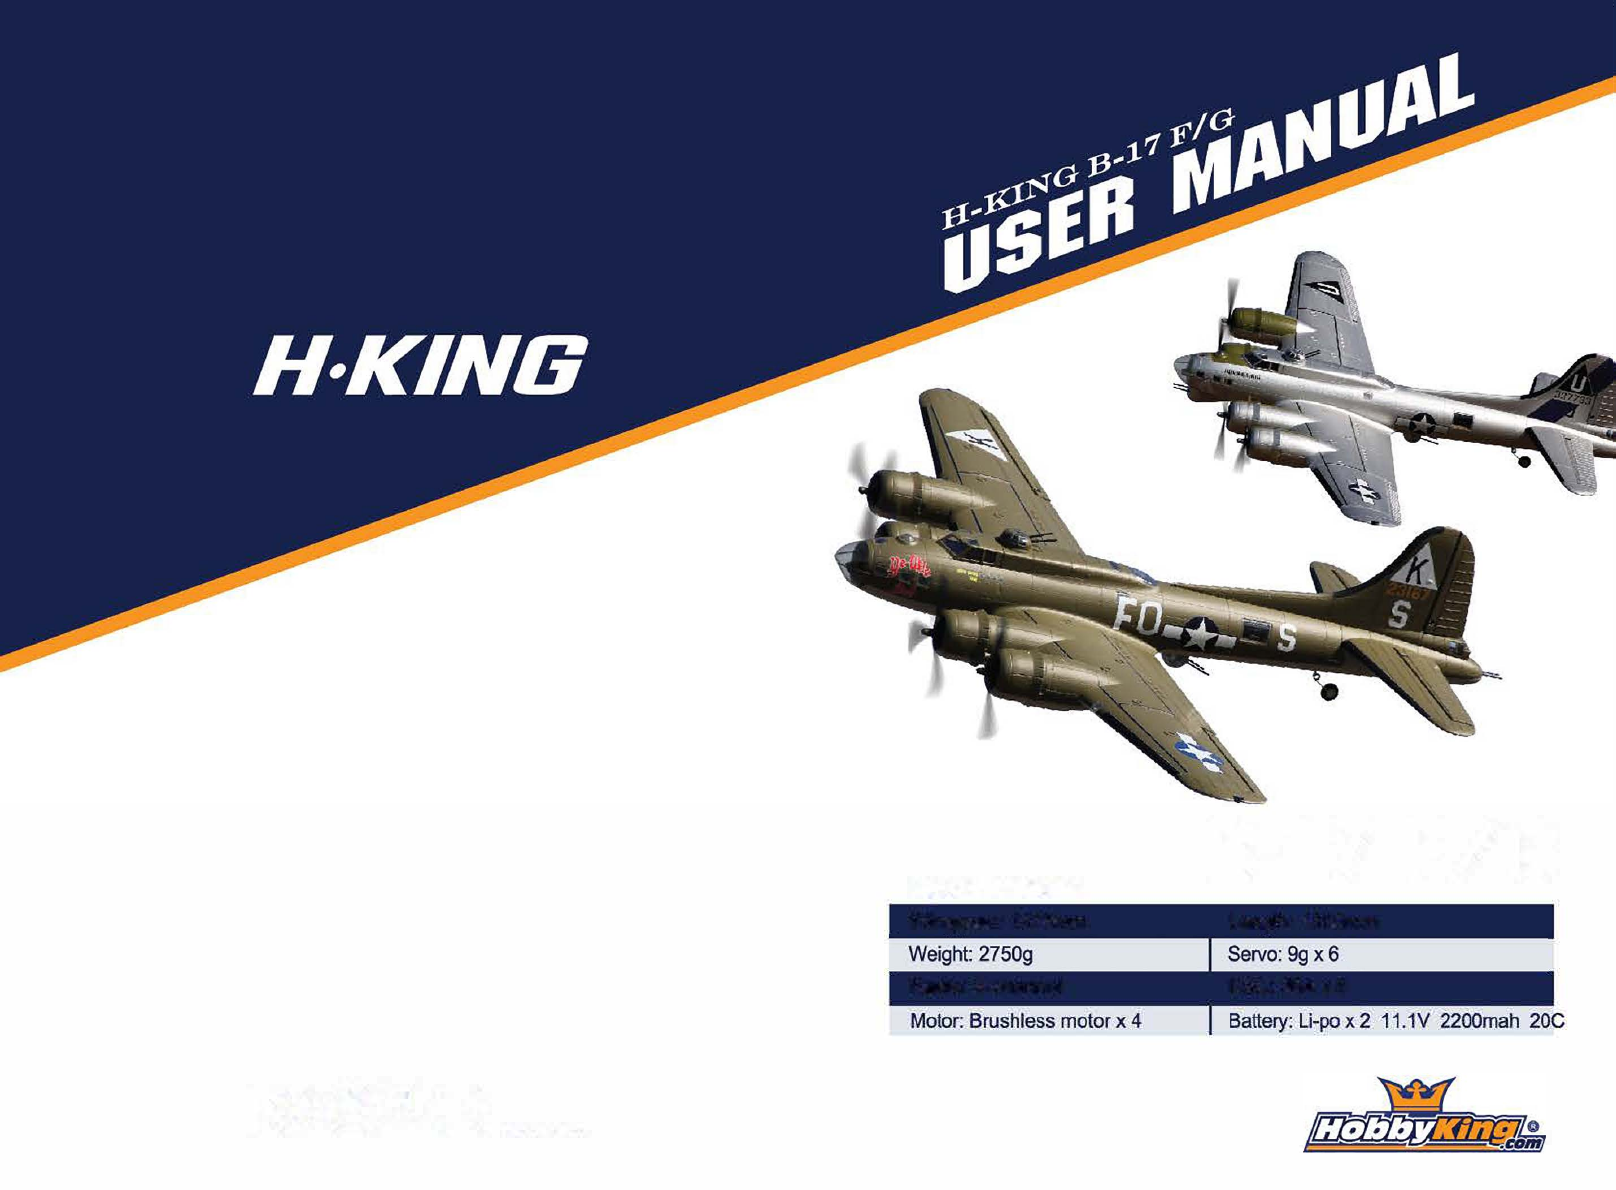
Specifications Wingspan: 1875mm Radio: 8-channel F© t) ! ( E MADE IN CHINA B-17 F/G Length: 1350mm ESC: 20Ax4
H•KING Green B-17F: 1. Fuselage 2. Main wing (Left & right wing) 3. Horizontal tall 4. Vertical tall 5. Chin turret (for B-17G) 6. Nose canopy 7. Props 8. Ball turret 9. Motors 10. Cowls 11. 8-17F sticker sets 12. Servo leads 13. Plastic wing parts 14. Prop nuts 15. Wing joining spars 16. Screws and fixings 17. Battery leads 18. Plastic gun barrels Thank you for purchasing the H-King B-17 Flying Fortress.
H•KING BEFORE YOU START Welcome to the H-king B-17 Manual. This manual is designed as a simple assembly guide and assumes you have previous model building experience. Decal application for both the 'F' and 'G' versions of the B-17 can be found at the end of this manual. It is HIGHLY recommended that you apply your chosen decals BEFORE you start the main assembly process. MAIN WING ASSEMBLY Follow the simple 7 steps below to join the main wing together.
H•KING TAIL PLANE INSTALLATION 4. Dry fit the horizontal tail to the rear fuselage noting the tail/fuselage contact points. 3. Apply glue to and install the vertical tail, check alignment and leave to dry. 3. Insert and glue the top turret gun barrels in place as shown. 4. Insert and glue the rear turret gun barrels in place as shown. 5. Insert and glue both {one on each side) fuselage turret gun barrels in place as shown. 6. Insert and glue the ball turret in place as shown.
H•KING WIRING AND LEADS 1 . Your B-17 comes supplied with a all necessary servo extension/Y-leads and labeled accordingly. Connect these leads/extensions to their corresponding leads from the model and into their respective channels on your chosen receiver. I Wing LED's I Alierons Flaps I' Gear tc·· Throttle PROPELLER INSTALLATION 2.
H•KING GEAR AND FIAPS CENTER OF GRAVDY With either 2 x 2200mah 3S packs parallel) or 1 x 3700mah 3S pack installed in the nose of the model via the canopy hatch, position these packs so that you can attain a balance point between the range shown below when measured from the leading edge of the wing next to the fuselage. C of G is between 38-45mm from the leading edge of the wing.
H•KING Roll left Aileron (Roll) Roll right Pitch up Pitch down ---=- Elevator (Pitch) MODEL FLYING PRECAUTIONS • Select your flight area carefully. Always choose an open space that is unobstructed from trees and buildings and away from crowed areas. Avoid flying in area's with roads, electric/telephone poles/wires and water near by or within close proximity to full size air traffic. Yaw left Rudder (Yaw} Yaw right • Do not fly this model in poor weather.
H·KING PRE FLIGHT CHECK 1. Always range check your model before any flight (especially when flying a new model for the first time). Follow your radio manufacturers guidelines for performing this check. 2. Check all screw/bolts and mounting points are firmly secured, including control horns and clevises. 3. Only fly with fully charged batteries (both in your radio and model). Failure to do so could result in loss of control, damage to the model and/or persons/property around you.
H•KING 6. If air bubbles are present, use the tip of a sharp blade to make a small hole in the bubble then rub over it again to push the air out. 7. Once the decal is firmly rubbed down and any air bubbles are removed, you can slowly remove the front clear protective film. DO NOT pull this clear film upwards to remove it, instead pull the film slowly off to the side. This will ensure the decal doesn't lift up from the surface of the model when you remove the clear film. 8.
..... -..
B-17G 'Ace of Hearts', 749th BS/457th BG Glatton, UK 1944/5 ll___li I -r-----t----1-....:::::::::��-.r.
H•KING .. m u, """'" en U) � m� en "C """'" C N� N:=> M .... C a □ □ a 0 a □ □ .. I- G) □ I- ::::s .c 0 E .c m ·-u, □□ 0 C C) G) "C � c m 0 m .. LL ......
I\.