
User Guide
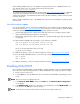


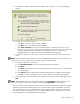
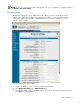

Table Of Contents
- HP Remote Insight Lights-Out Edition II User Guide
- Notice
- Contents
- Operational overview
- Installing the RILOE II
- Configuring the RILOE II
- Using the RILOE II
- Accessing RILOE II for the first time
- Features of the RILOE II
- Managing the user and configuration settings of the RILOE II
- Using the Remote Console
- Terminal Services pass-through option
- Using virtual devices
- Resetting the RILOE II to the factory default settings
- Getting help
- Pocket PC access with RILOE II
- RILOE II security
- Systems Insight Manager integration
- Directory services
- Overview of directory integration
- Benefits of directory integration
- How directory integration works
- Advantages and disadvantages of schema-free and HP Extended
- Setup for Schema-free directory integration
- Setting up HP schema directory integration
- Features supported by HP schema directory integration
- Setting up directory services
- Directory services support
- Schema required software
- Schema installer
- Management snap-in installer
- Directory services for Active Directory
- Active Directory Lights-Out management
- Directory services for eDirectory
- User login using directory services
- Directory settings
- Directory-enabled remote management
- Scripting, command line, and utility options
- Overview of the Lights-Out DOS utility
- Lights-Out directories migration utilities
- Compatibility
- Pre-migration checklist
- HP Lights-Out directory package
- HPQLOMIG operation
- Finding management processors
- Upgrading firmware on management processors
- Selecting a directory access method
- Naming management processors
- Configuring directories when HP Extended schema is selected
- Configuring directories when schema-free integration is sele
- Setting up management processors for directories
- HPQLOMGC operation
- Lights-Out Configuration Utility
- Using Perl with the XML scripting interface
- HPONCFG
- Remote Insight command language
- RIBCL sample scripts
- RIBCL general guidelines
- XML header
- Data types
- Response definitions
- RIBCL
- LOGIN
- USER_INFO
- ADD_USER
- DELETE_USER
- GET_USER
- MOD_USER
- GET_ALL_USERS
- GET_ALL_USER_INFO
- RIB_INFO
- RESET_RIB
- GET_NETWORK_SETTINGS
- MOD_NETWORK_SETTINGS
- GET_GLOBAL_SETTINGS
- MOD_GLOBAL_SETTINGS
- CLEAR_EVENTLOG
- UPDATE_RIB_FIRMWARE
- GET_FW_VERSION
- HOTKEY_CONFIG
- DIR_INFO
- GET_DIR_CONFIG
- MOD_DIR_CONFIG
- SERVER_INFO
- RESET_SERVER
- INSERT_VIRTUAL_FLOPPY
- EJECT_VIRTUAL_FLOPPY
- COPY_VIRTUAL_FLOPPY
- GET_VF_STATUS
- SET_VF_STATUS
- GET_HOST_POWER_STATUS
- SET_HOST_POWER
- GET_VPB_CABLE_STATUS
- GET_ALL_CABLES_STATUS
- GET_TWOFACTOR_SETTINGS
- MOD_TWOFACTOR_SETTINGS
- Troubleshooting the RILOE II
- Supported client operating systems and browsers
- Supported hardware and software
- Server PCI Slot and Cable Matrix
- Network connection problems
- Alert and trap problems
- NetWare initialization errors
- Miscellaneous problems
- Accessing System Partition Utilities
- Inability to reboot the server
- Inability to upgrade the RILOE II firmware
- Incorrect time or date of entries in the event log
- Interpreting LED indicators
- Invalid Source IP address
- Login name and password problems
- Remote Console mouse control issue
- Resetting the RILOE II to Factory Default Settings
- Virtual Floppy media applet is unresponsive
- Video Problems
- Troubleshooting the host server
- Directory Services errors
- Directory Services schema
- Technical support
- Regulatory compliance notices
- Acronyms and abbreviations
- Index
Using the RILOE II 27
NOTE: To clear the user profile form while entering a new user or to recover the user's original information,
click Restore User Information.
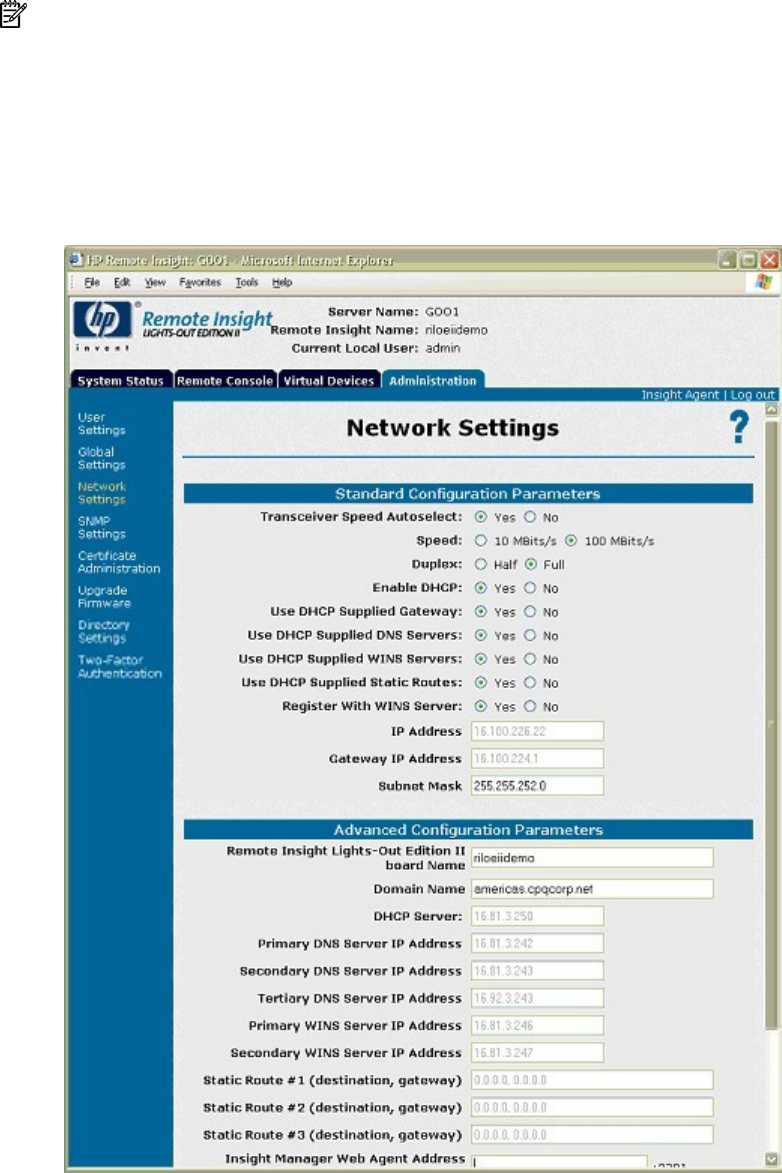
Network settings
The Network Settings option on the Administration tab enables you to view and modify the NIC IP
address, subnet mask, TCP/IP-related settings, and specify IP address or DNS name for web-based
management agents. You can enable or disable DHCP and, for servers not using DHCP, you can
configure a static IP address.
To change network settings for RILOE II:
1. Log in to the RILOE II using an account with administrator privileges.
2. Click Network Settings in the Administration tab.
3. Change the network settings as needed by typing in the fields. After completing parameter changes,
click Apply to save the changes.