
Secure Boot Customization Guide - Technical whitepaper


Technical whitepaper
© Copyright 2017 HP Development Company, L.P.
2 Setting up a customized Secure Boot environment 21
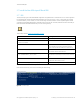
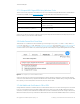
If successful, the command should produce output similar to the following:
Figure 22 Successful creation of package
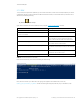
2.7.1.2 Import KEK-Signed DB Using Windows Tools
There is one more step required to use the Windows tools to import the KEK: writing the KEK itself to Non-volatile Random
Access Memory (NVRAM). Use the Set-SecureBootUEFI command inside Windows PowerShell for this purpose
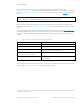
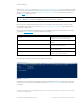
Set-SecureBootUEFI Command Line Parameter
Meaning
-Name DB Indicates that you are working with the Secure Boot certificate database (DB).
-Time 2016-02-01T13:30:00Z Specifies the current date and time, which must be specified.
-ContentFilePath .\HpDb_SigList.bin Specifies the name of the file which contains the unsigned, unformatted DB,
created in a previous step.
-SignedFilePath .\
HpDb_SigList_Serialization_for_DB.bin.p7
Specifies the name of the file which contains the signed, formatted DB. Signed
in the previous step.
Table 9 Command line switches to import KEK-signed DB
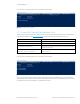
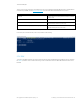
If successful, the command should produce output similar to the following:
Figure 23 Successful import
At this point, you have a fully functional Secure Boot configuration, installed into NVRAM using your custom PK and KEK,
which have been used to extend trust to the default set of HP DB certificates. There is no DBX available as yet, but you may
now enable Secure Boot. To add a DBX to your implementation, read on.