
Hardware Reference Guide
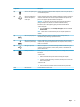
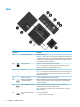


Table Of Contents
- Product features
- Hardware upgrades
- Warnings and cautions
- Preparing for disassembly
- Accessing the tool kit
- Replacing or installing drives
- Removing and replacing the access panel
- Installing system memory
- Installing graphics cards
- Removing the PCI fan
- Installing a system board
- Removing the hard drive fan
- Installing a power supply
- Installing a radiator bracket for liquid cooling
- Cleaning filters
- Electrostatic discharge
- Computer operating guidelines and routine care
- Accessibility
- Index
Component Description
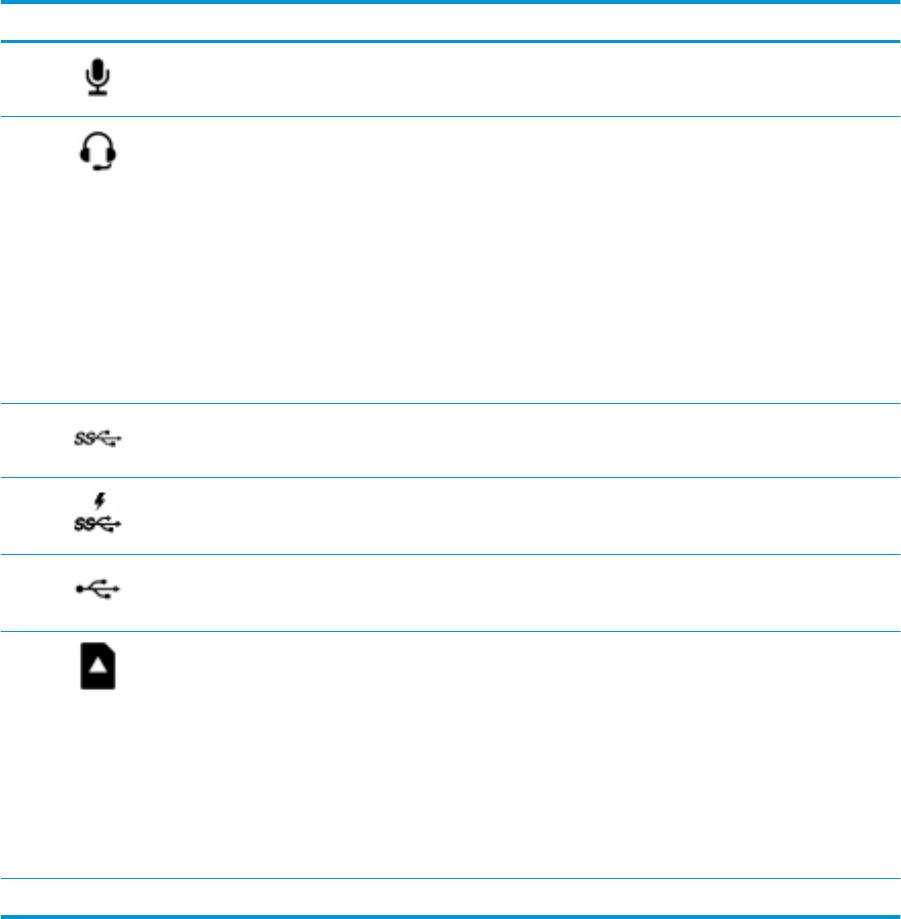
(4) Audio-in (microphone) jack Connects an optional computer headset microphone, stereo array microphone,
or monaural microphone.
(5) Audio-out (headphone)/
Audio-in (microphone)
combo jack
Connects optional powered stereo speakers, headphones, earbuds, a headset, or
a television audio cable. Also connects an optional headset microphone. This
jack does not support optional standalone microphones.
WARNING! To reduce the risk of personal injury, adjust the volume before
putting on headphones, earbuds, or a headset. For additional safety
information, refer to the Regulatory, Safety, and Environmental Notices.
To access this guide:
▲ Select the Start button, select HP Help and Support, and then select HP
Documentation.
NOTE: When a device is connected to the jack, the computer speakers are
disabled.
(6) USB 3.x SuperSpeed port Connects a USB device, such as a cell phone, camera, activity tracker, or
smartwatch, and provides high-speed data transfer.
(7) USB 3.x SuperSpeed port
with HP Sleep and Charge
Connects a USB device, provides high-speed data transfer, and even when the
computer is o, charges most products such as a cell phone, camera, activity
tracker, or smartwatch.
(8) USB Type-C ports (2) When the computer is on, connects and charges a USB device that has a Type-C
connector, such as a cell phone, camera, activity tracker, or smartwatch, and
provides data transfer.
(9) Memory card reader Reads optional memory cards that enable you to store, manage, share, or access
information.
To insert a card:
1. Hold the card label-side up, with connectors facing the computer.
2. Insert the card into the memory card reader, and then press in on the card
until it is rmly seated.
To remove a card:
▲ Press in on the card, and then remove it from the memory card reader.
(10) Hard drive lock Locks the hard drive service door.
Right 5