
Hardware Reference Guide
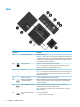

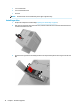
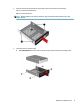

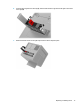
Table Of Contents
- Product features
- Hardware upgrades
- Warnings and cautions
- Preparing for disassembly
- Accessing the tool kit
- Replacing or installing drives
- Removing and replacing the access panel
- Installing system memory
- Installing graphics cards
- Removing the PCI fan
- Installing a system board
- Removing the hard drive fan
- Installing a power supply
- Installing a radiator bracket for liquid cooling
- Cleaning filters
- Electrostatic discharge
- Computer operating guidelines and routine care
- Accessibility
- Index
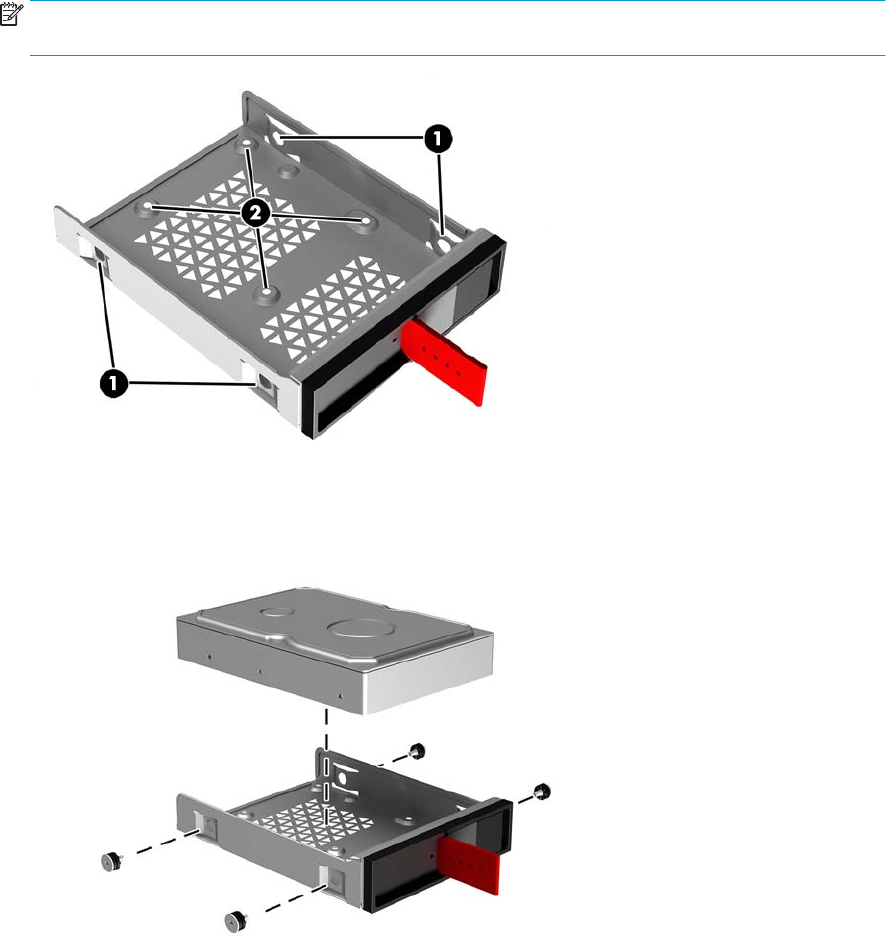
4. All drives must be secured into the drive cage using screws. Screw locations are as follows:
(1) 3.5-inch hard drive and U.2 drive
(2) 2.5-inch solid-state drive
NOTE: Before installing a U.2 drive into the drive cage, you must rst install the drive into a drive
adapter bracket.
5. To install a drive into the drive cage:
a. 3.5-inch hard drive: Insert the drive into the drive cage, and then install four mounting screws.
Replacing or installing drives 11