
Hardware Reference Guide
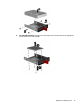
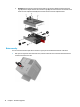
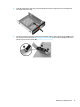
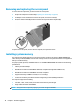
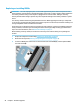
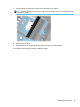
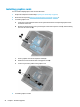
Table Of Contents
- Product features
- Hardware upgrades
- Warnings and cautions
- Preparing for disassembly
- Accessing the tool kit
- Replacing or installing drives
- Removing and replacing the access panel
- Installing system memory
- Installing graphics cards
- Removing the PCI fan
- Installing a system board
- Removing the hard drive fan
- Installing a power supply
- Installing a radiator bracket for liquid cooling
- Cleaning filters
- Electrostatic discharge
- Computer operating guidelines and routine care
- Accessibility
- Index
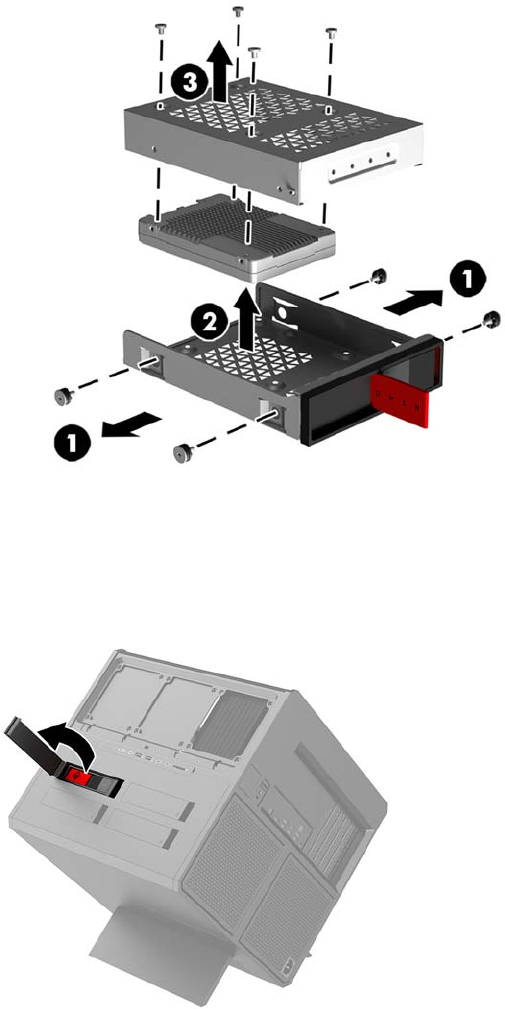
c. U.2 drive: Remove the four mounting screws that secure the drive adapter bracket to the drive
cage (1). Lift the adapter bracket out of the drive cage (2), and remove the four screws that secure
the drive to the adapter bracket (3). Then remove the drive from the adapter bracket.
Drive security
You can insert the hard drive pull tab into the drive cage to prevent unauthorized removal of the drive.
1. Pull up on the right side of the hard drive door, and then rotate the door to the left. Note that the door
remains connected to the case.
16 Chapter 2 Hardware upgrades