
Hardware Reference Guide
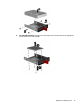
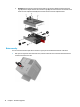
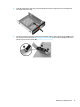
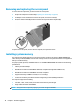
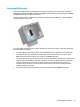
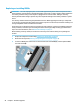
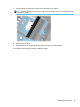
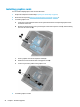
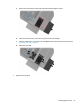
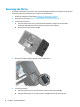
Table Of Contents
- Product features
- Hardware upgrades
- Warnings and cautions
- Preparing for disassembly
- Accessing the tool kit
- Replacing or installing drives
- Removing and replacing the access panel
- Installing system memory
- Installing graphics cards
- Removing the PCI fan
- Installing a system board
- Removing the hard drive fan
- Installing a power supply
- Installing a radiator bracket for liquid cooling
- Cleaning filters
- Electrostatic discharge
- Computer operating guidelines and routine care
- Accessibility
- Index
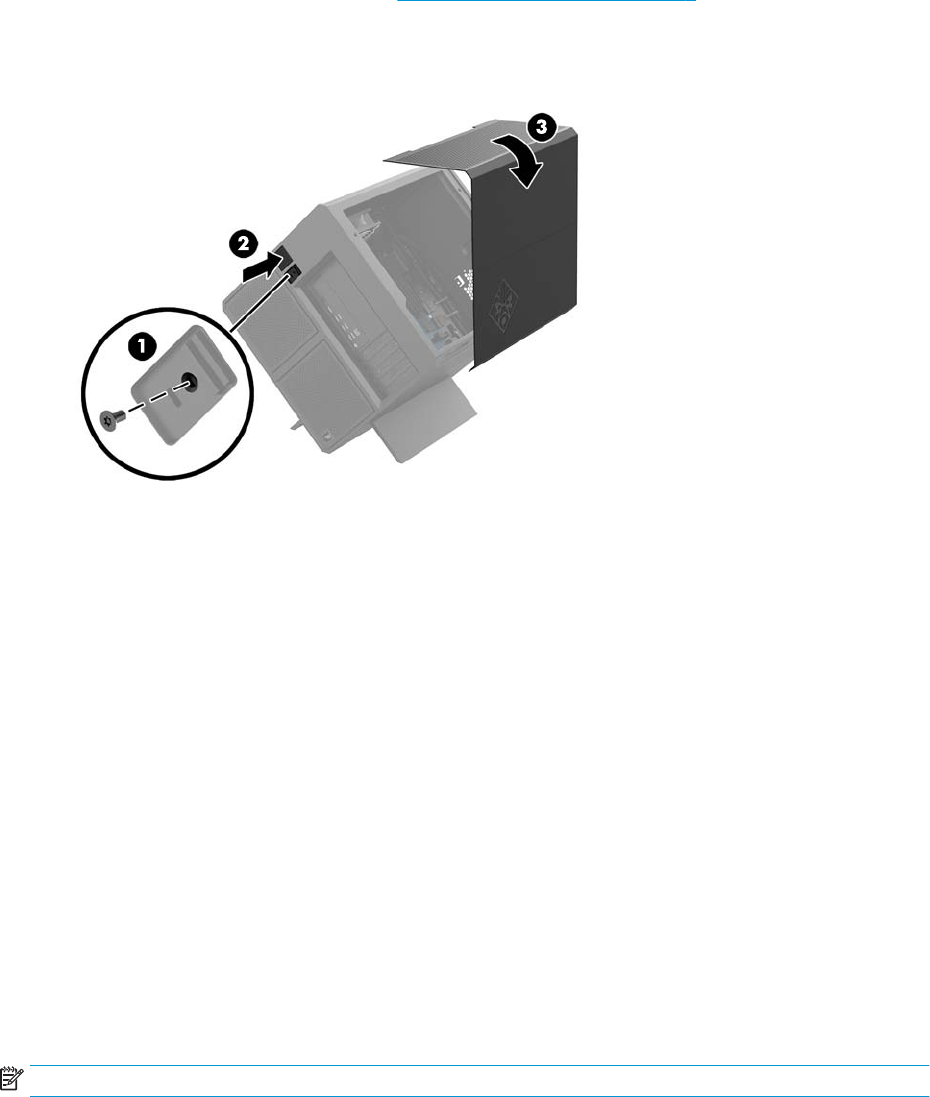
Removing and replacing the access panel
To access internal components, you must remove the access panel:
1. Prepare the computer for disassembly (Preparing for disassembly on page 8).
2. If a Phillips screw is installed to lock the access panel, remove the screw (1).
3. Press the release button (2), and then rotate the access panel o the computer (3).
To replace the access panel, rotate it onto the computer, and replace the screw.
Installing system memory
The computer uses double data rate 4 synchronous dynamic random access memory (DDR4-SDRAM) dual
inline memory modules (DIMMs). There are four memory sockets on the system board that can be populated
with up to 32 GB of memory.
For proper system operation, the DIMMs must be 1.2 volt DDR4-SDRAM DIMMs that adhere to the following
specications:
●
Industry-standard 288-pin
●
Unbuered non-ECC PC4-19200 DDR4-2400 MT/s-compliant (downgraded to DDR4-2133)
●
Unbuered non-ECC PC4-17000 DDR4-2133 MT/s-compliant
●
Support CAS latency 15 DDR4 2133 MT/s (15-15-15 timing)
●
Contain the mandatory Joint Electronic Device Engineering Council (JEDEC) specication
The computer supports the following:
●
512-Mbit, 1-Gbit, 2-Gbit, 4-Gbit, and 8-Gbit non-ECC memory technologies
●
Single-sided and double-sided DIMMs
NOTE: The system will not operate properly if you install unsupported DIMMs.
18 Chapter 2 Hardware upgrades