
Hardware Reference Guide
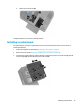
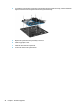


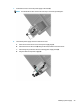


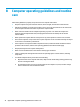
Table Of Contents
- Product features
- Hardware upgrades
- Warnings and cautions
- Preparing for disassembly
- Accessing the tool kit
- Replacing or installing drives
- Removing and replacing the access panel
- Installing system memory
- Installing graphics cards
- Removing the PCI fan
- Installing a system board
- Removing the hard drive fan
- Installing a power supply
- Installing a radiator bracket for liquid cooling
- Cleaning filters
- Electrostatic discharge
- Computer operating guidelines and routine care
- Accessibility
- Index
Installing a power supply
The computer supports power supplies that follow the ATX standard with a maximum of 1450 W.
CAUTION: To prevent damage, the overall power consumption of the computer must not exceed the
maximum rating of the computer power supply.
1. Prepare the computer for disassembly (Preparing for disassembly on page 8).
2. Remove the access panel (Removing and replacing the access panel on page 18).
3. Remove the system board tray (Installing a system board on page 25).
4. Use the security tool from the tool kit (Accessing the tool kit on page 9) to remove the power supply
cover, located on the rear of the case.
CAUTION: To avoid damaging the cover, pry only on the side of the cover as shown in the following
image.
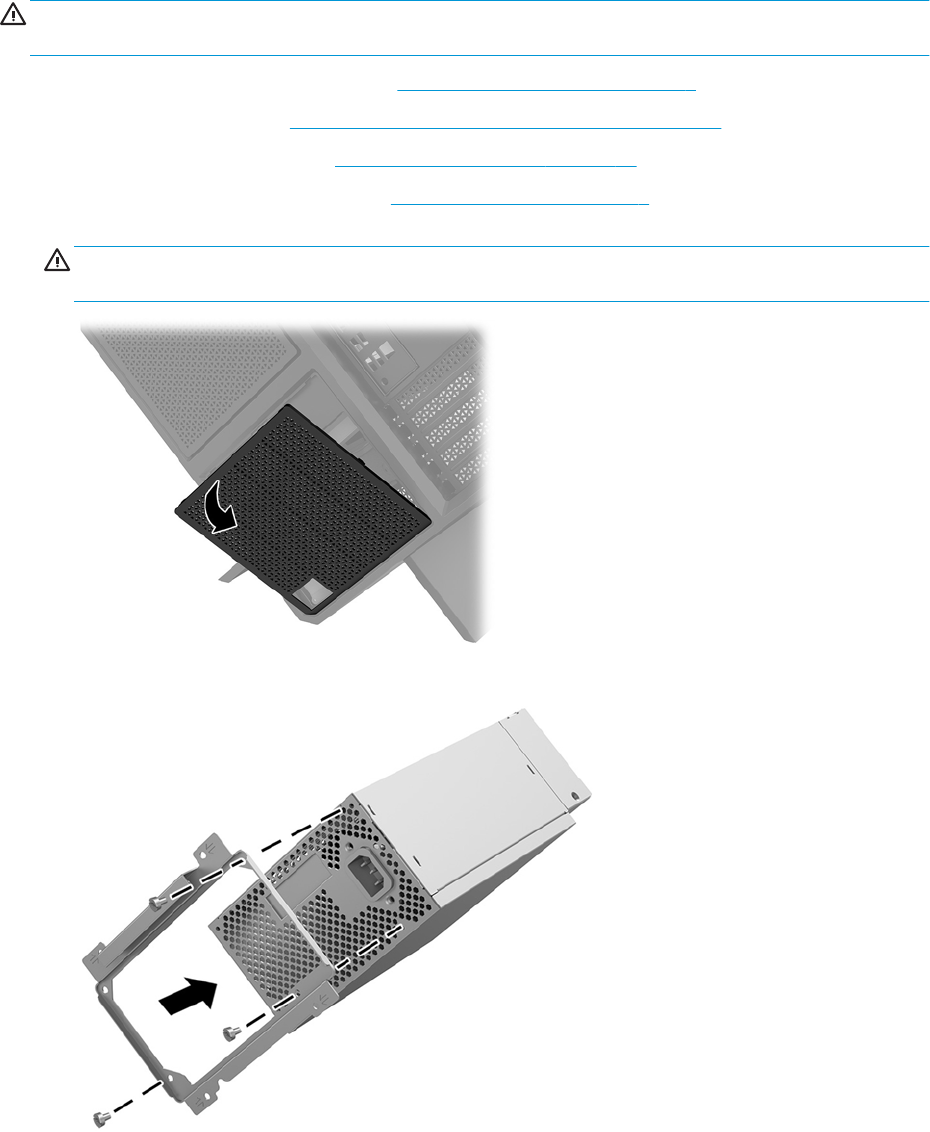
5. Install the power supply bracket onto the power supply.
6. Route the power cables into the case, and then insert the power supply (1).
28 Chapter 2 Hardware upgrades