
Hardware Reference Guide
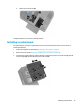
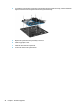


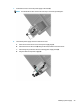


Table Of Contents
- Product features
- Hardware upgrades
- Warnings and cautions
- Preparing for disassembly
- Accessing the tool kit
- Replacing or installing drives
- Removing and replacing the access panel
- Installing system memory
- Installing graphics cards
- Removing the PCI fan
- Installing a system board
- Removing the hard drive fan
- Installing a power supply
- Installing a radiator bracket for liquid cooling
- Cleaning filters
- Electrostatic discharge
- Computer operating guidelines and routine care
- Accessibility
- Index
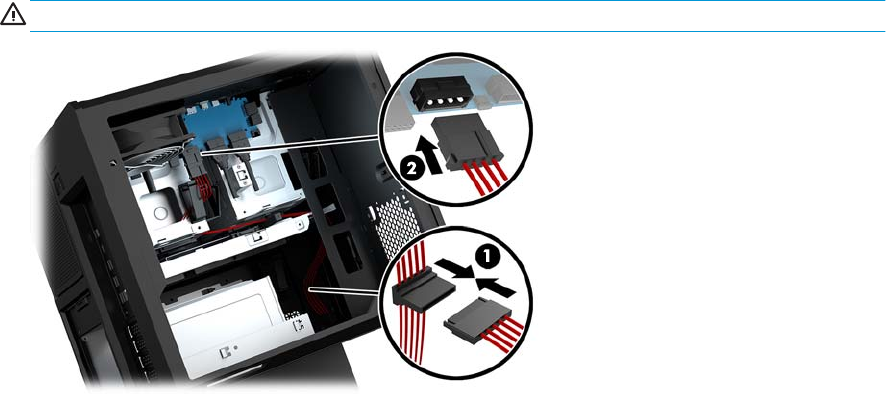
9. Connect the power supply SATA cables (1) and I/O board and cable (2).
Five SATA power cables (four hard drive + one U.2 drive) and one PATA power connector (from the I/O
board) are available to connect to the power supply.
The cables in the computer case are labeled to indicate components they connect to.
CAUTION: To avoid damaging the cable, pull the tab or connector instead of the cable itself.
10. Replace the power supply cover.
11. Replace the system board tray assembly.
30 Chapter 2 Hardware upgrades