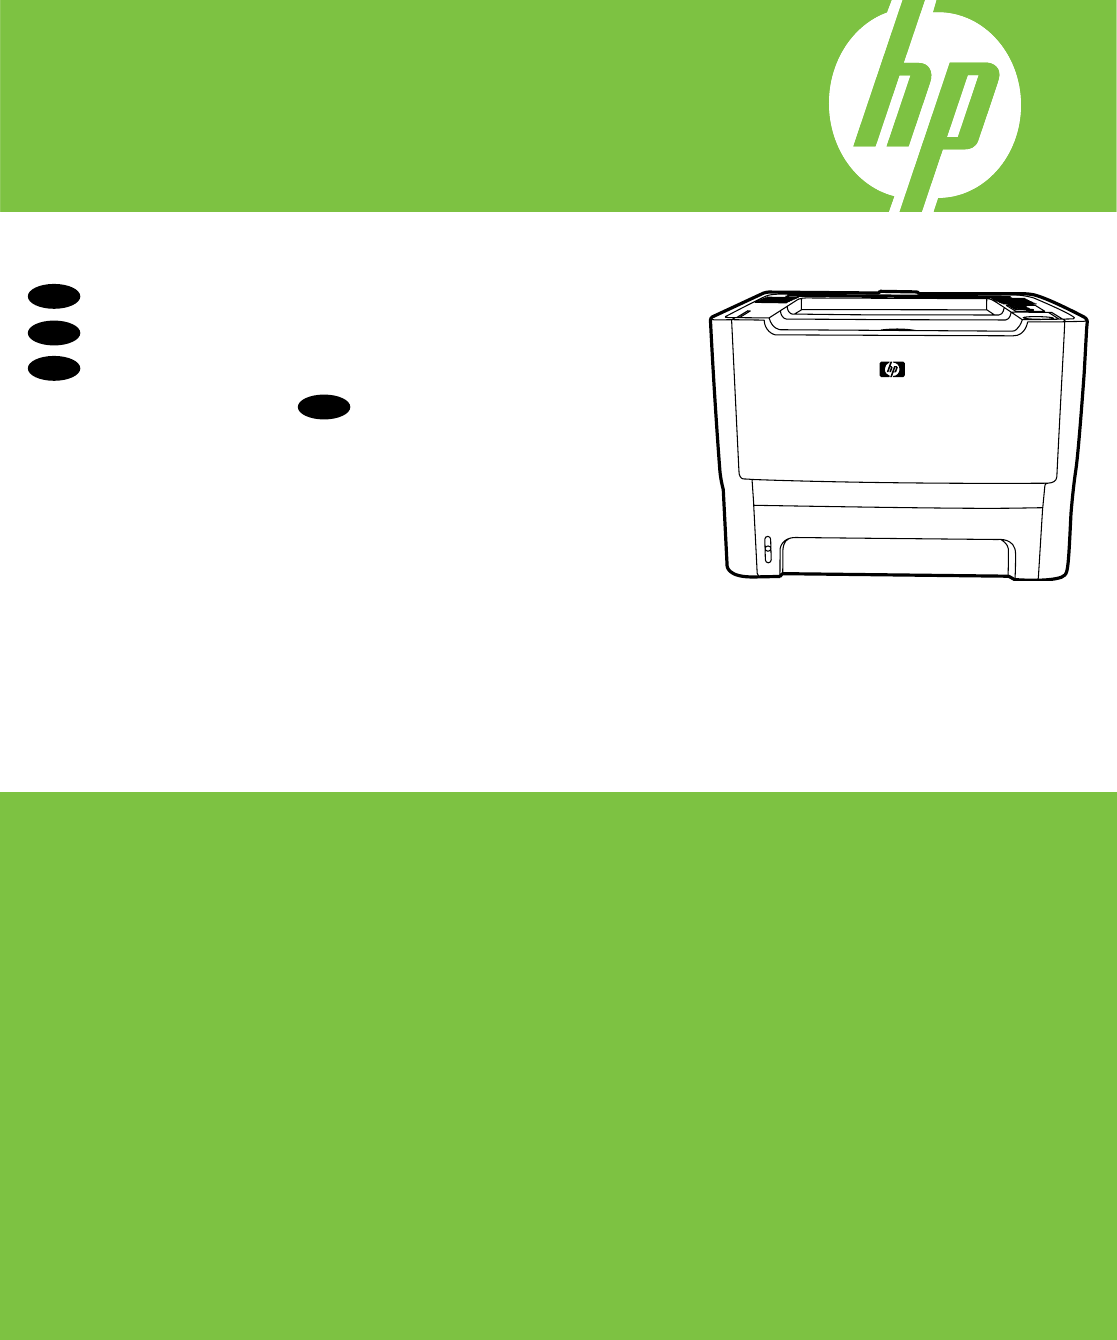
HP LaserJet P2010 Series EN Getting Started Guide DA Sådan kommer du i gang CA Guia d’introducció מדריך לתחילת העבודה HE © 2007 Hewlett-Packard Development Company, L.P. www.hp.
Copyright and License © 2007 Copyright Hewlett-Packard Development Company, L.P. Reproduction, adaptation or translation without prior written permission is prohibited, except as allowed under the copyright laws. The information contained herein is subject to change without notice. The only warranties for HP products and services are set forth in the express warranty statements accompanying such products and services. Nothing herein should be construed as constituting an additional warranty.
1 www.hp.com/support English: Visit www.hp.com/support for warranty support, technical support, self-solve tools, online assistance, community forums of IT experts, broad multivendor knowledge base, as well as monitoring and diagnostic tools. Warranty support can also be obtained at the numbers listed. Please note that telephone charges may apply. Français: Visitez le site www.hp.
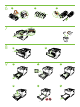
3 EN • Select a sturdy, well-ventilated, dust-free area to position the device. DA • Vælg et fast, godt ventileret og støvfrit underlag at placere enheden på. CA • Trieu una superfície sòlida, ben ventilada i sense pols per col locar el dispositiu. .
4 EN • Remove all orange shipping materials. DA • Fjern al orange forsendelsesmateriale. CA • Traieu tots els materials d’embalatge de color taronja. .
A B C 5x 7 8 A 9 A B C D E F B 4
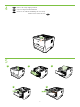
EN Note: For non-network (n) models, go to step 11. DA Bemærk! For modeller uden netværkskort (n) kan du gå videre til trin 11. CA Nota: Per als models que no són de xarxa (n), aneu al pas 11. .11 עבור לשלב,(n) עבור דגמים שאינם מיועדים לרשת:הערה 10 EN • Connect a Network (N model only) cable. DA • Tilslut et Netværkskabel (kun N-model). CA • Connecteu un cable de xarxa (només models N) .
EN • Verify that one of the network lights (10 or 100) is illuminated on network port. DA • Konstater, at der er lys i en af netværkslamperne (10 eller 100) på netværksporten. CA • Comproveu que un dels indicadors lluminosos de xarxa (10 o 100) estigui il luminat al port de xarxa. .
EN Note: If IP address is needed during software installation, press and hold the green GO button for 5 seconds to print Configuration page. DA Bemærk! Hvis der er brug for IP-adressen under softwareinstallationen, tryk på den grønne GOknap og hold den inde i fem sekunder for at udskrive Konfigurationssiden. CA Nota: Si necessiteu una adreça IP durant la instal lació del programari, mantingueu premut el botó GO (Vés) durant cinc segons per imprimir una pàgina de configuració.
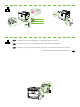
11 EN Install software. DA Installer software. CA Instal leu el programari. .
12 EN • Connect a Parallel or USB cable when prompted during the software installation. DA • Forbind et Parallel- eller USB-kabel, når du bliver bedt om det under softwareinstallationen. CA • Connecteu un cable en parallel o USB quan se us demani durant la installació del programari. .
13 14 EN A “Test Page” will print after software has been installed. DA En “Testside” vil blive udskrevet, efter softwaren er blevet installeret. CA S’imprimirà una pàgina de prova després que s’hagi instal lat el programari. .
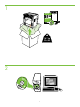
Danish Yderligere oplysninger Se den elektroniske Brugervejledning på den cd-rom, som fulgte med printeren, for yderligere oplysninger om følgende emner: • Fejlfinding • Vigtige sikkerhedsmeddelelser og regulativ information • Detaljerede brugerinstruktioner Disse informationer kan du også finde på http://www.hp.com/support/ljp2010series.
12
13