
Maintenance and Service Guide
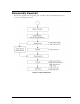
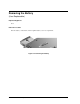
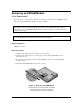
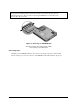
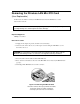
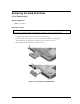
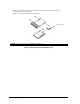
Table Of Contents
- Contents
- Introduction
- Product Information
- Removal and Replacement
- Disassembly Flowchart
- Removing the Battery
- Removing an SDRAM Module
- Removing the Wireless LAN Mini PCI Card
- Removing the Hard Disk Drive
- Recovering the Factory Software
- Replacing Small Parts
- Removing the Keyboard Cover
- Removing the Speaker Assembly
- Removing the Keyboard
- Removing the Switchboard PCA
- Removing the CD/DVD Drive
- Removing the Display Assembly
- Removing the Top Case
- Removing the Floppy Drive
- Removing the Infrared (I/R) PCA
- Removing the Audio PCA
- Removing the Heat Sink (with Fan)
- Removing the CPU Module
- Removing the RJ11/1394 Connector Module
- Removing the Motherboard
- Replacing Components on a Bottom Case
- Repairing the BIOS IC
- Removing Other Components
- Troubleshooting and Diagnostics
- Replaceable Parts
- Reference Information
2-6 Removal and Replacement Service Manual
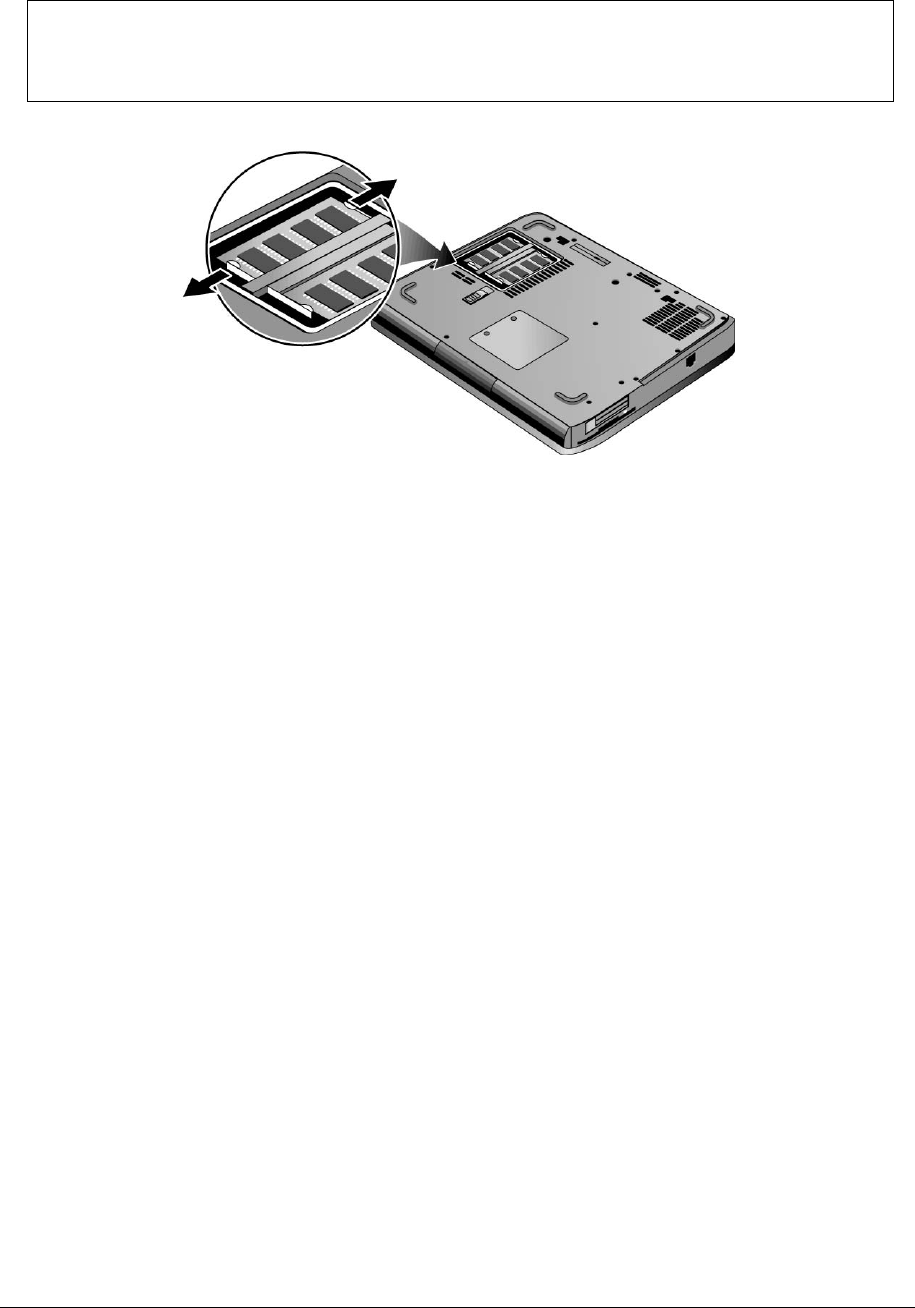
NOTE: The SDRAM door on HP Pavilion ze5x00, HP Compaq nx9010 and nx9008, and
Compaq Presario 2500 models is located in the rear left corner of the notebook bottom, as
indicated in Figure 2-4. The procedure for removing the SDRAM door and modules is the
same for all notebook models.
Figure 2-4. Removing an SDRAM Module
HP Pavilion ze5x00, HP Compaq nx9010, nx9008,
and Compaq Presario 2500 Models
Reassembly Notes
Carefully press the SDRAM module into the connector at an angle of about 30°, until it is fully
inserted, and then press down on both sides of the SDRAM module until the latches snap closed.