
Startup Guide Compaq Notebook Series

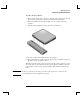
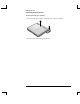
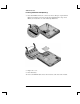
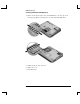
Table Of Contents
- Important Safety Information
- Software Product License Agreement
- Contents
- Getting Started with Your Notebook
- Basic Operation
- Batteries and Power Management
- Modem and Network Connections
- Add-On Devices
- Troubleshooting and Maintenance
- Troubleshooting Your Notebook
- Audio problems
- CD-ROM and DVD problems
- Display problems
- Hard drive problems
- Heat problems
- Infrared problems
- Keyboard and pointing device problems
- Local area network (LAN) problems
- Memory problems
- Modem problems
- PC Card (PCMCIA) problems
- Performance problems
- Power and battery problems
- Printing problems
- Serial, parallel, and USB problems
- Startup problems
- Wireless problems
- Configuring the Notebook
- Reinstalling and Updating Software
- Troubleshooting Your Notebook
- Reference Information
- Index
Add-On Devices
Replacing the Hard Drive
62 Reference Guide
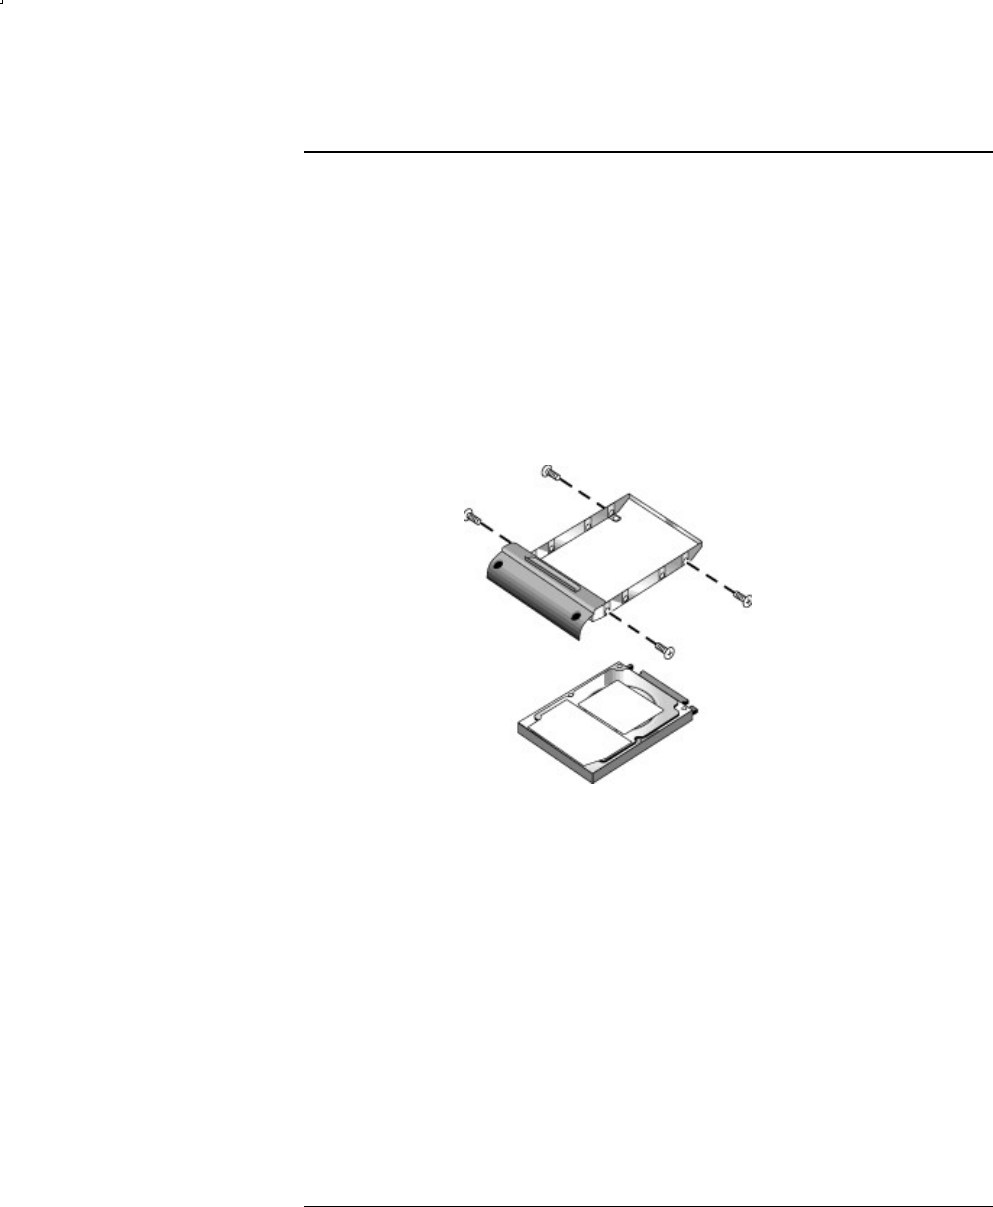
To replace the hard drive holder
If you are installing a new hard drive that does not have a holder, you can remove the
holder parts from the old hard drive. You’ll need a small Phillips screwdriver for this
procedure.
1. Remove the four screws from the sides of the holder and drive case, then slide
the drive out of the holder.
2. Notice that the hard drive has a pin connector attachment at one end. Carefully
remove this connector from the end of the drive. Work alternately at each end so
that the connector slides off evenly without bending the connector pins.
3. Carefully put the pin connector attachment back onto the pins on the end of the
new hard drive. Work alternately at each end so that the connector slides on
evenly without bending the connector pins.
4. Insert the drive into the holder.
5. Reinstall the screws into the holder and drive case.