
User Guide - Windows 8
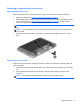
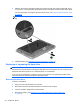

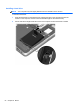
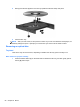
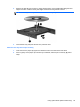
Table Of Contents
- Welcome
- Getting to know your computer
- Connecting to a network
- Navigating using the keyboard, touch gestures and pointing devices
- Multimedia
- Power management
- Shutting down the computer
- Setting power options
- Using power-saving states
- Using battery power
- Finding additional battery information
- Using Battery Check
- Displaying the remaining battery charge
- Maximizing battery discharge time
- Managing low battery levels
- Inserting or removing the battery
- Conserving battery power
- Storing a user-replaceable battery (select models only)
- Disposing of a user-replaceable battery (select models only)
- Replacing a user-replaceable battery (select models only)
- Using external AC power
- Switchable graphics/dual graphics (select models only)
- External cards and devices
- Drives
- Security
- Protecting the computer
- Using passwords
- Using antivirus software
- Using firewall software
- Installing critical security updates
- Using HP Client Security Manager
- Installing an optional security cable
- Using the fingerprint reader (select models only)
- Maintenance
- Backup and recovery
- Computer Setup (BIOS), MultiBoot, and HP PC Hardware Diagnostics (UEFI)
- Support
- Specifications
- Traveling with the computer
- Troubleshooting
- Troubleshooting resources
- Resolving issues
- The computer is unable to start up
- The computer screen is blank
- Software is functioning abnormally
- The computer is on but not responding
- The computer is unusually warm
- An external device is not working
- The wireless network connection is not working
- The optical disc tray does not open for removal of a CD or DVD
- The computer does not detect the optical drive
- A disc does not play
- A movie is not visible on an external display
- The process of burning a disc does not begin, or it stops before completion
- Electrostatic discharge
- Index
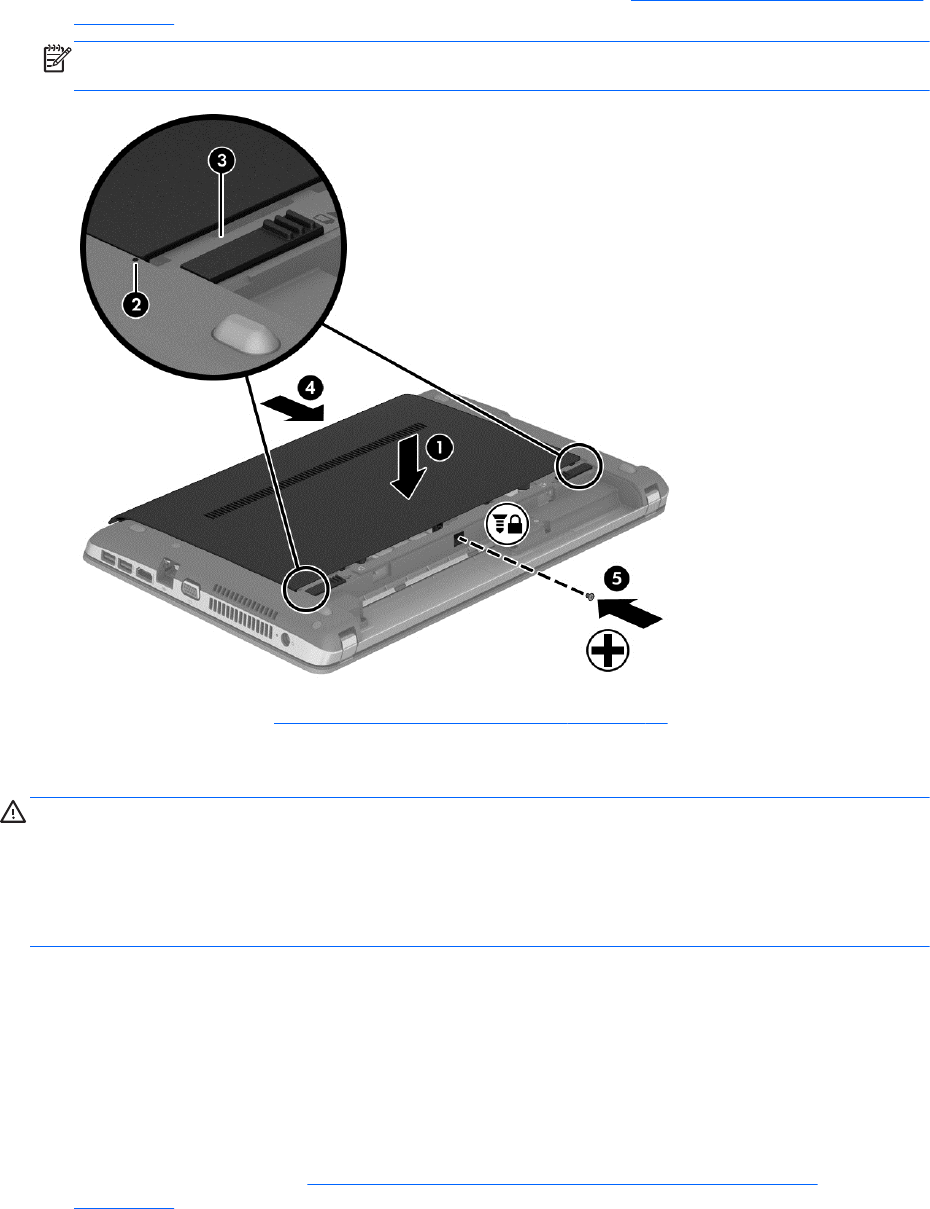
3. Slide the service door towards the battery bay until the service door snaps into place (4), and if
you choose to, insert and tighten the optional security screw (5) to hold the service door in place.
For more information on using the optional security screw, see
Using the optional security screw
on page 50.
NOTE: If you do not want to use the optional security screw, you can store it inside the battery
bay.
4. Insert the battery (see Inserting or removing the battery on page 41).
Replacing or upgrading the hard drive
CAUTION: To prevent information loss or an unresponsive system:
Shut down the computer before removing the hard drive from the hard drive bay. Do not remove the
hard drive while the computer is on, in the Sleep state, or in Hibernation.
If you are not sure whether the computer is off, turn the computer on by pressing the power button.
Then shut down the computer through the operating system.
Removing the hard drive
To remove a hard drive:
1. Save your work and shut down the computer.
2. Disconnect AC power and external devices connected to the computer.
3. Turn the computer upside down on a flat surface.
4. Remove the battery. (See
Replacing a user-replaceable battery (select models only)
on page 43).
52 Chapter 8 Drives