
HP SureStore CD-Writer Plus User's Guide - C4381-90100
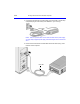
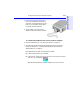

Table Of Contents
- Hewlett-Packard Limited Warranty Statement
- HP Software License Agreement
- Chapter 1: Installing CD-Writer Plus and Software
- Chapter 2: Using Your CD-Writer Plus
- Chapter 3: Problem Solving
- Chapter 4: Sharing Your CDs
- Chapter 5: Making Data CDs
- Chapter 6: Making Music CDs
- Chapter 7: Making Inserts and Labels
- Chapter 8: Copying CDs
- Chapter 9: HP Simple Trax
- Chapter 10: Adobe PhotoDeluxe
- Chapter 11: Corel Print House Magic
- Chapter 12: Photo Organizer
- Chapter 13: PaperMaster Live Quick-Start Tutorial
- Searching for a Document
- Viewing and Customizing Your Documents
- Faxing and Printing Your Documents
- Creating a New Cabinet and Copying Information
- Creating Customized Drawers and Folders
- Filing a Document into PaperMaster Live
- Publishing, Sharing and Archiving Cabinets to CD
- Viewing a Cabinet Given to you on CD
- Congratulations!
- Upgrade Notification
- Chapter 14: Norton AntiVirus
- Appendix A: Technical Information
- Appendix B: Customer Support
- Index
Moving CD-Writer Plus to Another Computer 1-15
Chapter 1: Connecting CD-
Writer Plus and Installing the
Software
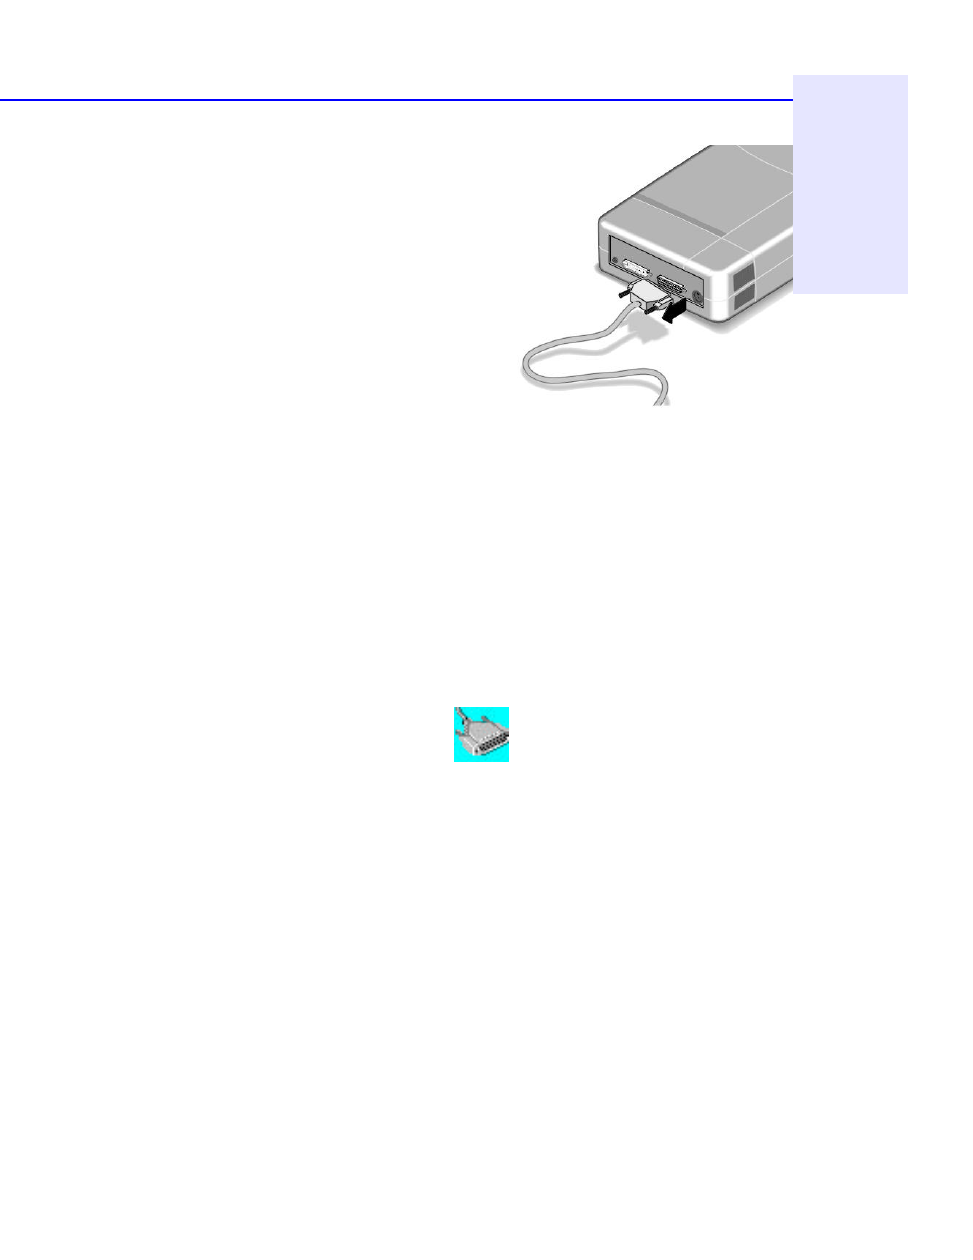
4. Disconnect the printer cable (if any)
from your CD-Writer Plus drive and
reconnect it to the printer port on the
back of your computer (other cables
not shown but still attached).
5. You are ready to connect the CD-
Writer Plus drive to another computer.
To connect the CD-Writer Plus drive to another computer:
1. Follow the directions for “Connecting CD-Writer” on page 1-2.
2. The first time you attach the CD-Writer Plus drive to this computer,
follow the directions in “Installing the Software for Windows 95 or
Windows NT 4.0” on page 1-8.
Each additional time, after connecting all the cables:
■ In Windows NT, reboot your computer.
■ In Windows 95, simply click on the Connect or Disconnect external
drive icon on your desktop.
Select Shuttle EPAT External ATAPI Adapter, then click Connect.