
HP SureStore CD-Writer Plus User's Guide - C4381-90100
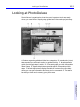
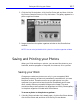
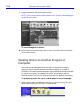
Table Of Contents
- Hewlett-Packard Limited Warranty Statement
- HP Software License Agreement
- Chapter 1: Installing CD-Writer Plus and Software
- Chapter 2: Using Your CD-Writer Plus
- Chapter 3: Problem Solving
- Chapter 4: Sharing Your CDs
- Chapter 5: Making Data CDs
- Chapter 6: Making Music CDs
- Chapter 7: Making Inserts and Labels
- Chapter 8: Copying CDs
- Chapter 9: HP Simple Trax
- Chapter 10: Adobe PhotoDeluxe
- Chapter 11: Corel Print House Magic
- Chapter 12: Photo Organizer
- Chapter 13: PaperMaster Live Quick-Start Tutorial
- Searching for a Document
- Viewing and Customizing Your Documents
- Faxing and Printing Your Documents
- Creating a New Cabinet and Copying Information
- Creating Customized Drawers and Folders
- Filing a Document into PaperMaster Live
- Publishing, Sharing and Archiving Cabinets to CD
- Viewing a Cabinet Given to you on CD
- Congratulations!
- Upgrade Notification
- Chapter 14: Norton AntiVirus
- Appendix A: Technical Information
- Appendix B: Customer Support
- Index
10-10 Saving and Printing your Photos
Printing a Photo
You can print completed photos or projects with your printer. To prevent
mistakes and
save paper, use Print Preview to check the size of the photo
on the paper you
selected and confirm settings in Page Setup before you
actually print.
To check the photo size in Print Preview:
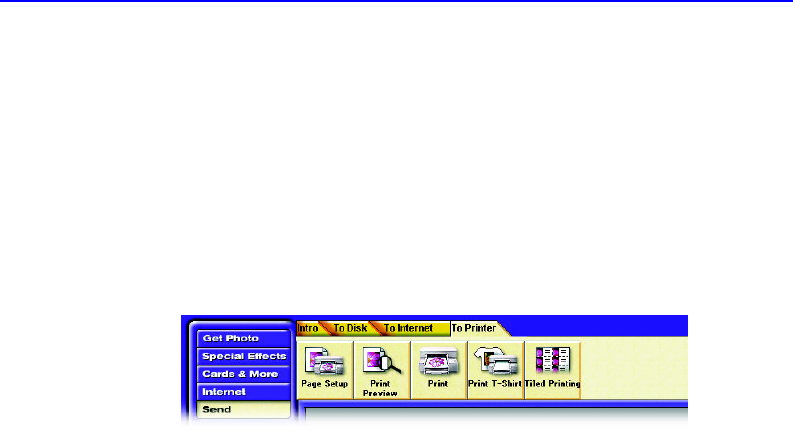
1. Click the Send button at the upper left corner of the screen. Click the To
Printer tab and then click the Print Preview button.
2. After the photo appears on the preview of the printed page, see if the
entire photo fits within the page boundary. If it doesn’t, you may want to
use Page Setup to change the page size or orientation or use PhotoDeluxe
to resize
or rotate the photo so it fits.
To check Page Setup options:
1. Click the Send button at the upper left corner of the screen. Click the To
Printer tab and then click the Page Setup button.
2. Specify the options you want and then click OK.
To print a photo:
1. Click the Send button at the upper left corner of the screen, click the To
Printer tab, and click the Print button.
2. Select the options you want from the top half of the Print box.
NOTE: The Print Range option applies only to
guided activities that create more
than one page.
3. Select a PhotoDeluxe Output Quality setting from the bottom half of the
Print box and click OK.