
(English) Macintosh Connect * Users Guide - C6427-90071
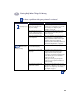
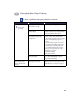
Table Of Contents
- Table of Contents
- Introduction
- Printing Basics
- Using Your Printer Software
- Using and Caring for Your Print Cartridges
- Getting Help When Things Go Wrong
- Supplies and Accessories
- Setup Instructions
- Specifications
- Legal Information
- Index
- Environmental Statement
Getting Help When Things Go Wrong
4
45
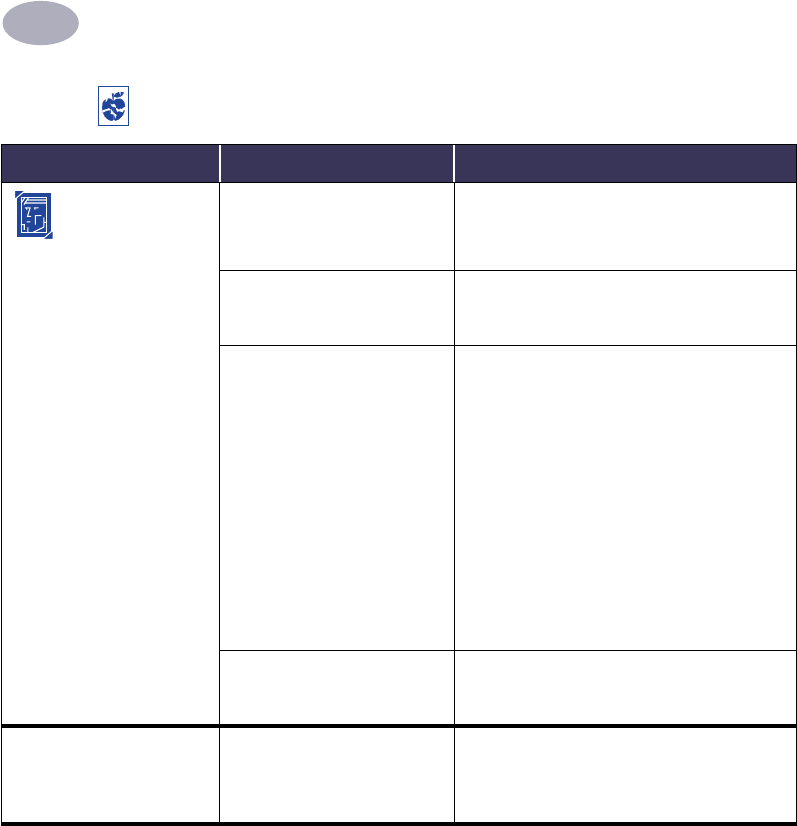
Photos aren’t
printing correctly.
You may not have inserted the
photo media correctly.
Insert the photo media glossy side down.
The photo paper may not be
fully engaged.
1 Review the printing instructions on page 13.
2 Make sure that the paper length guides are
snug up against the photo paper.
You may not have selected
the appropriate Paper Type
or Paper Size.
1 From the Page Setup dialog box, select
Photo 4 x 6 in., 102 x 152 mm (with
tear-off tab) as the Paper Size. See “Page
Setup - Controlling Page Layout” on
page 6.
2 In your software program, choose Print
from the File menu. On the Paper Type/
Quality panel of the Print dialog box,
select HP Premium Plus Photo Paper,
Glossy as the Paper Type. See “Print
Dialog Box” on page 7.
3 Click Save Settings.
4 Print your document.
You may not have selected
Best print quality.
1 Go to the Paper Type/Quality dialog box.
See “Paper Type/Quality” on page 9.
2 Select Best print quality.
Binding margin appears in
the wrong place when
trying to do Two-Sided
Printing.
You may have selected the
wrong paper orientation.
• Make sure you have selected the correct
Binding option in the Layout panel of the
Print dialog box. See “Layout” on page 9.
Is there a problem with your printout? continued
What is the problem? Possible cause To solve the problem…