
BLADE OS™ Application Guide HP GbE2c Ethernet Blade Switch for c-Class BladeSystem Version 5.1 Advanced Functionality Software
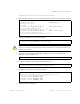
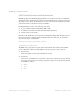
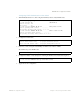
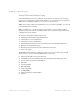
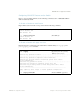
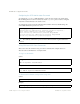
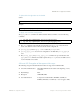
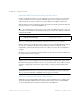
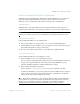
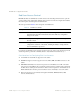
Table Of Contents
- Contents
- Figures
- Tables
- Preface
- Part 1: Basic Switching
- Accessing the Switch
- The Management Network
- Local Management Using the Console Port
- The Command Line Interface
- Remote Management Access
- Client IP Address Agents
- Securing Access to the Switch
- Setting Allowable Source IP Address Ranges
- RADIUS Authentication and Authorization
- TACACS+ Authentication
- LDAP Authentication and Authorization
- Secure Shell and Secure Copy
- Configuring SSH/SCP Features on the Switch
- Configuring the SCP Administrator Password
- Using SSH and SCP Client Commands
- SSH and SCP Encryption of Management Messages
- Generating RSA Host and Server Keys for SSH Access
- SSH/SCP Integration with Radius Authentication
- SSH/SCP Integration with TACACS+ Authentication
- End User Access Control
- Ports and Trunking
- Port-Based Network Access Control
- VLANs
- Spanning Tree Protocol
- RSTP and MSTP
- Link Layer Discovery Protocol
- Quality of Service
- Accessing the Switch
- Part 2: IP Routing
- Basic IP Routing
- Routing Information Protocol
- IGMP
- OSPF
- OSPF Overview
- OSPF Implementation in BLADE OS
- OSPF Configuration Examples
- Remote Monitoring
- Part 3: High Availability Fundamentals
- High Availability
- Layer 2 Failover
- Server Link Failure Detection
- VRRP Overview
- Failover Methods
- BLADE OS Extensions to VRRP
- Virtual Router Deployment Considerations
- High Availability Configurations
- High Availability
- Part 4: Appendices
- Index
BLADE OS 5.1 Application Guide
BMD00113, September 2009 Chapter 1: Accessing the Switch 51
Configuring TACACS+ Authentication on the Switch
1. Turn TACACS+ authentication on, then configure the Primary and Secondary TACACS+ servers.
2. Configure the TACACS+ secret and second secret.
3. If desired, you may change the default TCP port number used to listen to TACACS+. The
well-known port for TACACS+ is 49.
4. Configure the number of retry attempts, and the timeout period.
5. Configure custom privilege-level mapping (optional).
6. Apply and save the configuration.
>> Main# /cfg/sys/tacacs+ (Select the TACACS+ Server menu)
>> TACACS+ Server# on (Turn TACACS+ on)
Current status: OFF
New status: ON
>> TACACS+ Server# prisrv 10.10.1.1 (Enter primary server IP)
Current primary TACACS+ server: 0.0.0.0
New pending primary TACACS+ server: 10.10.1.1
>> TACACS+ Server# secsrv 10.10.1.2 (Enter secondary server IP)
Current secondary TACACS+ server: 0.0.0.0
New pending secondary TACACS+ server: 10.10.1.2
>> TACACS+ Server# secret <1-32 character secret>
>> TACACS+ Server# secret2 <1-32 character secret>
!
Caution—If you configure the TACACS+ secret using any method other than a direct console
connection or through a secure management module connection, the secret may be transmitted over
the network as clear text.
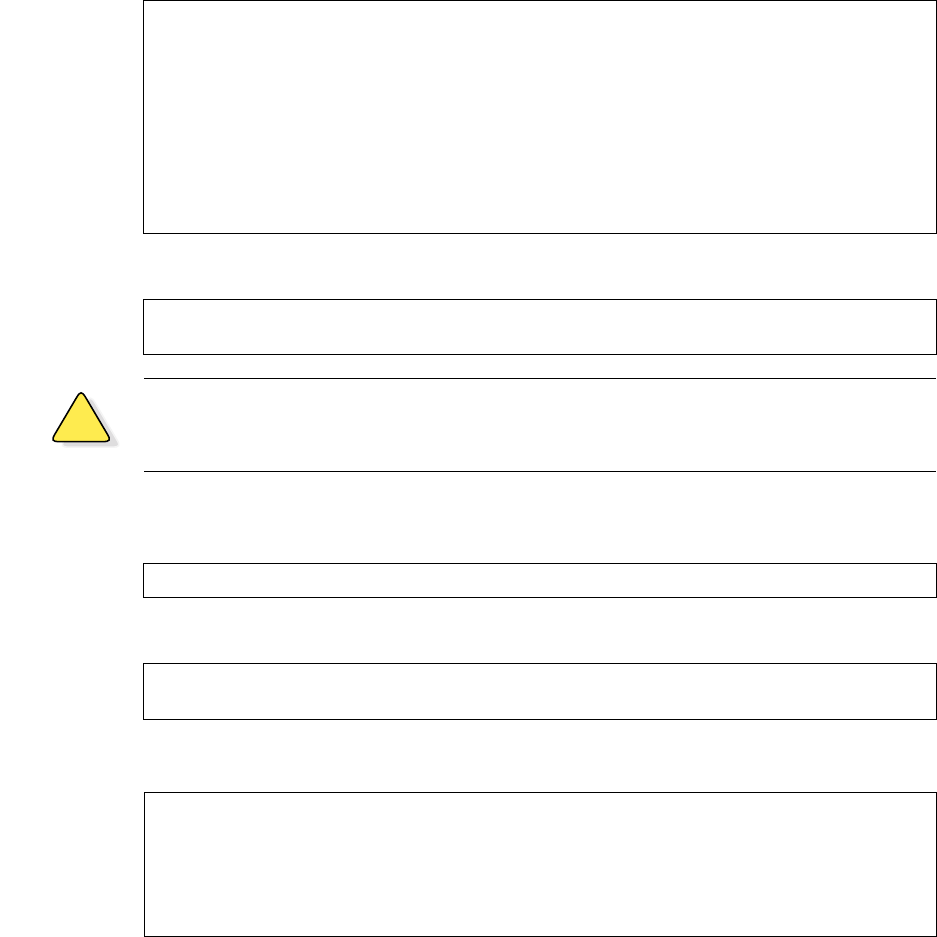
>> TACACS+ Server# port <server port number (1-65000)>
>> TACACS+ Server# retries <server retries (1-3)>
>> TACACS+ Server# time <timeout period in minutes (4-15)>
>> TACACS+ Server# usermap 2
Current privilege mapping for remote privilege 2: not set
Enter new local privilege mapping: user
>> TACACS+ Server# usermap 3 user
>> TACACS+ Server# usermap 4 user
>> TACACS+ Server# usermap 5 oper