
SQL/MX Remote Conversational Interface (RMXCI) Guide for SQL/MX Release 3.2 (H06.25+, J06.14+)

1. At the command prompt, change to the directory where you downloaded the installer:cd
installer-directory
where,
installer-directory is the directory where you have downloaded the installer.
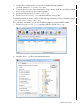
2. Before launching the command-line installer, see the command options by using the -help
option:
java —jar rmxciInstaller.jar —help
Usage: java —jar <installer jar> [ —help] | <-cm|-silent>
[-jdbcFile <jdbc filename>] [-installDir <install Dir>]
NOTE: The -silent option installs the client without prompting you for other options.
The following is a sample install command on Windows:
java -jar rmxciInstaller.jar -silent -jdbcFile C:\t4sqlmx.jar
-installDir C:\
The -jdbcFile and -installDir are optional parameters, and the defaults are listed
for them in the following table:
Table 1 Installation Defaults
installDirjdbcFileOS
C:\Program
Files\Hewlett-Packard\SQLMX
Command Interface
C:\t4sqlmx.jarWindows
/usr/local/usr/local/rmxci/t4sqlmx.jarLinux
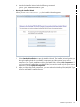
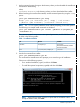
3. Launch the command-line installer:
java -jar rmxciInstaller.jar cm
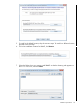
The command-line installer starts and prompts you to enter the type of installation.
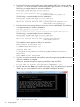
Choose one of the following options:
◦ For a standard installation, type Y, and then click Enter.
◦ To install the optional components, type N, and then click Enter.
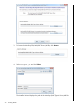
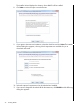
NOTE: In the following steps, all items in square braces are default values. To
accept the default value, click Enter.
Installation procedures 29