
HP Netserver LXr Pro8 User Guide


Chapter 3 Opening and Closing the
HP NetServer
28
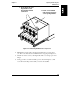
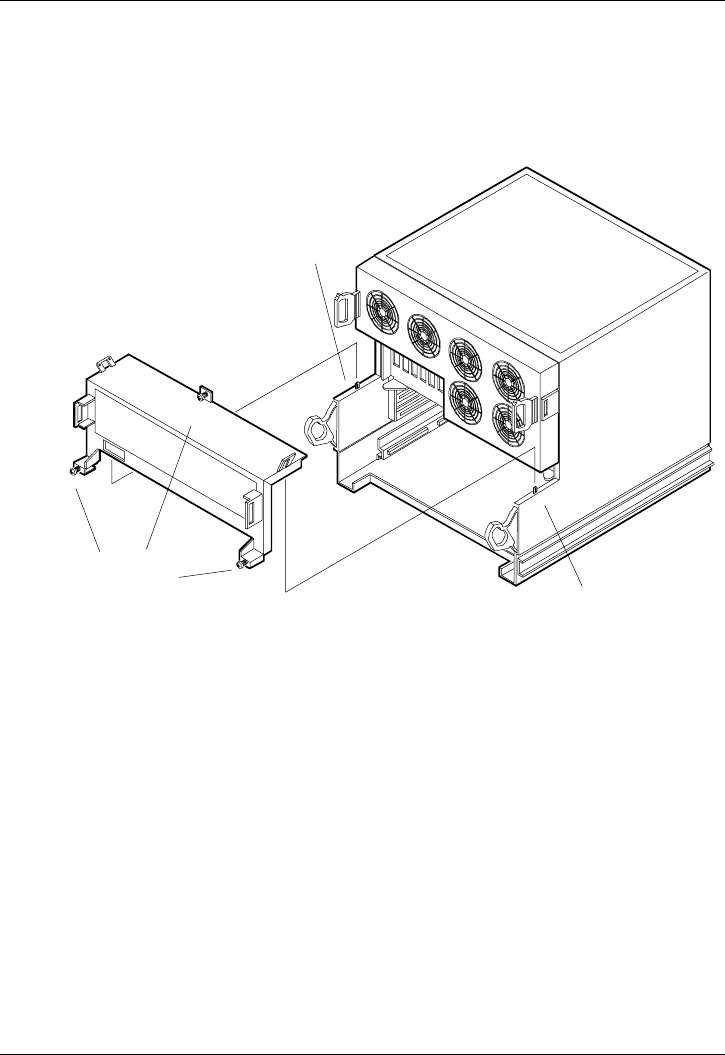
3. Remove the HP NetServer's rear access panel:
a. Loosen the three captive screws that fix the panel in place. See Figure
3-10.
b. Lift off the panel.
Mounting Tab
Mounting Tab
Captive
Screws
Figure 3-10. Removing the Rear Access Panel
4. The lower board cage is now exposed. Remove or add boards as needed,
then reattach the rear access panel:
a. Lower the panel into place. A slotted flange extends from the top of
the panel on either side. You must align the slots with the matching
tabs on the satellite chassis. See Figure 3-10.
b. Tighten the three captive fasteners.
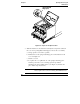
5. Reattach the lower fan module:
a. On each side of the back of the fan module are two slots. Line these
slots up with the flanges on the fan's mounting rails. See Figure 3-9.
b. Push the fan module onto the mounting rails until the module clicks
into place.