
Jolt 1.2 Developer's Guide


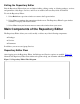
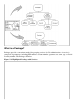
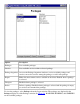
Table Of Contents
- Jolt for NonStop(TM) TUXEDO Developer's Guide
- Jolt for NonStop(TM) TUXEDO Developer's Guide
- About This Guide
- 1. Introducing Jolt
- 2. Installing Jolt
- 3. Configuring the Jolt System
- 4. Bulk Loading NonStopTM TUXEDO Services
- 5. Using the Jolt Repository Editor
- 6. Using the Jolt Class Library
- 7. Using JoltBeans
- 8. Using Servlet Connectivity for NonStopTM TUXEDO
- 9. Using Jolt 1.2 ASP Connectivity for NonStopTM TUXEDO
- A. NonStopTM TUXEDO Errors
- B. System Messages
- Index
Getting Started
Before starting the Repository Editor, make sure that you have installed all necessary Jolt software. To
use the Repository Editor, you must:
Start the Repository Editor●
Log on to the Repository Editor
Note
For information on exiting the Repository Editor when you are finished entering information,
refer to Exiting the Repository Editor.
●
Start the Repository Editor from either the JavaSoft appletviewer or from your Web browser.
Starting the Repository Editor Using appletviewer
Set the CLASSPATH to include the Jolt class directory.1.
If loading the applet from a local disk, type the following at the URL location:
appletviewer <full-pathname>/RE.html
If loading the applet from the Web server, type the following at the URL location:
appletviewer http://<www.server>/<URL path>/RE.html
2.
Press Enter. The Repository Editor logon window displays.3.
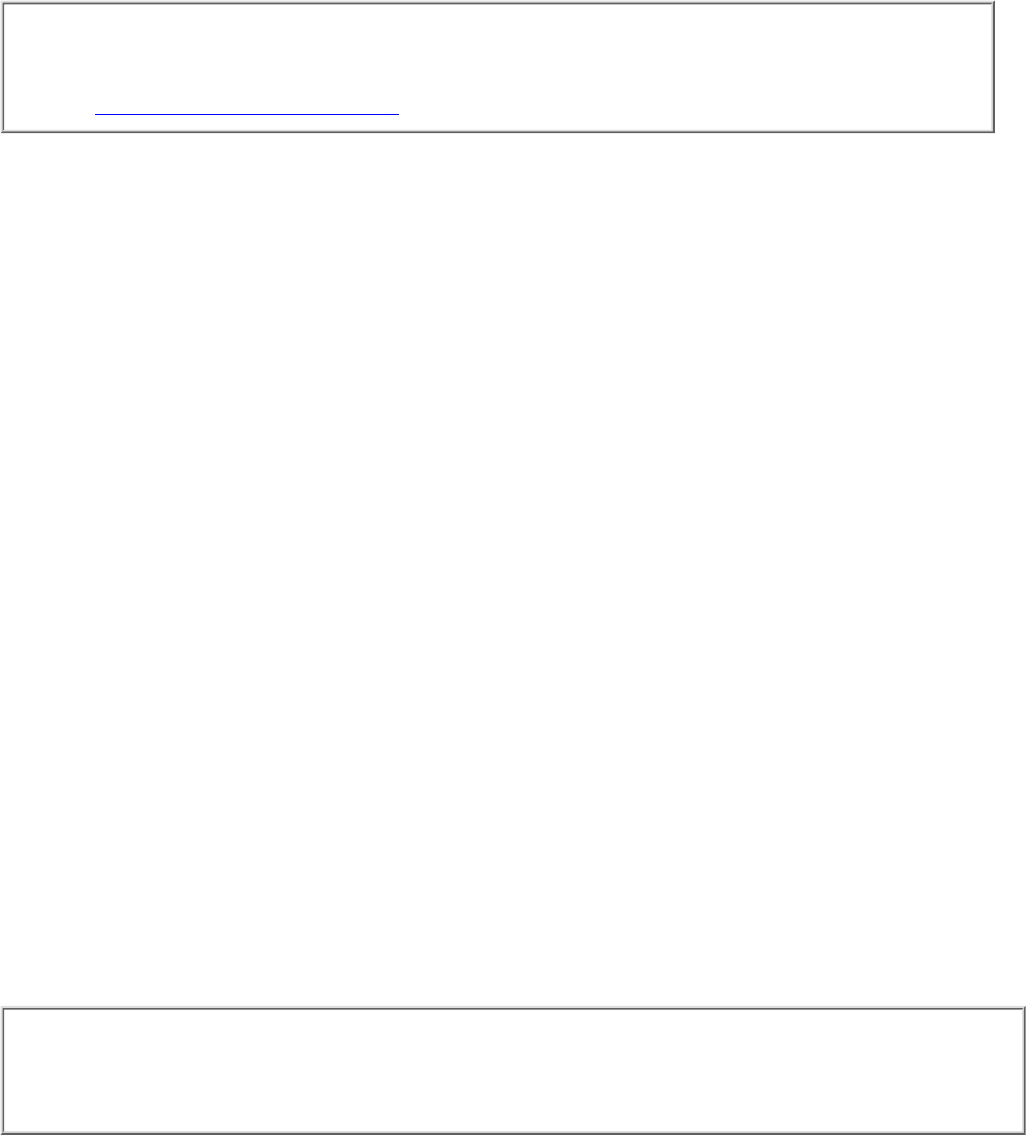
Starting the Repository Editor Using Your Web Browser
From a local file:
Set the CLASSPATH to include the Jolt class directory.1.
Type the following:
file:<full-pathname>/RE.html
2.
From a Web server:
Ensure that the CLASSPATH does not include the Jolt class directory.1.
Unset the CLASSPATH.2.
Type the following:
http://<www.server>/<URL path>/RE.html
Note
Before opening the file, modify the applet codebase parameter in RE.html to match your Jolt
Java classes directory.
3.
Press Enter. The Repository Editor logon window displays.4.