
NonStop S-Series Hardware Installation and FastPath Guide (G06.29+)


Troubleshooting
HP NonStop S-Series Hardware Installation and FastPath Guide—541880-002
D-43
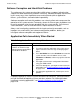
Restoring Software on the Hard Disk
Configure the System Console
Set Up Date and Time
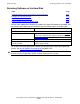
Table Task Page
Table D-9 Set Up Date and Time D-43
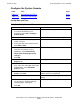
Table D-10 Set Event Log Settings D-44
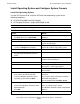
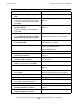
Table D-9. Set Up Date and Time
Action Result
1. If the date/time properties in the form
of a map of the world are not
displayed, select Start > Settings >
Control Panel.
The Control Panel appears.
2. Click the Date/Time icon. The Date/Time Properties screen appears.
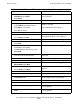
3. In the Date & Time tab, set day,
month, and year.
4. Select your time zone from the menu.
Click Date & Time.
5. Click the Time Zone tab and select
your time zone from the menu.
Optionally, select Automatically
adjust clock for daylight saving
changes.
Click OK.
The Date/Time Properties screen closes.
6. Still in the control panel, click the
Display icon.
The Display Properties screen appears.
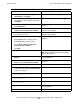
7. In the Settings tab, under Desktop
Area, move the slide button to the right
(toward More). Show 800 X 600
pixels or more.
8. Under Color Palette, select 65536
Colors. Click Test.
Setup displays a message regarding the test
pattern and a five-second wait.
9. Click OK to start the test. After the test, you are prompted if you saw the
bitmap.
10. Click Yes if the screen is readable. If
not, change the desktop setting by
repeating Steps 7 through 9.
Click OK.
The Display Properties screen closes.