
OVNPM 1.5.2 - Performance Agent for NonStop Display Agent Guide

Using Views: SystemInsight 87
6-11-2 Creating a Time Reference
Steps for Creating Time Reference:
1. From the Options menu, select the Time Reference option.
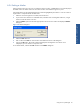
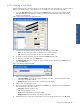
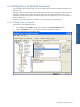
2. In the displayed Time Reference Selection dialog box, click on the Create button. This displays the Time
References dialog box.
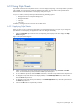
Figure 6-29 Time Reference Dialog Box
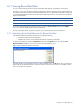
3. Select a time interval using the Interval spin box.
4. Select one of the time options and click on the OK button.
• Live: For the current time
• Replay: For specifying a specific date or time
6-11-3 Deleting a Time Reference
Steps for Deleting Time Reference:
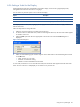
1. From the Options menu, select the Time Reference option. The Time Reference Selection dialog box is
displayed,
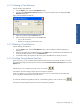
2. Select the time reference to be deleted and click on the Delete button. To delete all the time references from
the list of available references, click on the Delete All button.
3. A confirmation dialog box appears on the screen. Click on the Yes button to confirm your choice.
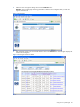
6-11-4 Scrolling Through Recent-Past Data
When using views, you can scroll back and forth between time intervals to view specific information. To scroll
back and forth through recent and past time intervals, select the Previous Period or Next Period options from the
Options menu.
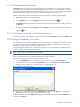
Alternatively, you can use the following icons in the view window:
Each selection moves the display one-time interval in the direction specified
When viewing data in a view that is at the edge of the screen, you can center the data in the middle of the
screen using buttons that display half of the time interval.
To scroll back and forth through half time intervals, use the following buttons in the window of a view.
Each option moves the display half of a time interval in the direction specified.
Using Views: SystemInsight