
POS Transaction Analyzer User and Installation Guide, SST Version 1.2


Working with HP NonStop POS Transaction Analyzer 56
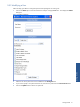
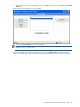
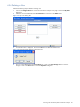
3. Enter the name of the view in the dialog box click on the OK button. The view will be added in the Current
Views box.
Figure 4-4 My Views Dialog Box with a View Added
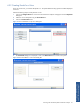
4. Click on the Save Changes button to save the changes.
NOTE: Clicking on the Save Changes button creates an empty view. To add information to the view, you
will have to add panels to the views.
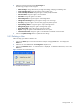
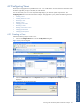
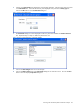
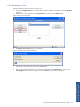
All the views created will be listed in the drop-down box next to the Configure Views link in the main POS
Transaction Analyzer page. Select the desired view from the drop-down box to view its respective information.