
SST Operations Bridge Administration Guide, Version 1.1
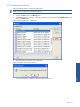
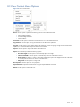
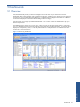

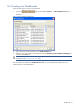
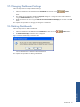
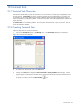
Table Of Contents
- SST Operations Bridge Administration Guide
- Preface
- Chapter 1: HP SST/OB: Overview
- Chapter 2: Getting Started
- Chapter 3: SST/OB Client Application
- Chapter 4: Application Options
- Chapter 5: User Profiles and Permissions
- Chapter 6: Policies
- Chapter 7: Global Parking and SLA Timers
- Chapter 8: Views
- Chapter 9: Dashboards
- Chapter 10: Terminal Sets
- Chapter 11: Faults and Fault Categories
- Chapter 12: Closure Codes
- Chapter 13: Object State Codes
- Chapter 14: Email Alerts
- Chapter 15: Thresholds and Threshold Alert
- Chapter 16: Commands
- Chapter 17: Terminal Trees
- Chapter 18: Action History
- Chapter 19: Data Management
- Chapter 20: Configuring Hours of Operation
- Appendix A: SST/OB Grid Features
- Appendix B: SST/OB Configuration Client Settings
- Appendix C: SST/OB Import Utility Configuration Parameters
- Document Feedback Form
Dashboards 96
9-4 Creating new Dashboards
Follow the steps below to create a new Dashboard.
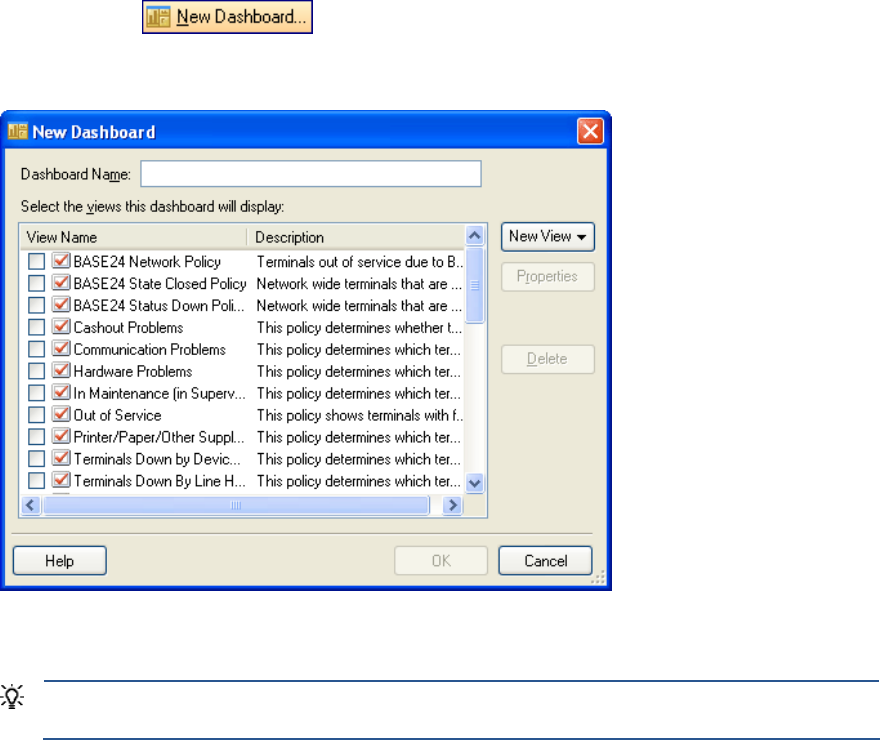
1. Click on the button on the Dashboard toolbar. The New Dashboard dialog box is
displayed.
Figure 9-2 New Dashboard Dialog Box
2. Enter the name for the new Dashboard in the Dashboard Name box.
3. Select the views to be included in the dashboard using the Select the views this dashboard will display list
and click on the OK button.
TIP: You can create a new Local View using the New View button. To create a Policy View, follow the
information in the Creating a Policy View topic.
The new Dashboard is added in the Dashboards Tree view. To view the dashboard, double-click on the
Dashboard name in the Dashboards list.