
Virtual TapeServer 8.2 Configuration Guide
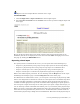
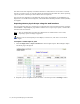
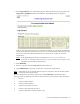
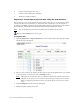
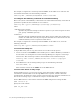
Table Of Contents
- Virtual TapeServer for NonStop Servers Configuration Guide
- Preface
- Introduction
- Overview of Tasks
- Reconfiguring Vaults
- Enabling Licensed Features
- Configuring Ports
- Creating and Managing VTLs and VTDs
- Enabling and Performing Tape-to-tape Exports
- Enabling and Performing Stacked Exports
- Enabling and Configuring Data Replication
- Enabling and Configuring Role Swapping
- Configuring EMS Communication
- Enabling and Configuring Data Encryption
- Creating and Managing Virtual Media
- Enabling and Configuring Scan/Cleanup
- Configuring User Accounts
- Configuring Web Interface Preferences
- Managing the VTS Server
- Troubleshooting
- Maintaining GFS for VTS
- Reinstalling and Restoring VTS
- Attaching External Devices after Initial Deployment
- TCP/IP Ports and Protocols
- Index
76 | Creating and Managing Virtual Media
6 Could not rewind tape after copy
7 Could not issue SCSI write command
8 SCSI write command failed
Migrating a virtual tape to physical tape using the web interface
You can export a pool, which exports all virtual tapes in the pool, or you can export a single
virtual tape. This is also referred to as “migration”. The virtual tape or pool is migrated
according to the hsm_ parameters in the VTS configuration file. If migration is not enabled
and configured, contact HP Global NonStop Solution Center (GNSC) for support
Note You can perform this procedure if a VTD license is enabled on the server.
Requires the HSM Migration access right
To migrate data
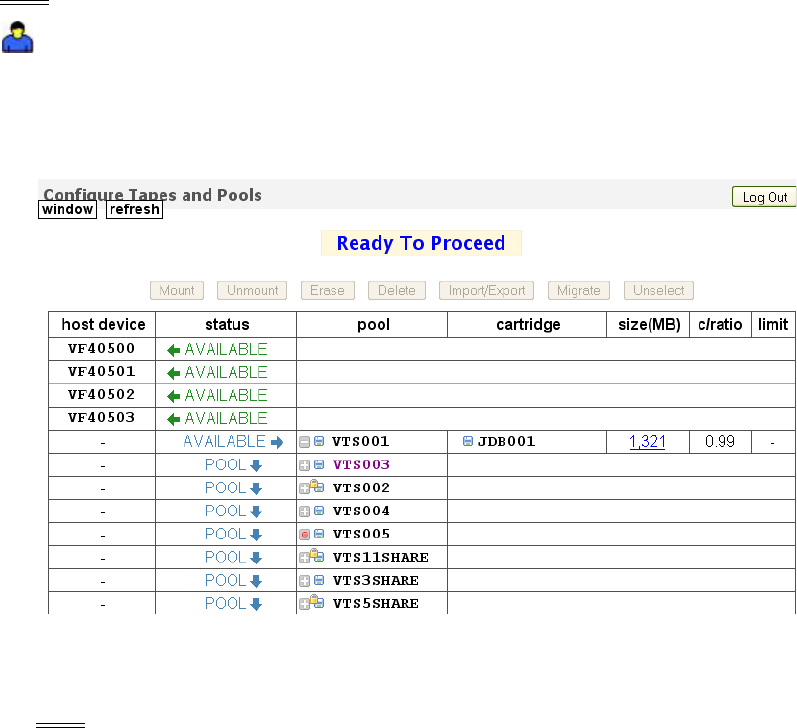
1. Click Configuration→Tapes and Pools on the navigation pane. The Configure Tapes
and Pools page is displayed:
2. Select a pool to migrate by clicking on the name of a pool in the pool column. Or, expand
a pool and select a virtual tape in the cartridge column.
Note VTS locks all virtual tapes that are selected for migration, until the operation is
complete. If you select a pool to migrate, all virtual tapes in the pool are locked.
Thus, to migrate a pool, there must be no locks on the pool or any of its virtual
tapes.
3. Click the Migrate button at the top of the page.
4. When prompted, confirm the action.