
Start Here Guide


Table Of Contents
- Table of Contents
- Setting Up Your Computer
- Putting Your Computer Together
- Connecting a Digital Camera (Photo or Video)
- Connecting Other Devices
- Storing Documentation and Recovery Discs
- Adjusting the Monitor
- Setting Up a Local Area Network
- Setting Up a Wired (Ethernet) Connection
- Integrated Wireless Devices
- Connecting the Wireless LAN Device
- Connecting a Modem
- Connecting Speakers or Microphone
- Using Speakers
- Sound Connector Types
- Connecting a Microphone
- Speaker Configurations
- Connecting 2/2.1 (Two Speakers and a Subwoofer) Audio Speakers
- Connecting 4.1 (Four Speakers and a Subwoofer) Audio Speakers
- Connecting 5.1 (Five Speakers and a Subwoofer) Audio Speakers
- Connecting 7.1 (Seven Speakers and a Subwoofer) Audio Speakers
- Connecting the Computer to a Home Audio System
- Connecting Digital Audio
- Connecting Speakers Using the Creative Sound Blaster X-Fi Sound Card
- Connecting the Television Signal and Video Cables
- Using TV Cables
- Audio and Video Cables
- Connecting the TV Signal Source
- Connecting the Remote Sensor
- Connecting the TV Signal Source When You Have an Existing Setup
- Using Your TV as a Monitor
- Using the Windows Media Center Setup for Optional Setup of Your TV Display
- Disabling the TV-out Option
- Disconnecting the TV
- Connecting to a Monitor or High-Definition TV
- Connecting to a Standard TV
- Getting Help
- Index
8 Start Here
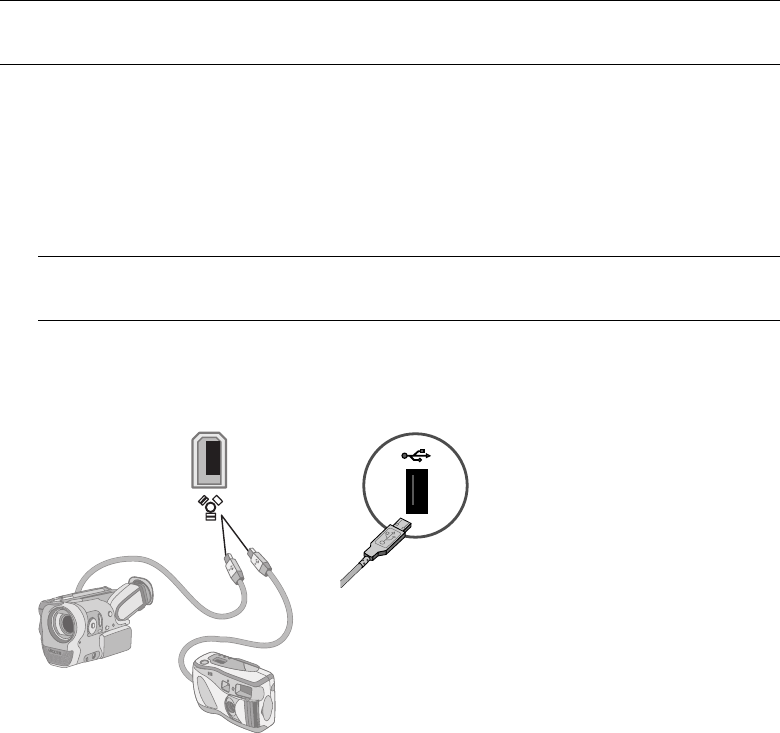
Connecting a Digital Camera (Photo or Video)
The following instructions apply only to digital photo cameras and digital video cameras.
Refer to the documentation that came with your digital photo camera or digital video
camera.
To connect a digital photo camera or a digital video camera:
1 Turn on the computer, and wait for Microsoft
®
Windows
Vista
™
operating system
to start.
2 Connect the 6-pin video camera transfer cable into the camera and then into an open
port on the front or back of the computer. Most digital video cameras use either the
FireWire (IEEE 1394) port or the USB port.
3 A Found New Hardware message appears. Wait 2 or 3 minutes for Windows Vista to
make the necessary settings for the new device. When installation is complete, a
message appears indicating the camera is ready to use.
NOTE: When connecting an analog video camera to the computer, use the Video and
Audio In connectors on the front or back of the computer.
NOTE: If a Digital Video Device Auto Play window appears when you connect your
camera, click Cancel.