
User Guide


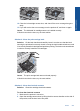

Table Of Contents
- Contents
- HP Photosmart Premium Fax C410 series Help
- How do I?
- Finish setting up the HP Photosmart
- Get to know the HP Photosmart
- Scan
- Copy
- Fax
- Save photos
- Work with cartridges
- Solve a problem
- HP support
- Setup troubleshooting
- Improve print quality
- Print troubleshooting
- Memory card troubleshooting
- Scan troubleshooting
- Copy troubleshooting
- Fax troubleshooting
- The product is having problems sending and receiving faxes
- The product cannot send faxes, but can receive faxes
- The product is having problems sending a manual fax
- Pages of a fax I sent are missing
- The quality of the fax I sent is poor
- Fax transmission is slow
- Fax tones are recorded on my answering machine
- The product cannot receive faxes, but can send faxes
- The product is having problems receiving a manual fax
- The product is not answering incoming fax calls
- Pages of a fax I received are missing
- Faxes are received but do not print
- Parts of a fax I received are cut off
- I hear static on my telephone line since connecting the product
- The fax test failed
- I am having problems faxing over the Internet using IP phone
- Errors
- Technical information
- Notice
- Cartridge chip information
- Specifications
- Environmental product stewardship program
- Eco-Tips
- Paper use
- Plastics
- Material safety data sheets
- Recycling program
- HP inkjet supplies recycling program
- Power consumption
- Disposal of waste equipment by users in private households in the European Union
- Chemical Substances
- Toxic and hazardous substance table
- Battery disposal in the Netherlands
- Battery disposal in Taiwan
- Attention California users
- EU battery directive
- Regulatory notices
- Regulatory wireless statements
- Regulatory telecommunication notices
- Japan safety statement
- Index
Solution 1: Install the ink cartridges correctly
Solution: Make sure all of the ink cartridges are properly installed. Refer to the
following steps to resolve this error.
To make sure the ink cartridges are properly installed
1. Make sure the product is turned on.
2. Open the ink cartridge access door by lifting from the front right of the product,
until the door locks into place.
The print carriage moves to the center of the product.
NOTE: Wait until the print carriage stops moving before proceeding.
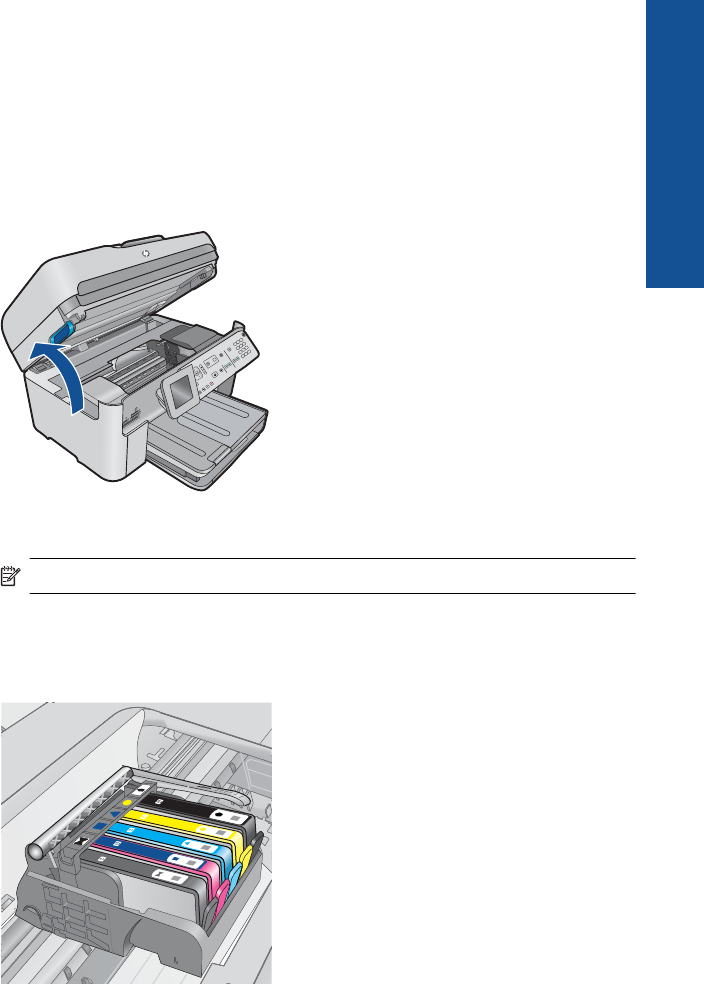
3. Make sure the ink cartridges are installed in the correct slots.
Match the shape of the icon and color of the ink cartridge with the slot that has
the same shaped icon and color.
4. Run your finger along the top of the ink cartridges to locate any cartridges that
are not snapped completely down.
5. Press down on any cartridges that are sticking up.
They should snap down into place.
Errors 205
Solve a problem