User Guide
Table Of Contents
- Contents
- HP Photosmart Premium Fax C410 series Help
- How do I?
- Finish setting up the HP Photosmart
- Get to know the HP Photosmart
- Scan
- Copy
- Fax
- Save photos
- Work with cartridges
- Solve a problem
- HP support
- Setup troubleshooting
- Improve print quality
- Print troubleshooting
- Memory card troubleshooting
- Scan troubleshooting
- Copy troubleshooting
- Fax troubleshooting
- The product is having problems sending and receiving faxes
- The product cannot send faxes, but can receive faxes
- The product is having problems sending a manual fax
- Pages of a fax I sent are missing
- The quality of the fax I sent is poor
- Fax transmission is slow
- Fax tones are recorded on my answering machine
- The product cannot receive faxes, but can send faxes
- The product is having problems receiving a manual fax
- The product is not answering incoming fax calls
- Pages of a fax I received are missing
- Faxes are received but do not print
- Parts of a fax I received are cut off
- I hear static on my telephone line since connecting the product
- The fax test failed
- I am having problems faxing over the Internet using IP phone
- Errors
- Technical information
- Notice
- Cartridge chip information
- Specifications
- Environmental product stewardship program
- Eco-Tips
- Paper use
- Plastics
- Material safety data sheets
- Recycling program
- HP inkjet supplies recycling program
- Power consumption
- Disposal of waste equipment by users in private households in the European Union
- Chemical Substances
- Toxic and hazardous substance table
- Battery disposal in the Netherlands
- Battery disposal in Taiwan
- Attention California users
- EU battery directive
- Regulatory notices
- Regulatory wireless statements
- Regulatory telecommunication notices
- Japan safety statement
- Index

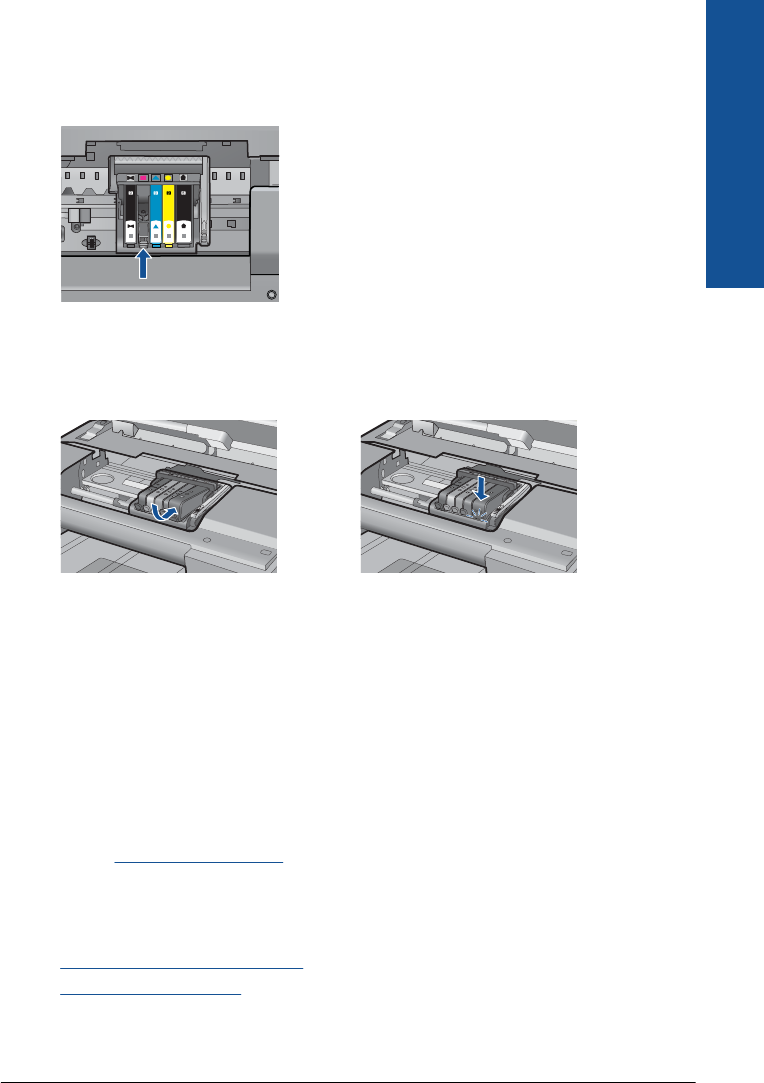
5. Wipe the contacts with a dry swab or lint-free cloth.
6. On the inside of the product, locate the contacts in the printhead.
The contacts look like a set of four copper or gold-colored pins positioned to meet
the contacts on the ink cartridge.
7. Use a dry swab or lint-free cloth to wipe the contacts.
8. Reinstall the ink cartridge.
9. Close the ink cartridge door, and check if the error message has gone away.
10. If you still receive the error message, turn the product off, and then on again.
If you still receive this message after cleaning the cartridge contacts, you might have
a damaged cartridge.
Check to see if your cartridge is still under warranty and the end of warranty date has
not been reached.
• If the end of warranty date has been reached, purchase a new ink cartridge.
• If the end of warranty date has not been reached, contact HP support for service
or replacement.
Go to:
www.hp.com/support.
If prompted, choose your country/region, and then click Contact HP for
information on calling for technical support.
For more information, see:
•
Cartridge warranty information
•
Replace the cartridges
Cause: The electrical contacts needed to be cleaned.
If this did not solve the issue, try the next solution.
Errors 209
Solve a problem


