
H3C S7502 Ethernet Switch Installation Manual

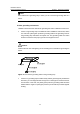

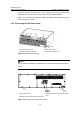
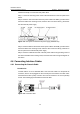

Table Of Contents
- 00-1Cover.pdf
- 01-Chapter 1 Product Overview.pdf
- 02-Chapter 2 Line Processing Units.pdf
- 03-Chapter 3 nstallation Preparations.pdf
- 04-Chapter 4 Hardware Installation.pdf
- Chapter 4 Hardware Installation
- 05-Chapter 5 System Commissioning.pdf
- 06-Chapter 6 Hardware Maintenance.pdf
- 07-Chapter 7 Software Maintenance.pdf
- Chapter 7 Software Maintenance
- 7.1 Introduction to Loading Approaches
- 7.2 Loading Software Locally through Boot Menu
- 7.3 Loading Software Remotely or Locally through Command Lines
- 7.4 Booting the Switch with Dual Images
- 7.5 Loading a Host Software Containing the Boot ROM File
- 7.6 Handling Loading Failure
- 7.7 Handling Password Loss
- Chapter 7 Software Maintenance
- 08-Chapter 8 Troubleshooting.pdf
- 09-Appendix A Lightning Protection.pdf
- 10-Appendix B AC Power Cables Used in Different Countries.pdf
Installation Manual
H3C S7502 Ethernet Switch Chapter 4 Hardware Installation
4-2
Note:
The switch should be equipped with at least two sets of power supply.
4.3 Mounting the Switch to the Designated Position
4.3.1 Mounting the Switch onto a 19” Standard Rack
The S7502 has an integrated chassis and should operate indoors.
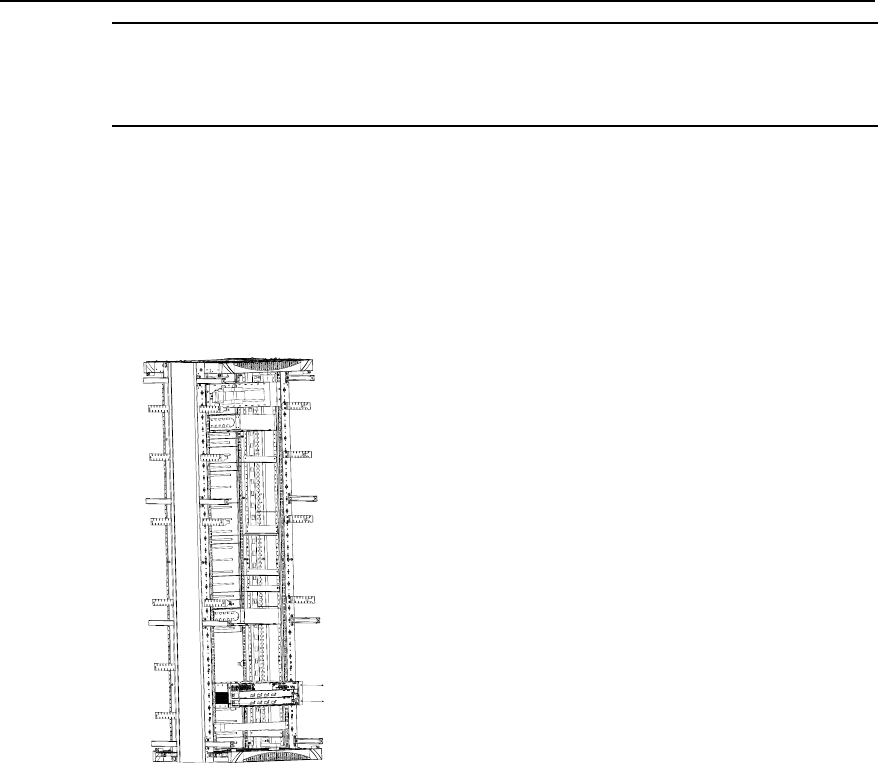
Figure 4-2 Mount an S7502 Ethernet switch onto a 19” standard rack
Take the following installation steps.
Step 1: Confirm the following before installation:
z The rack has been well fixed. The installation position for the switch has been well
arranged and there is no obstacle around.
z The switch is ready for installation and has been carried to a place near the rack
and convenient for moving.
Step 2: Install the wiring channel and mounting angle sets shipped with the switch.
Step 3: With two people lifting the switch at both sides slowly, move the switch to a
place in front of the rack.
Step 4: Carry the switch a little higher than the rack tray or guides. Put the switch on the
tray or the guides and push it into the rack.
Step 5: Fasten the angle sets on the 19-inch columns to seat the switch in the chassis.