
TMS zl Module Planning and Implementation Guide 2009-08
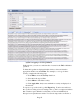
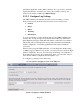
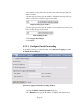
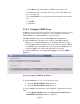
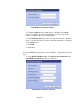
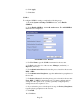
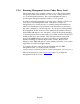
Table Of Contents
- Contents
- Glossary of Acronyms and Abbreviations
- 1.0 Purpose
- 2.0 Intended Audience
- 3.0 Objectives
- 4.0 Prerequisites
- 5.0 Skills
- 6.0 The HP ProCurve Threat Management Services zl Module
- 7.0 Common TMS Security Control Points
- 8.0 Deployment Considerations
- 9.0 Installation and Preparation of the TMS zl Module
- 10.0 Configuration of the TMS zl Module
- 11.0 Using multiple HP ProCurve Threat Management Services zl Modules
- Appendix A – Additional References
- Appendix B – Sample Company Information Assets Spreadsheet
- Sample “Information Assets” tab (See Embedded “Company Information Assets” Microsoft Excel 2003 spreadsheet)
- “Server Network Details” tab (See Embedded “Company Information Assets” Microsoft Excel 2003 spreadsheet)
- “TMS Zones” tab (See Embedded “Company Information Assets” Microsoft Excel 2003 spreadsheet)
- “Firewall Rules” tab (See Embedded “Company Information Assets” Microsoft Excel 2003 spreadsheet)
- /Sample “Company Information Assets” Microsoft Excel 2003 spreadsheet
- Appendix C – Information Gathering Tools
- Appendix D - Updating Switch Software
- Appendix E – Emergency Recovery Process
Page 56
Add SNMPv2 Destination Window
2. For Server Address, type the IP address or FQDN of the SNMP
server. For example, if you are using PCM+, you would enter the IP
address or FQDN of the server running PCM+.
3. For Community Name, type the read-write (unrestricted) community
name. You must enter the read-write community name that is configured
on the SNMP server.
4. Click OK.
5. Click Save.
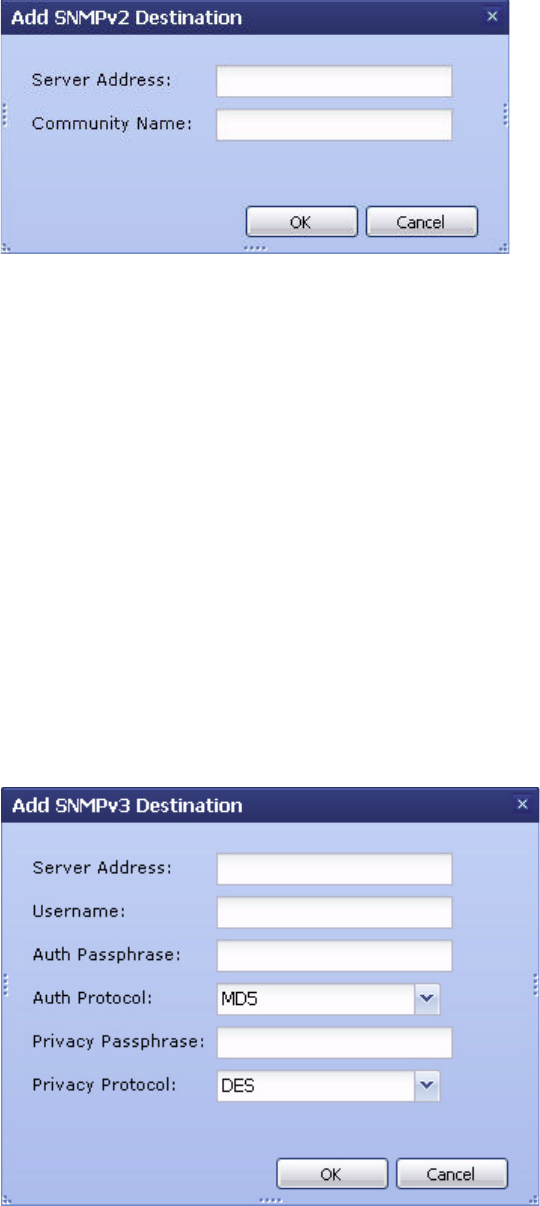
To add an SNMPv3 trap destination (such as PCM+), complete the following
steps:
1. Under Enable SNMPv3 traps, click Add another destination. The
Add SNMPv3 Destination window is displayed.
Add SNMPv3 Destination Window