
ProLiant BL p-Class GbE Interconnect Switch Menu-driven Interface Reference Guide
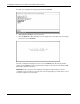

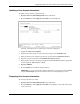
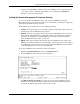
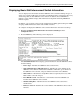
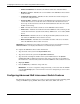
Table Of Contents
- HP ProLiant BL p-Class GbE Interconnect Switch Menu-driven Interface Reference Guide
- Notice
- Contents
- About This Guide
- Chapter 1: Overview
- Chapter 2: Configuring the GbE Interconnect Switch using the Menu-driven Interface
- Overview
- Saving Changes
- Managing User Accounts
- Configuring the Remote Management IP Interface Settings
- Displaying Basic GbE Interconnect Switch Information
- Configuring Advanced GbE Interconnect Switch Features
- Configuring Port Settings
- Configuring Bandwidth
- Configuring Spanning Tree Protocol
- Configuring Static (Destination Address) Filtering Table
- Configuring VLANs
- Configuring GVRP
- Configuring IGMP Snooping
- Configuring Port Trunking
- Configuring Port Mirroring
- Configuring Thresholds for Broadcast, Multicast, DA-Unknown Storm Prevention or Monitoring
- Configuring Class of Service, Default Port Priority, and Traffic Class
- Configuring Port Security
- Configuring Priority MAC Addresses
- Configuring GbE Interconnect Switch Serial Port
- Configuring GbE Interconnect Switch Date and Time
- Monitoring GbE Interconnect Switch Functions
- Configuring SNMP/RMON Manager
- Using System Utilities
- Rebooting the GbE Interconnect Switch
- Logging Out
- Index
Configuring the GbE Interconnect Switch using the Menu-driven Interface
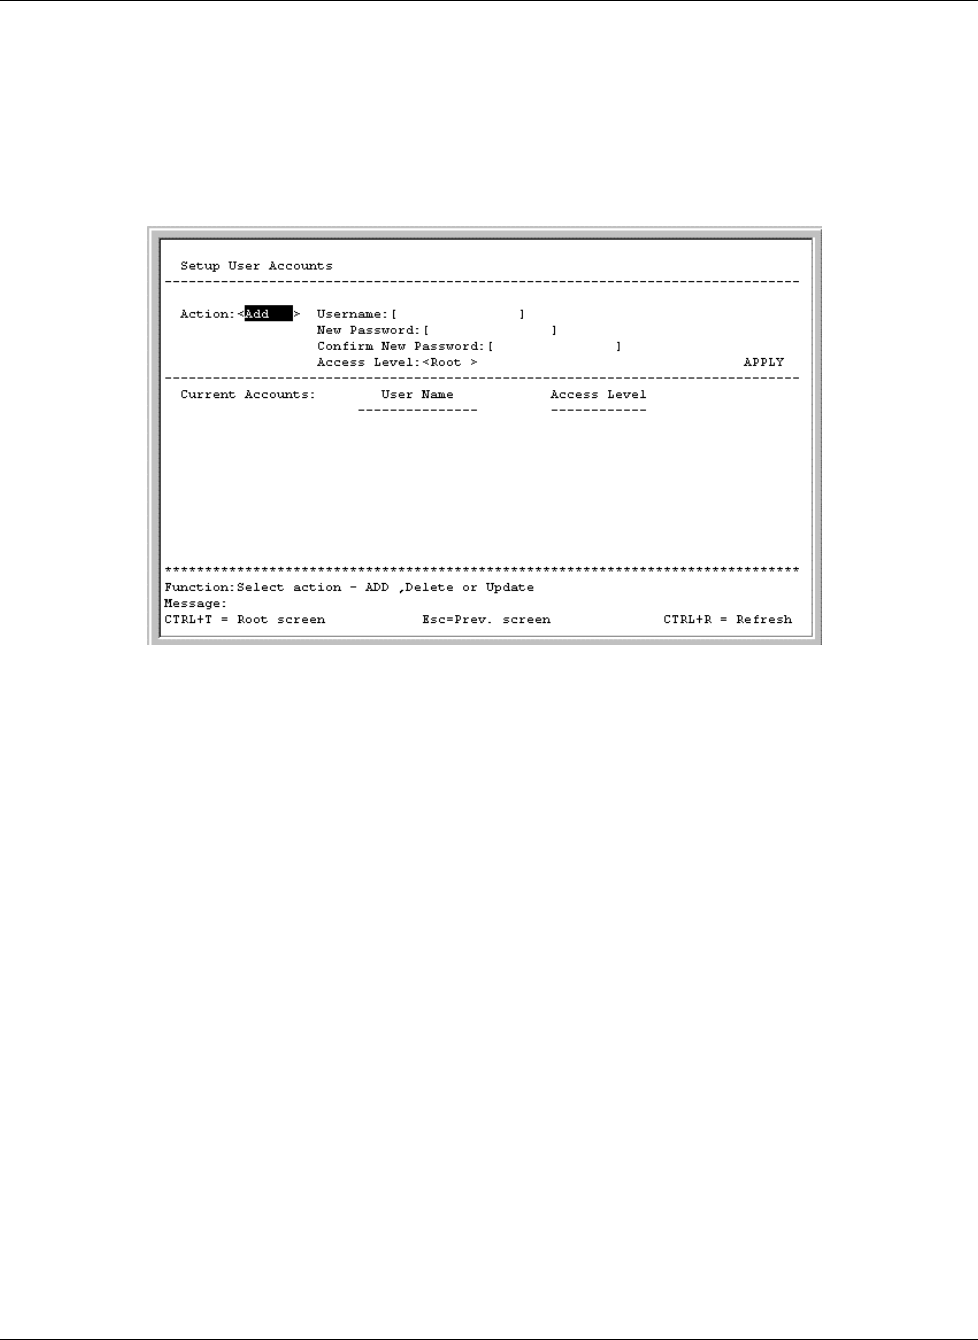
Adding a User Account
To create a new user account:
1. Highlight User Accounts Management on the main menu.
2. Press the Enter key. The Setup User Accounts screen is displayed.
3. Using the spacebar, toggle the Action field to Add.
4. Type the user’s name in the Username field.
5. Type an initial password for the user in the New Password field.
IMPORTANT: Passwords used to access the GbE Interconnect Switch are case-sensitive.
6. Type the new password a second time in the Confirm New Password field.
7. Using the spacebar, toggle the Access Level field to select the user’s access privilege.
8. Highlight APPLY.
9. Press the Enter key to make the user addition effective. A listing of all current user
accounts and access levels is displayed.
IMPORTANT: APPLY makes changes to the switch configuration for the current session only. You
must enter all permanent changes, including user additions or updates, into non-volatile RAM
(NVRAM) using the Save Changes option on the main menu. Refer to the “Saving Changes”
section.
10. Press the Esc key to return to the main menu. Use the Save Changes option to save the
changes into non-volatile RAM.
2-4 HP ProLiant BL p-Class GbE Interconnect Switch Menu-driven Interface Reference Guide