
HP ProLiant Storage Server 1U Rail Installation Instructions (5697-5590, March 2006)

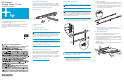
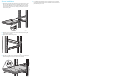
Table Of Contents
*5697-5590*
Les "Viktig sikkerhetsinformasjon" på dokumentasjons-CDen før du installerer dette produktet.
Læs dokumentet Vigtige sikkerhedsoplysninger på dokumentations-cd'en, før produktet installeres.
Prima dell'installazione, leggere sul CD le Informazioni importanti sulla sicurezza.
Tärkeisiin turvatietoihin" Documentation CD -levyllä ennen tuotteen asentamista.
Läs dokumentet Viktig säkerhetsinformation på dokumentations-cd:n innan du installerar denna produkt.
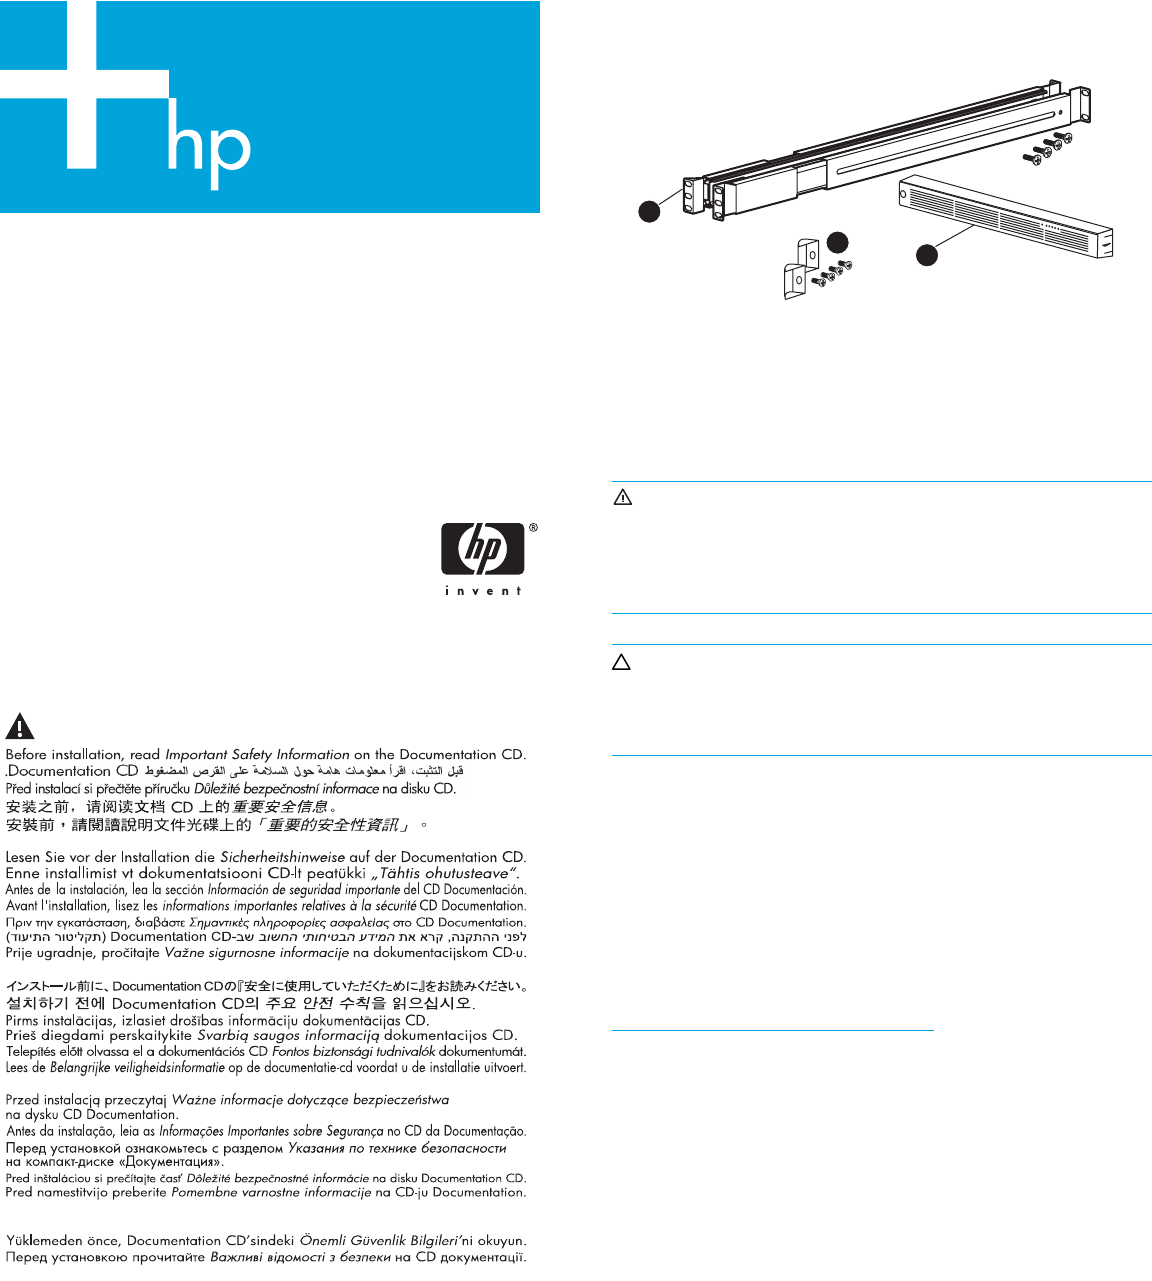
Important Safety Information
About this document
This document provides procedures for installing a 1U-size storage
server into a rack using the rails provided. HP assumes that you are
qualified in servicing computer equipment, and trained in recognizing
hazards in products with hazardous energy levels.
Kit contents
1 Slide rail assembly
2 Bezel
3 Bezel brackets and screws
Warnings and cautions
WARNING! Before you begin, make sure that the rack is
sufficiently stable. If provided, lower the rack leveler feet and make
sure any required stabilizers are installed. If provided, extend the rack
anti-tip device. Failure to extend the anti-tip device could result in
personal injury or damage if the rack tips over.
CAUTION: Make sure that the rack and all equipment mounted
in the rack have a reliable ground connection. Verify that the total
current of the rack components does not exceed the current rating of
the power distribution unit or outlet receptacles.
Rack planning procedures
The rack resource kit ships with all HP branded or Compaq branded
9000, 10000, and H9 series racks. For more information on the
content of each resource, see the rack resource kit documentation.
If you intend to deploy and configure multiple servers in a single rack,
refer to the white paper on high-density deployment at the following
HP web site:
www.hp.com/products/servers/platforms
Slide rail installation
NOTE: Depending on the rail kit provided, your rackmount rail
assemblies may vary slightly from those in the following illustrations.
1. Install the two slide rails to the sides of the rack.
NOTE: Two different types of rail kit designs are shown in the
illustration below, but both install similarly. The two rail assemblies
packed in a kit are identical, but depending on the which side of the
rack they are installed, each are rotated so the sliding portions of the
rails are towards the center of the rack.
a. Adjust the side rail assemblies to the approximate rack depth.
b. At one side of the rack, align the rail holes with the holes in the
rack and secure with the provided mounting hardware.
IMPORTANT: HP recommends leaving the rail mounting screws
loose until the server is completely installed. This eases installation by
preventing binding of the server in the rack.
c. Align holes at the other end of the rack with the rail assembly
and secure with mounting hardware.
d. Install the other side rail assembly on the other side of the rack
as described in the previous steps.
2. Locate the inner slide rails:
• If the rail assembly you mounted in the rack comes as one unit,
remove the inner slide rails from the outer slide rails. To do so,
extend the inner slide rails from the front of the rack until they
lock in place. Then, press the inner rail release latch, as shown,
and pull the inner slide rails straight out.
.
• If the inner slide rails in your kit are separate from the rail
assemblies installed in the racks, remove them from the kit box
and proceed to the next step.
Server preparation
1. Attach the two bezel brackets to the server using the supplied
bracket screws, as shown 1. Do not overtighten.
2. Attach an inner slide rail (locking latches facing out) to each side of
the server by placing the rail over the server standoffs and sliding
the rail toward the rear of the server.
3. Insert the slide rail screws through the inner slide rails as shown 2,
and then tighten.
4. Attach the bezel 3 to the bezel brackets, and then lock the bezel to
the server (if desired).
3
2
1
cl_011
5201b
10685A
5202
1
1
2
2
3
HP ProLiant
Storage Server 1U rail
installation instructions
© Copyright 2006 Hewlett-Packard Development Company, L.P.
First edition, March 2006
Product names mentioned herein may be trademarks of their respective
companies as reflected by an associated footnote.
The information in this document is subject to change without notice.
www.hp.com