
6.0 HP X9000 File Serving Software File System User Guide (TA768-96043, October 2011)

Modifying a local group
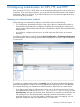
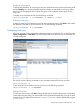
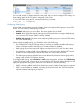
To change the information for a local group account, select the account on the Local Groups panel
and click Modify. You can then make the necessary changes on the Modify Local Group dialog
box. If you are changing the GID or RID for the group, it cannot be the primary group for any
local users.
To modify an account from the CLI, use the following command:
ibrix_localgroups -m -g GROUPNAME [-G GROUPID] [-S RID]
Deleting a local group
To delete a group account, select the account on the Local Groups panel, click Delete, and confirm
the operation. To delete an account from the CLI, use the following command:
ibrix_localgroups -d -g GROUPNAME
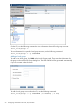
Configuring local users
Local user accounts can be managed from the management console GUI or CLI. On the GUI, select
Cluster Configuration > Local Users. The Local Users panel shows the local user accounts that are
currently configured.
On the CLI, use the following command to view information about all local user accounts:
ibrix_localusers -L
To see information for a specific local user account, use the following command:
ibrix_localusers -l -g USERNAME
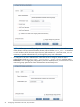
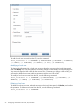
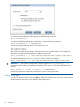
Adding a local user
To add a new user account, click Add on the Local Users panel, and then enter the user's information
on the Add Local User dialog. The UID and RID will be generated automatically if you do not enter
values for them. The default home directory is /home/<username> and the default shell program
is /bin/false.
Configuring local groups and local users 55