
HP Systems Insight Manager 5.3 with SP1 Installation and Configuration Guide for Microsoft Windows
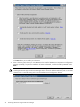
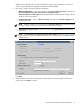
Table Of Contents
- HP Systems Insight Manager 5.3 with SP1 Installation and Configuration Guide for Microsoft Windows
- Table of Contents
- 1 Product overview
- 2 Installation overview and requirements
- 3 Installing HP SIM on the Central Management Server (CMS) for the first time
- 4 Configuring HP SIM using the First Time Wizard
- Using the First Time Wizard
- Configuring the managed environment
- Enabling automatic system discovery
- Configuring System Automatic Discovery task sign in credentials
- Configuring managed systems
- Configuring the WMI Mapper Proxy
- Configuring privilege elevation
- Configuring e-mail settings
- First Time Wizard summary
- Finishing the First Time Wizard
- Operating-system-specific collections, reports, and tools
- 5 Configuring HP SIM using the Options menu
- 6 Setting up and configuring managed systems
- 7 Initializing the Remote Support Software Manager
- 8 Upgrading HP Systems Insight Manager
- 9 Uninstalling HP Systems Insight Manager
- 10 Using the graphical user interface
- 11 Using the command line interface
- 12 Configuration options
- 13 Troubleshooting
- glossary
- Index
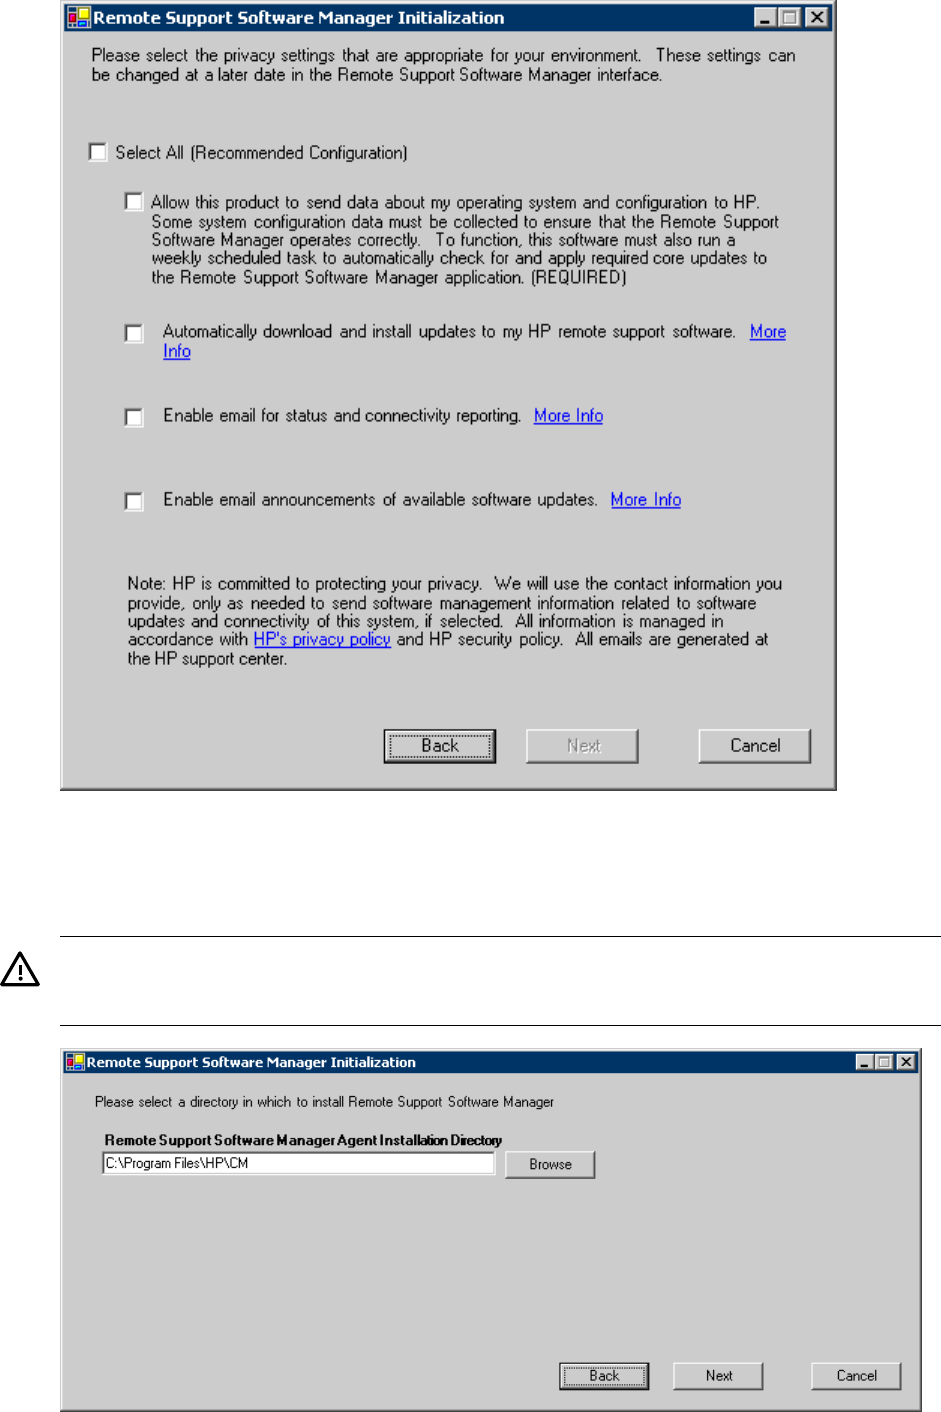
Click Next when you've made your selections.
4. Enter a directory path where you want RSSWM to be installed. RSSWM uses OpenView Configuration
Manager (OVCM); if a previous installation of OVCM is detected, it will be shared by RSSWM. Click
Next.
WARNING! Korean and Chinese characters are not supported for custom directory paths when
installing HP Remote Support Software Manager. Either choose the default installation path or use ANSI
characters for a custom directory path to avoid installation and configuration failures.
76 Initializing the Remote Support Software Manager