
HP XP P9000 Business Copy User Guide (AV400-96573, July 2013)
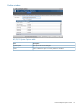
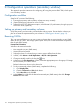
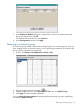
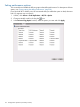
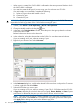
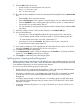
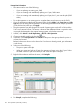
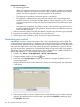
Table Of Contents
- HP XP P9000 Business Copy User Guide
- Contents
- 1 Business Copy overview
- 2 Requirements and planning
- 3 Sharing Business Copy volumes
- Cache Residency
- Fast Snap and Snapshot
- Data Retention
- Thin Provisioning and Smart Tiers
- External Storage Access Manager
- LUN Manager
- Open Volume Management
- Resource Partition
- Continuous Access Synchronous
- Continuous Access Journal
- External Storage
- Auto LUN
- 4 Performing configuration operations
- 5 Performing pair operations
- 6 Monitoring and maintaining the system
- 7 Troubleshooting
- 8 Support and other resources
- A Interface support for BC operations and options
- B Business Copy GUI reference
- Replications window
- Local Replications window
- View Pair Properties window
- View Pair Synchronous Rate window
- View Histories window
- Consistency Group Properties window
- Create Pairs wizard
- Split Pairs wizard
- Resync Pairs wizard
- Suspend Pairs window
- Delete Pairs window
- Edit Mirror Units dialog box
- Change Options dialog box
- Add Reserve Volumes Wizard
- Remove Reserve Volumes window
- Edit Local Replica Option wizard
- C Configuration operations (secondary window)
- D Pair operations (secondary window)
- E Monitoring and maintaining the system (secondary window)
- F Business Copy GUI reference (secondary window)
- Glossary
- Index
7. In the Set Reserve Attribute dialog box, confirm that the volumes you want to reserve are
shown and selected, then click OK.
The selected volumes are shown in the Preview list.
8. In the Pair Operations window, click Apply.
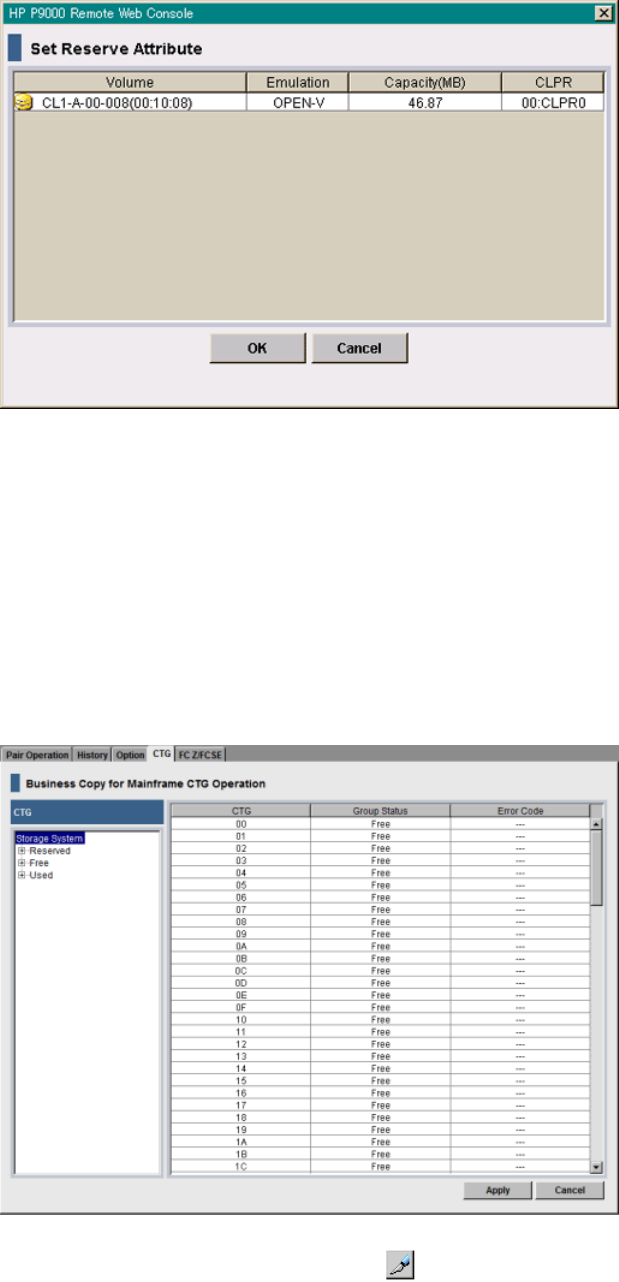
Reserving a consistency group
A consistency group number is required when assigning pairs to a consistency group. Once you
have assigned pairs to a consistency group, you can perform pair operations on the pairs in the
group, including consistency group pair-split.
1. In RWC, click Actions > Local Replications > BC/SS > CTG.
2. Change to Modify mode by clicking the icon.
3. Select and right-click one or more CTGs with status Free, then click Add CT Group.
4. Click Apply. The status changes to Reserved.
You can remove the reserve attribute by selecting the Reserved group or groups, right-clicking,
and selecting Delete CT Group.
Reserving a consistency group 113